How to Bake BREAD with SUCCESS
|
|
|
|
|
|
Failed breads? Flat, dry, hard, etc. What went wrong? I know, we get frustrated when our finished product did not look exactly like how we wanted it to be. It happened to me before, not only once but many times so you are not alone. And I am here to give you all the information that you need to know before you start baking. There are so many factors that can affect the outcome of your bread. I outlined every single one of them below. Please make sure that you follow them in order to bake with success. Let's start with the YEAST. |
|
|
Loading...
|

Photo below is a step by step Yeast proofing process.
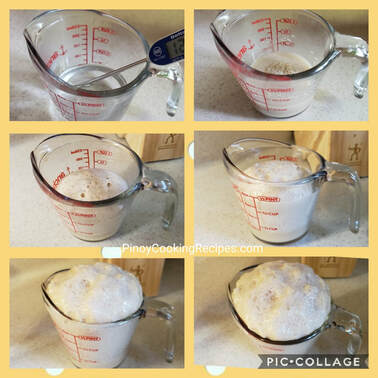
Step by step Yeast Activation
|
|
|
|
3. Oven Temperature & Timing
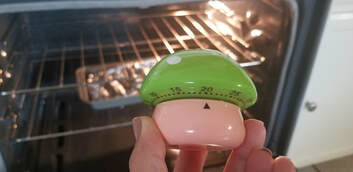
Your oven is easily the most important variable in determining the outcome of your bread. Baking at the right temperature is important not only for determining baking times but it will also affect the final quality of your breads. Oven temperatures varies so you need to know your oven.
|
|
|
NOTE added 10/17/18: I noticed after deeply cleaning my oven, you know cleaning those grease at the bottom plate, my oven setting is higher for some reason. Now, my baking time is shorter than before. Like I used to bake a certain bread PANDESAL for 20 minutes, now it is done by 15 minutes. Please take note of that. Oven temp varies, I guess depending on oven brand or how clean or dirty it is. :)
|
4. Correct Measurements
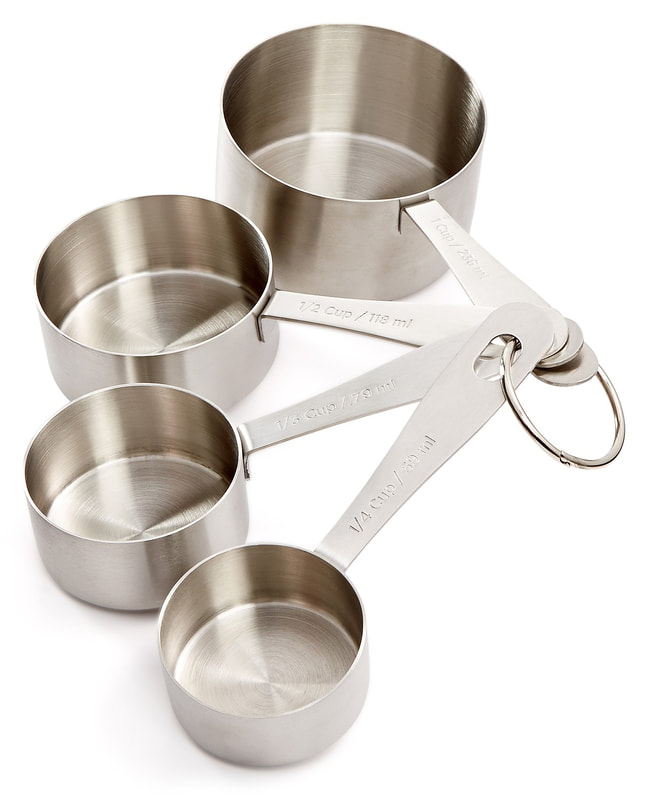
Measuring quantities is a baking must. Always use level measurements (all measurements in a recipe are level). Meaning, * use a glass measuring cup when measuring liquids and check the measurement at eye level. *use standard individual cups when measuring dry ingredients. Lightly spoon dry ingredients into correct cup size and level off with edge of spatula by cutting across the top. Do the same with the measuring spoons. |
|
5. Use Quality Ingredients
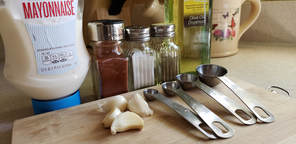
The brand of the ingredients that we use really does affect the bread. Different brands of butter, yogurt, buttermilk, and flour have varied levels of moisture, fat, and protein. Some brand of milk are watery than others. A cheap brand of butter are sometimes too oily that when you melt it, it will look like a cooking oil. A good brand of butter is somewhat creamy even after melting it. These little variations can greatly effect the outcome of the final product. Use the brands the recipe developer recommends, or find brands that suit your baking needs and use them exclusively so you know how they will react in your recipe. |
|
6. Dough Consistency

To ensure you get the proper dough consistency and bread texture, mix in additional flour slowly, 1 tablespoon at a time. Dough should be soft and slightly sticky. If it doesn't stick, then you put too much flour. Your finished product will be hard and heavy. Again, based on my experience, the dough should be soft and slightly sticky. |
|
7. Rising the dough
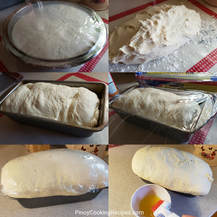
Most dough rise faster in a warm and humid environment. I have a covered non-insulated patio and so during summer time, the temperature in that room is between 80-100 degrees so it's a perfect place for my dough to rise. On a warm day, your counter will probably just do fine. But if your kitchen is cold, your oven is a great place. a) Turn on the oven for about one to two minutes and turn it off. Place dough in the warm oven. b) Place a pot of boiling hot water in a cold oven. Place the dough inside with the hot water. These will only work until you need to preheat the oven to bake. If you have a second oven, you can keep the dough in there longer. There are other tips you can find online as to where are the warmest places in your house like top of fridge, after running a hot shower in the bathroom, after using a clothing dryer, etc. Bakers will always find a way no matter what, just to bake their favorite homemade bread. |
|

Hi, Janette here. I hope that the above tips will give you success in baking breads. Oh, one more thing, practice makes it perfect. So, keep on baking, know your oven, follow the above tips and bake with success! If you would like to try my kitchen tested bread recipes, please click here for a full list of my yummy baked goodies or read more below for great articles. Enjoy! Any comments or suggestions? Please use my comment box provided below :)
|
|
Here are some good reads:


Loading...