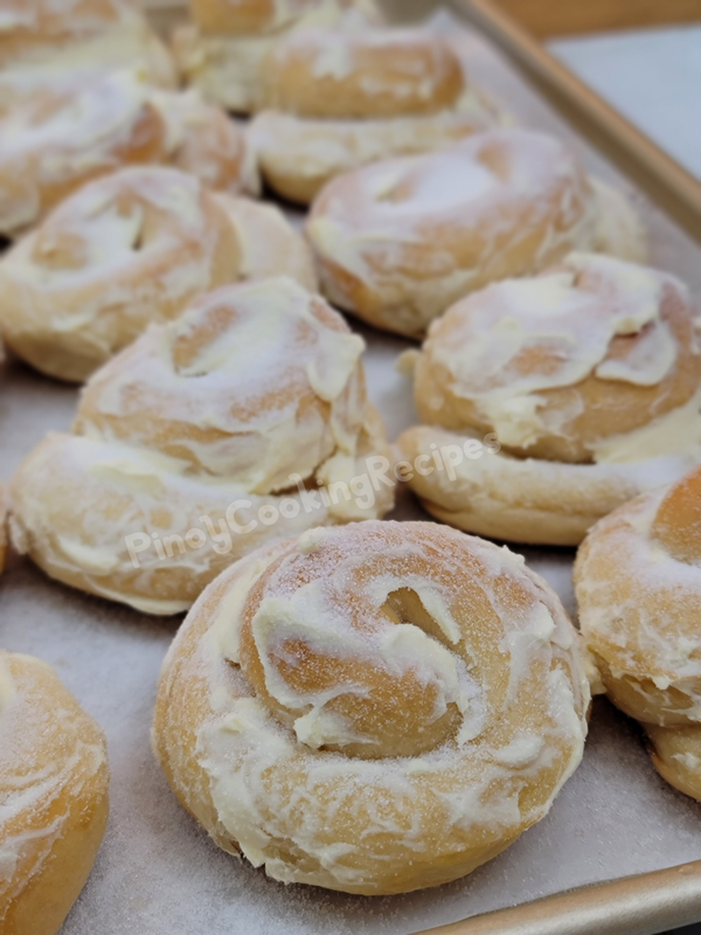
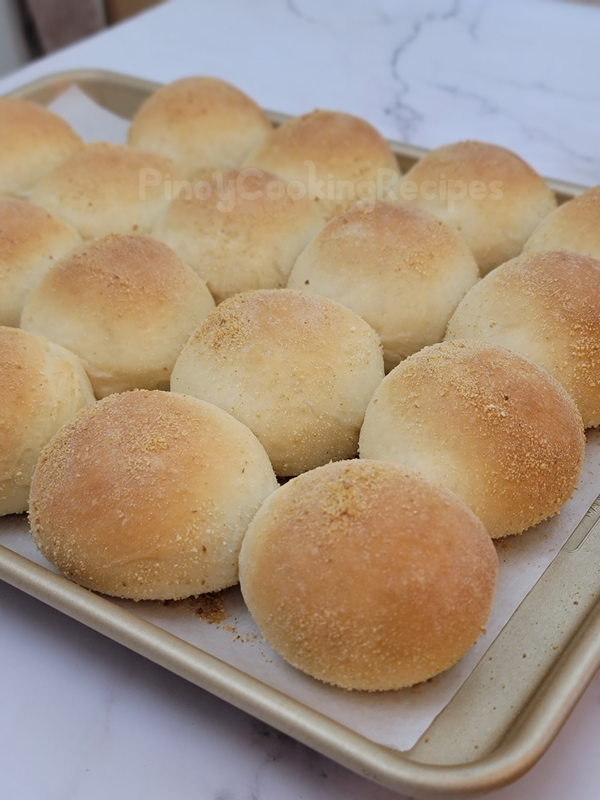
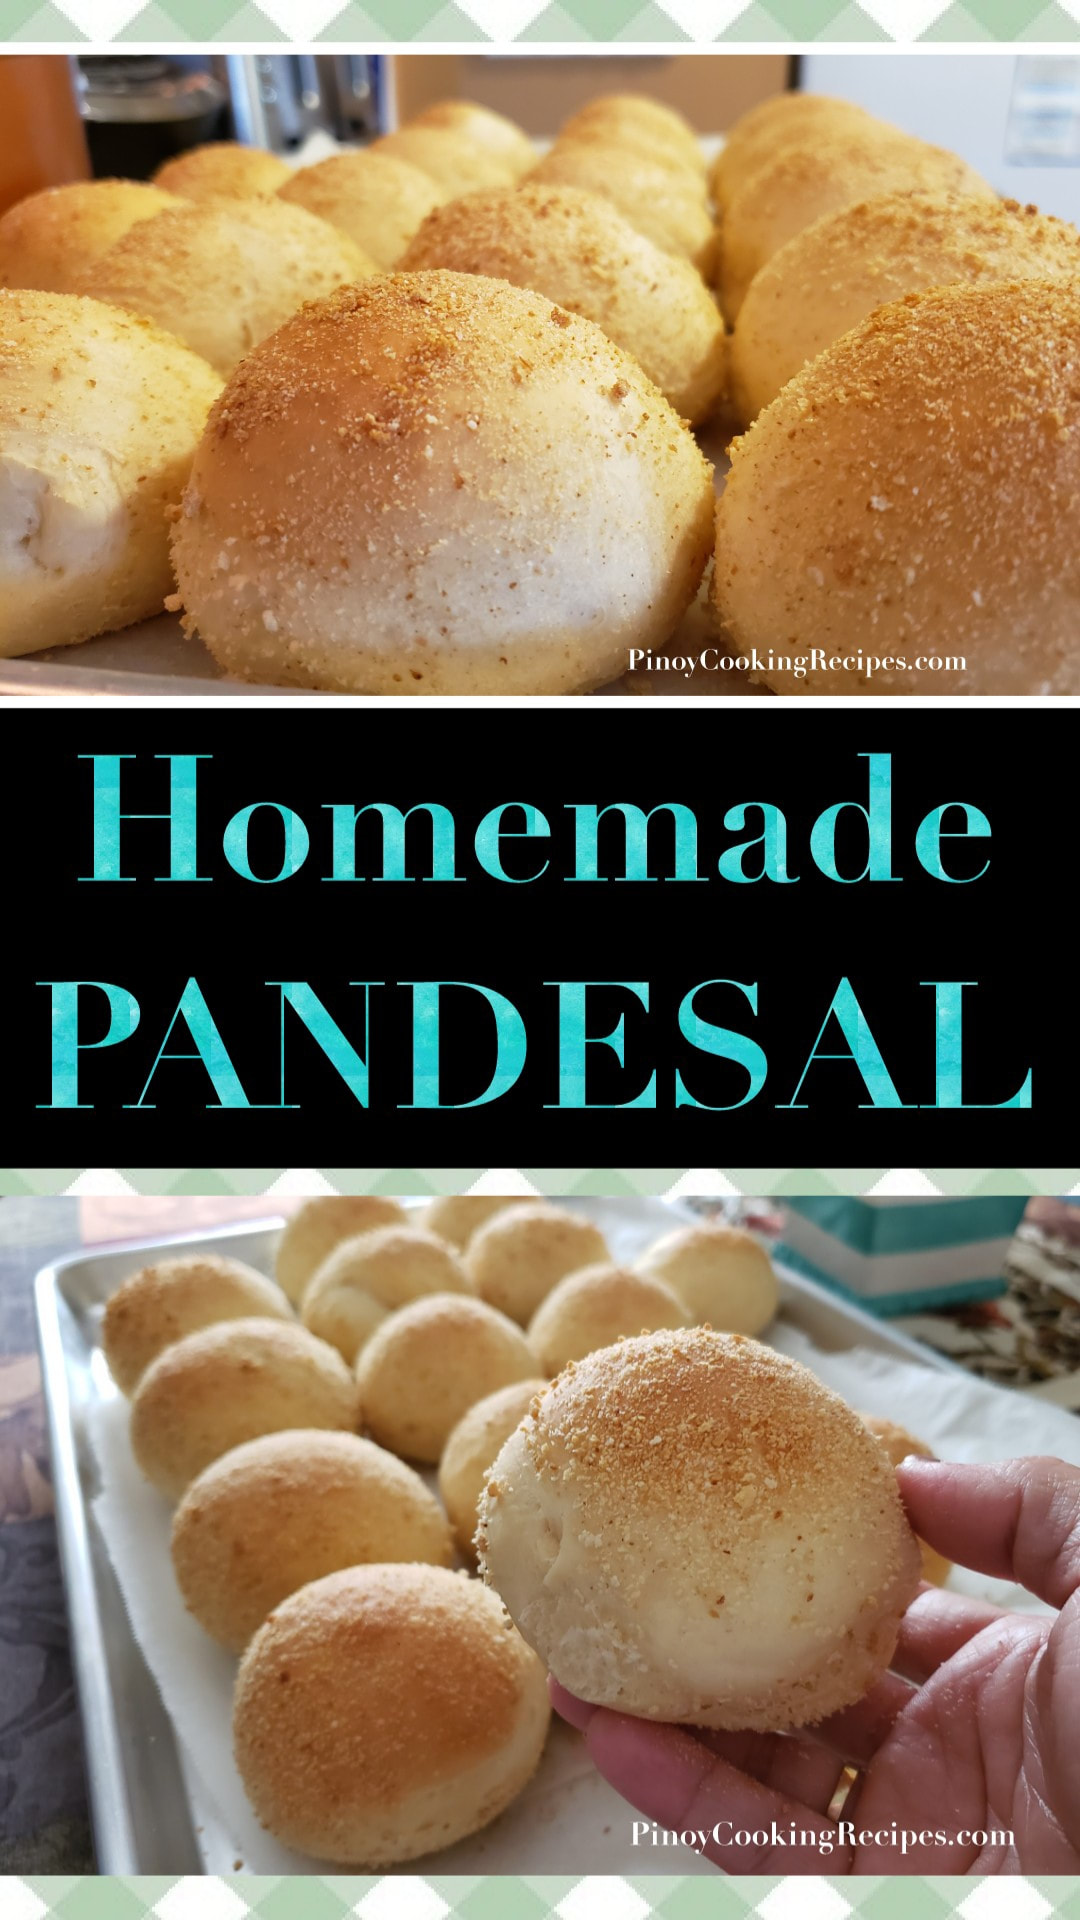
It's been how many years since I created this Pandesal recipe and I cannot count how many times I've actually made this for personal consumption. Many of my followers have tried this as well and all I received were great feedback that it is the best one they have made after trying so many recipes out there. To be honest, the procedure I created to prepare it before has too many steps so I thought of making it much easier for everyone. Same recipe, easier preparation but same great taste!
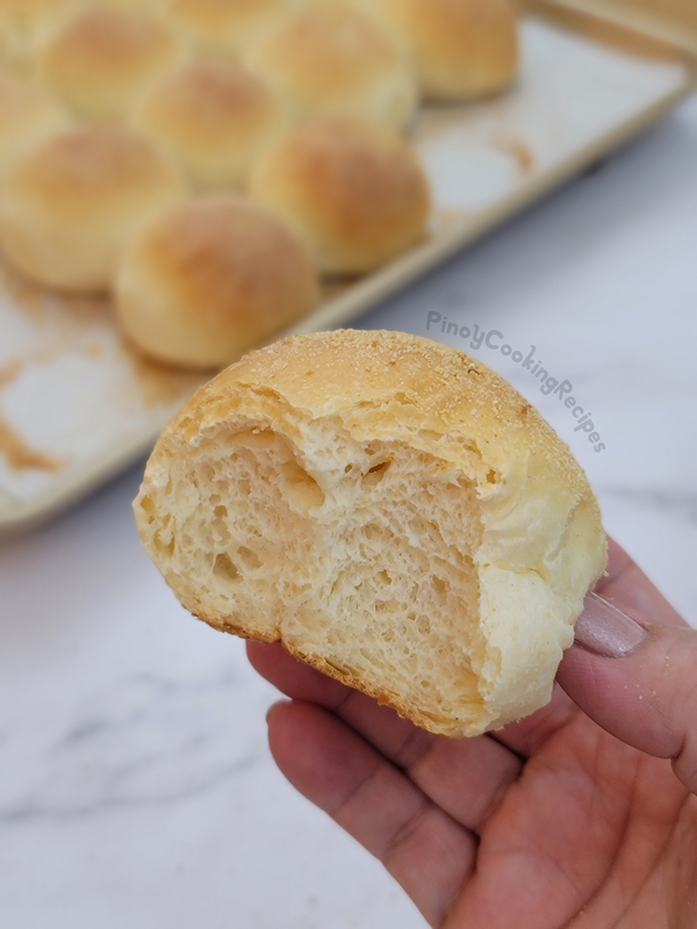
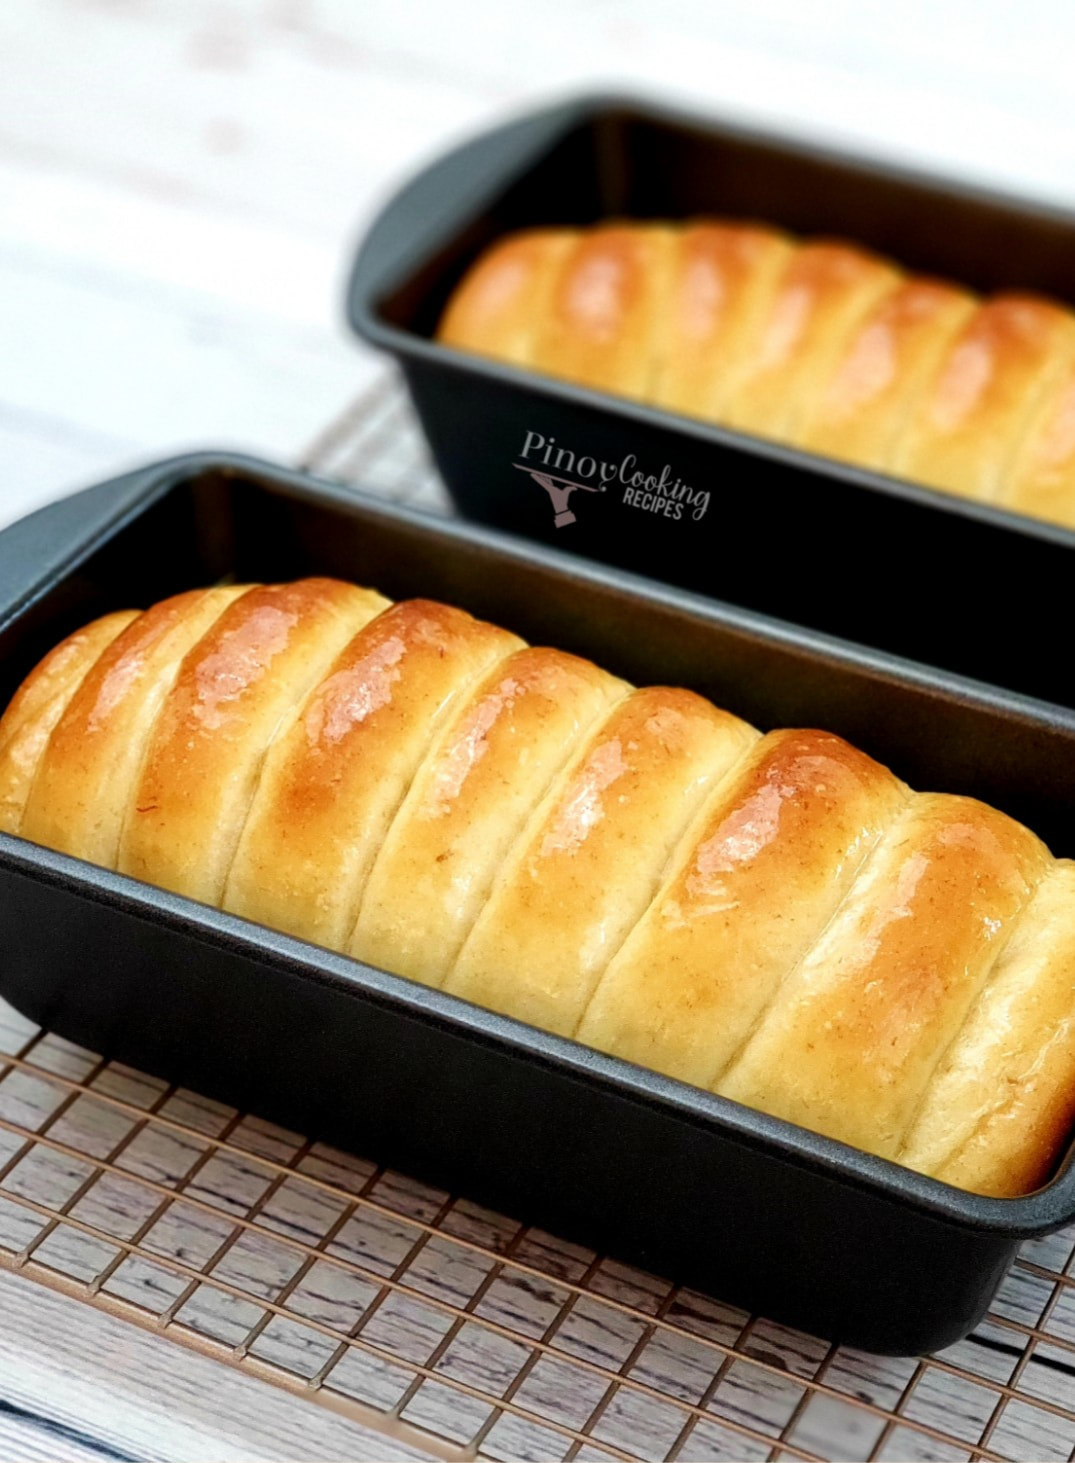
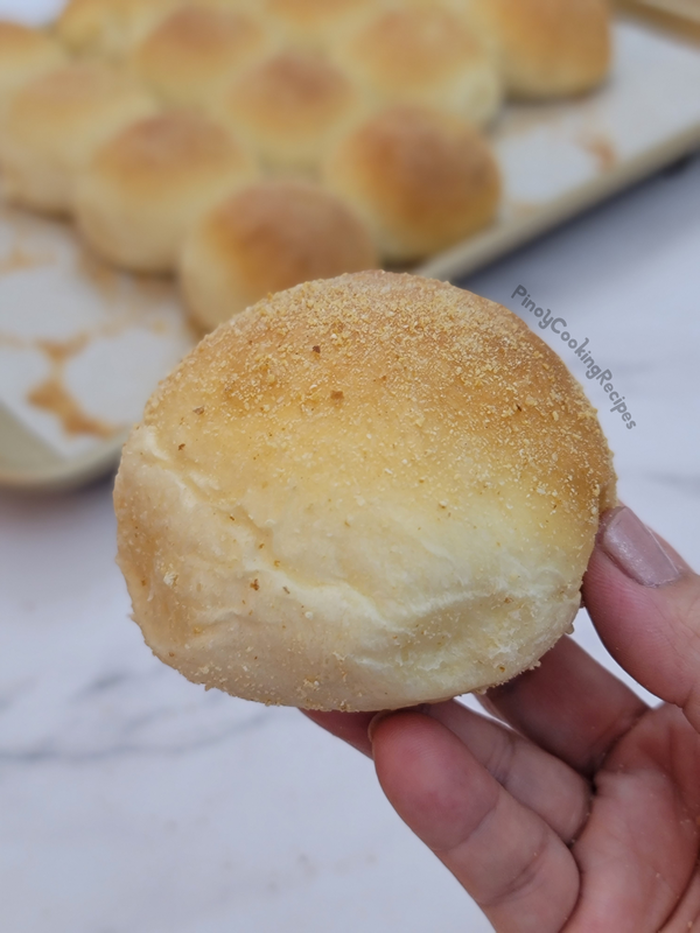
I would say that this Pandesal is very soft and not the traditional Pandesal when it comes to taste. It could be because of the evaporated milk and powdered milk that I added in the recipe so you'll get a very delicious homemade bread. It's more of a sweet and milky Pandesal, I guess. As you can see on the picture above, the inside is full but very soft and airy.

This bread is soft even after 3 days. To reheat you can microwave each piece for about 15 seconds or bake in an oven at 350F for about 5-8 minutes or until warm enough. Try this recipe and let me know what you think by leaving a comment below. Make sure to also read my tips and notes to make this successfully.

pandesal recipe
|
|
Procedure:
|
|
RECIPE TIPS AND NOTES:
- When measuring flour, fluff up the flour in the bag or canister, spoon the flour into the measuring cup then scrape a knife or metal spatula across the top of the measuring cup to lever the flour.
- If using active yeast, combine 1/4 lukewarm water, yeast and 1/2 tbsp sugar. Let bloom for about 5-10 minutes.
- While kneading, I added about 1-2 tbsp flour. Do not add too much flour or else the dough will be too heavy and bread will be hard, dry and crumbly.
- You can rise the dough inside the oven by placing a pan or bowl of water on the bottom rack then place the bowl with dough in the middle rack. Make sure that the oven is turned off, oven's door is shut and water is refilled half-way through.
- Make sure to check before the set time as oven temperature varies. Watch the bread not the time.
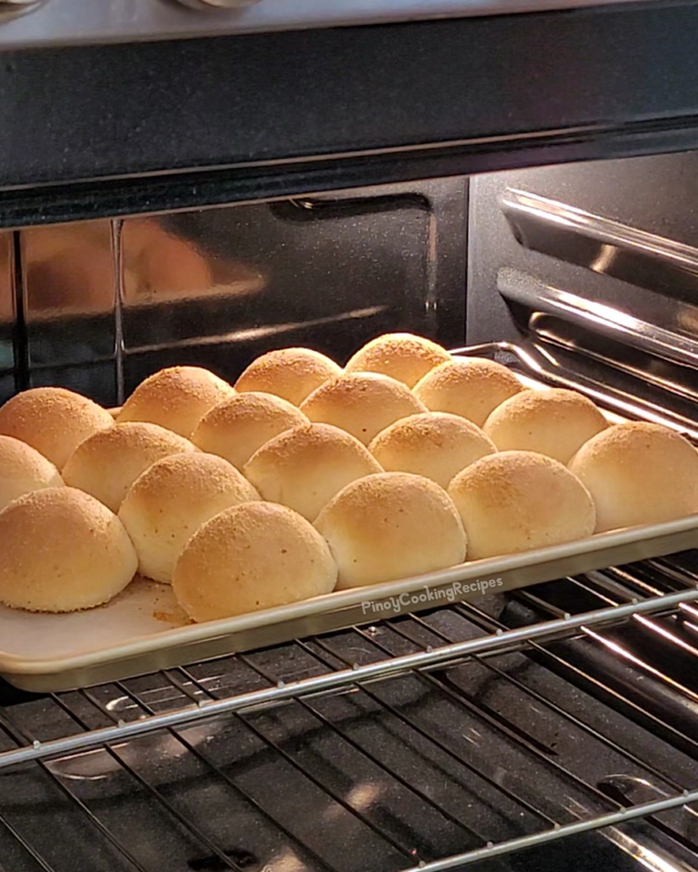
- If you want the top a little bit toasted, bake for 22 minutes otherwise 19 minutes is perfect.
- Recipe yields about 18 pieces Pandesal.
YOU MAY ALSO LIKE:
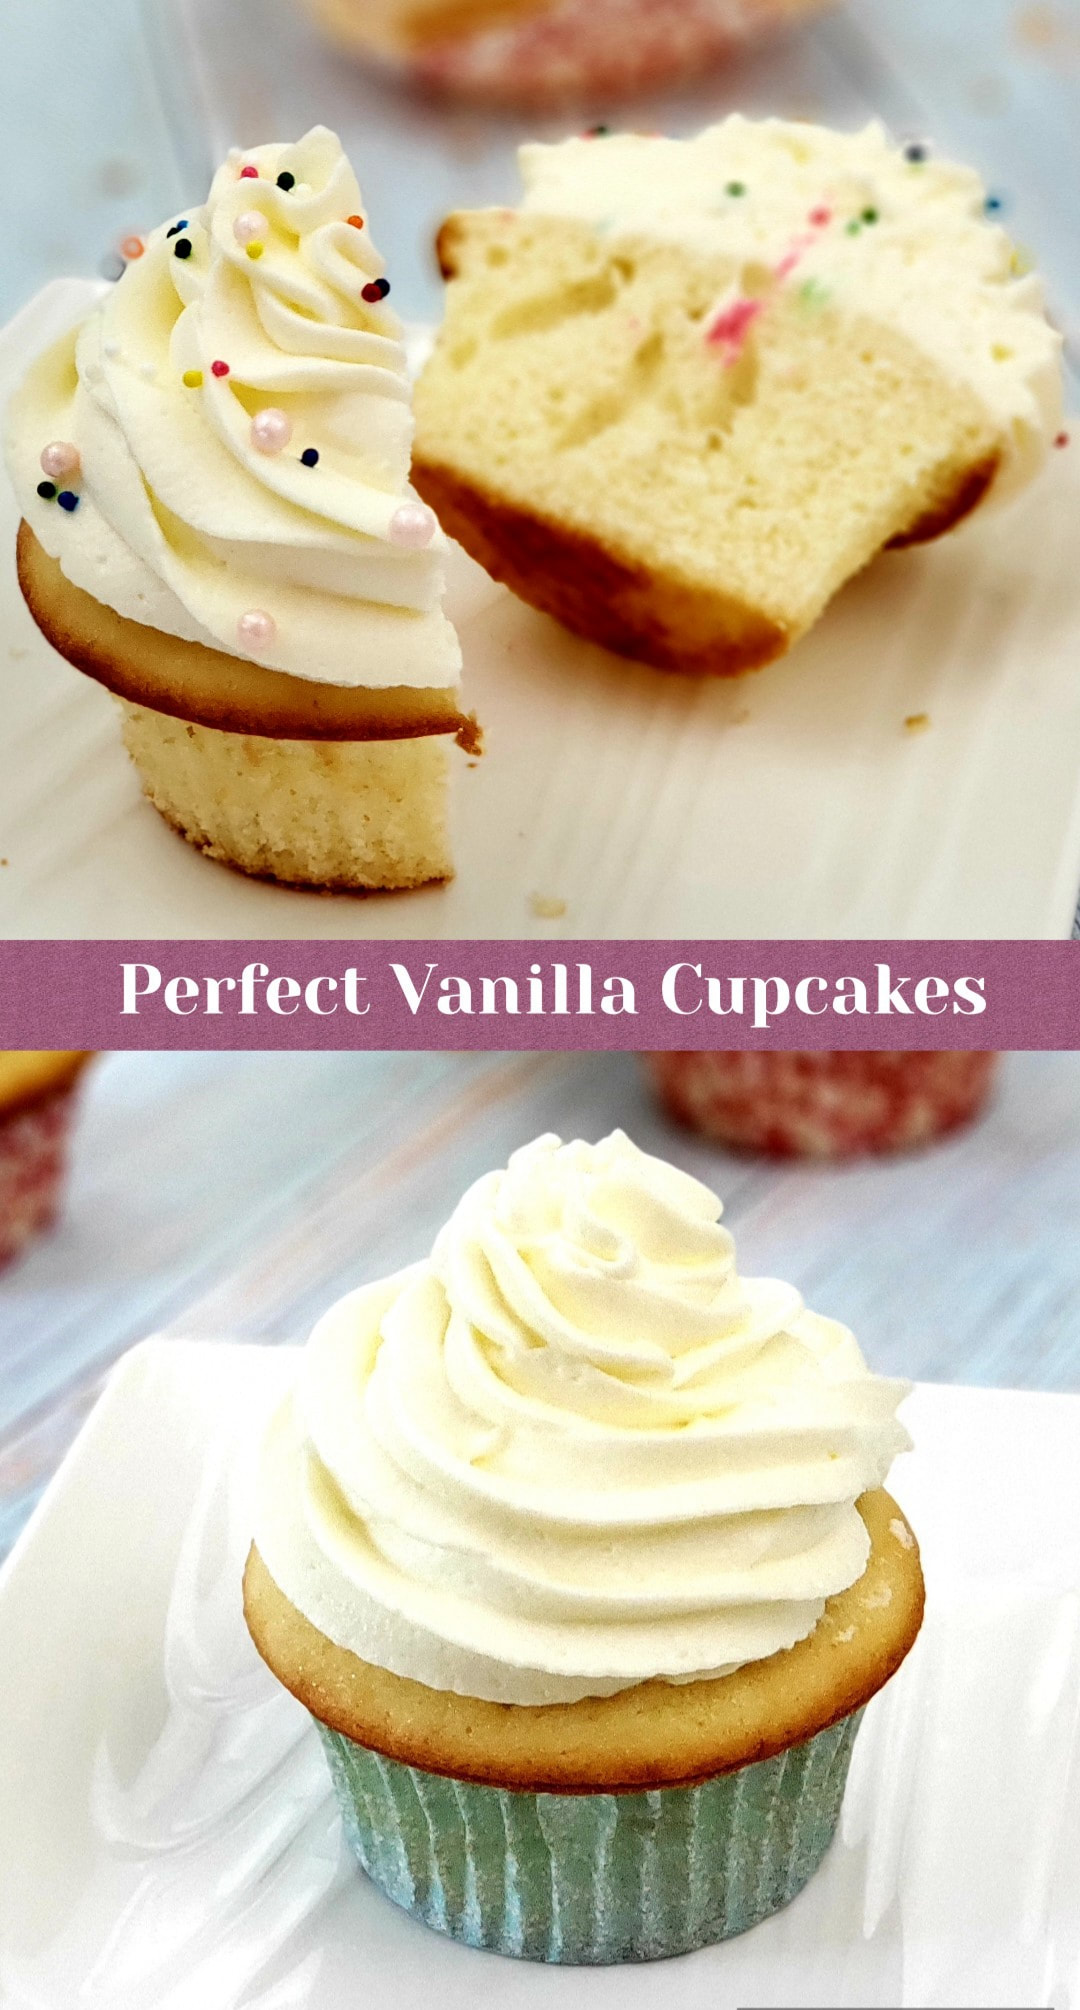
BANANA PULL-APART BREAD
PERFECT PIZZA DOUGH

PRINTABLE RECIPE
thanks for sharing this recipe..I tried it and I really like the outcome..
Hi Ms. Genelyn, thanks! I am glad you liked it. Thanks for dropping a comment here. Take care.
I’m trying this today, I have all ingredients ready but it doesn’t say when to add powdered milk. I just assumed to mix it with dry ingredients. I hope I assumed right.
Hi Ms Connie, you're correct. I apologize for the error. I just added in the procedure step#1. Thanks!
Hi Ms. Janette,
I've tried to make this today and I used active yeast as that's what I have at home. Unfortunately, my dough became too sticky. I'm a first-time baker so I only found out that I put in too much water. I added water to activate the yeast plus added water again when mixing everything (total = 1/2 cup).
I hope I can help others who plan to make this recipe with active yeast. Guys, only use the activated yeast that already has 1/4 cup water to avoid my sticky mess!
Hi Clare,
Just a fellow baker. That's such a good point you make. I do hope you'll give this recipe another try, though. The results really are quite wonderful. We had a small family gathering yesterday and these pandesal were quite a hit. Mildly sweet, light, and fluffy. Just wonderful.
Hi, no need to add more water to it.
Great recipe! Easy to follow, easy to make, wonderful results! Turned out soft and airy with a hint of sweetness and lovely crunch on top. (I used panko that I crushed into smaller bits since that's what I had in the pantry.) I ended up with 19 little pandesal (more to share!) :-) (I live in a very humid area and went with 3/4 c water instead of just starting with the 2/3 suggested, so I probably added about 3-4 Tbsp extra flour... What was I thinking!? **face palm**)
Thanks for the great instructions and helpful video. I will definitely be adding your recipe to my repertoire!
Thanks! I am so happy that it came out successfully. :)
Hi there, is it ok to use bread flour instead of AP? Do I need to adjust the measurements?
Thankyou for sharing your recipe with us 💗 it looks so wonderful and I love the way that you have written it to make it sound sooo easy and simple to make 💕
I am English & and my boyfriend is a Filipino and I love pandesal sooo much. I have been scared to make pandesal but I am going to give your recipe a try today. Thankyou again for sharing and wish me luck lol x
Delish! Soft, fluffy, a little sweet. Just right! Thank you for sharing.
Thanks for this recipe po, first time making breads and masarap naman po sha, I used buttermilk powder nga lang instead of powdered milk since may surplus ako ng buttermilk powder haha. Yun nga lang, kinulang ata sa kneading, will try to do better next time.
Leave a Reply.

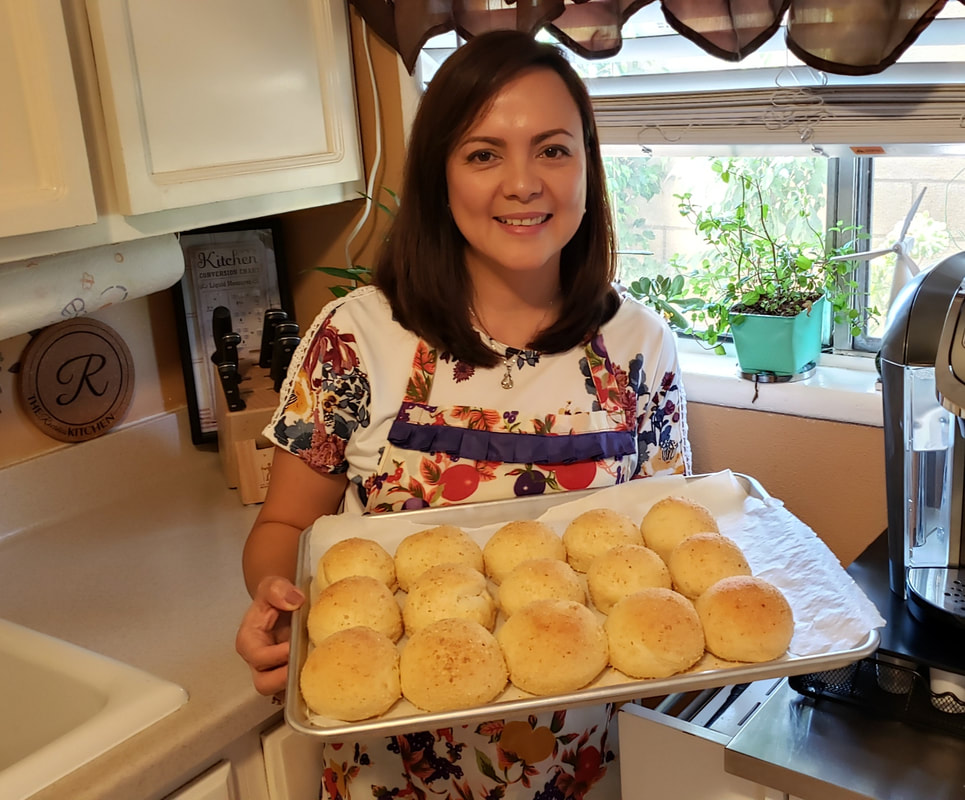
Author
Hi! Janette here. Welcome to my blog PinoyCookingRecipes where you can find true and kitchen tested recipes. To read more about me, click here.
follow ME:
recipe search:
This website contains affiliate links. If you make a purchase through these links, as an Amazon Associate, I will earn a small amount from qualifying purchases at no cost to you.
 RSS Feed
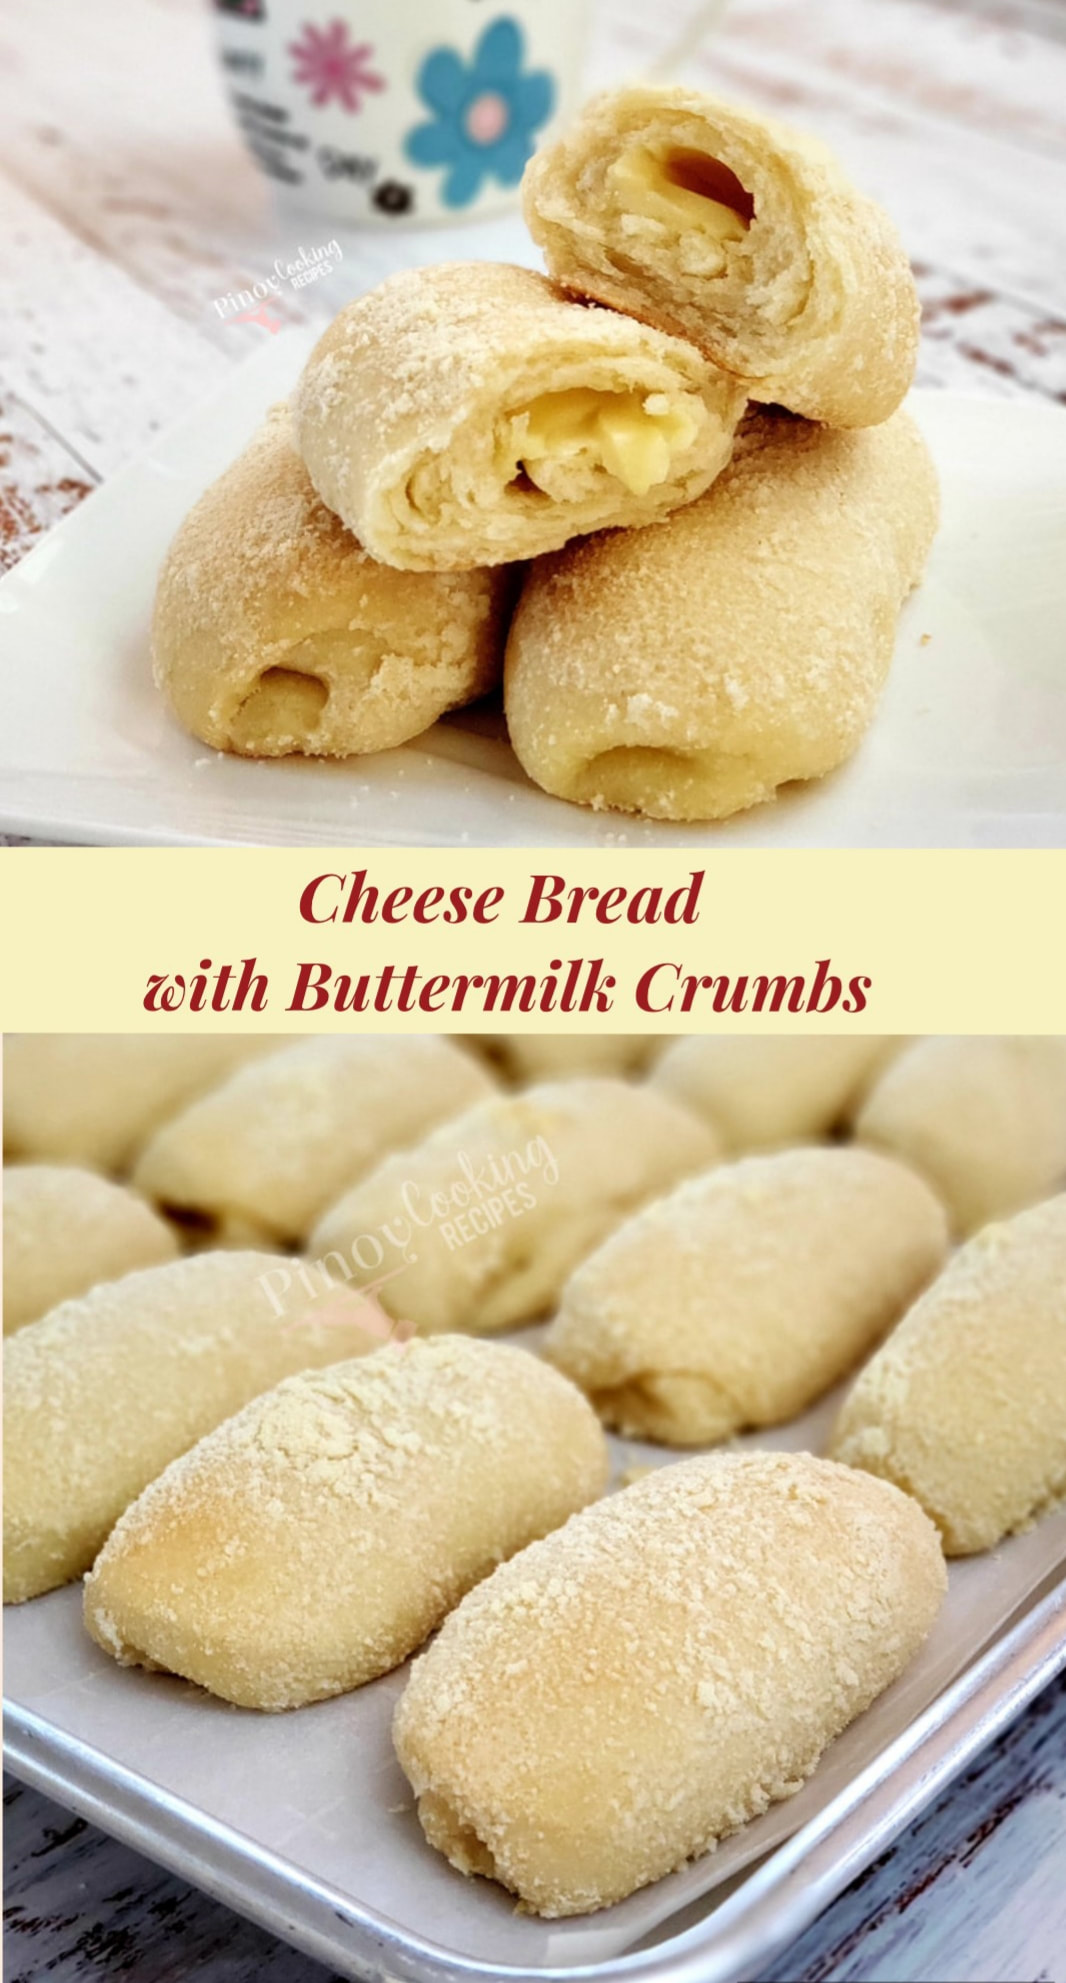
FEATURED RECIPES
BILO-BILO
UBE ENSAYMADA
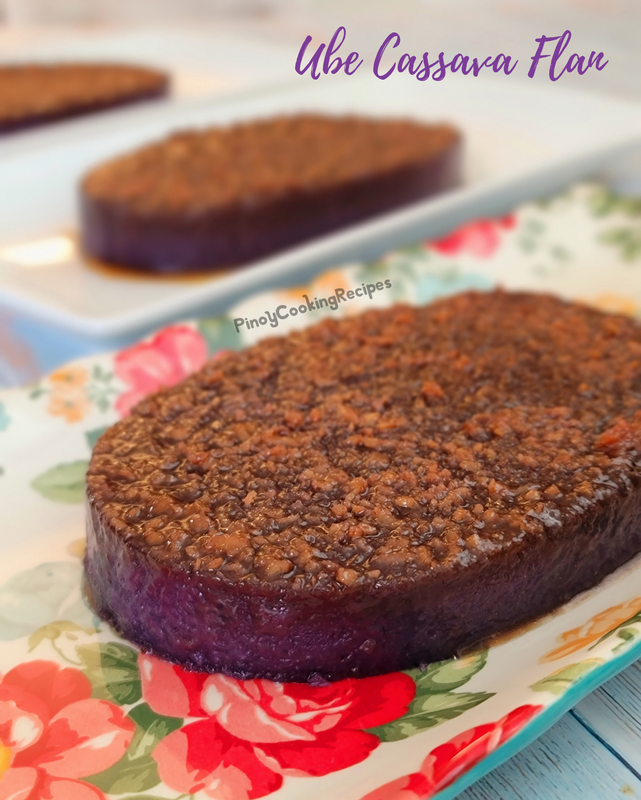
UBE CASSAVA FLAN
Custard Cake
NATIVE KUTSINTA
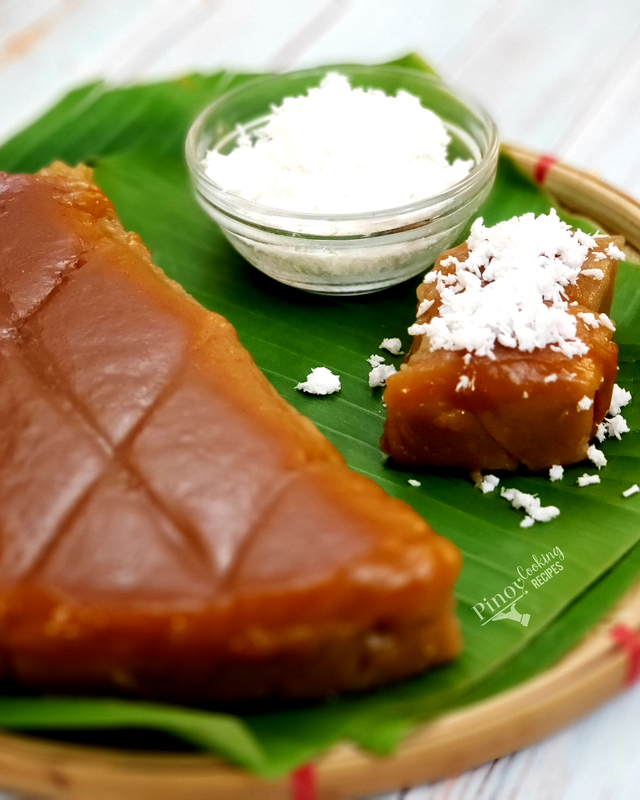
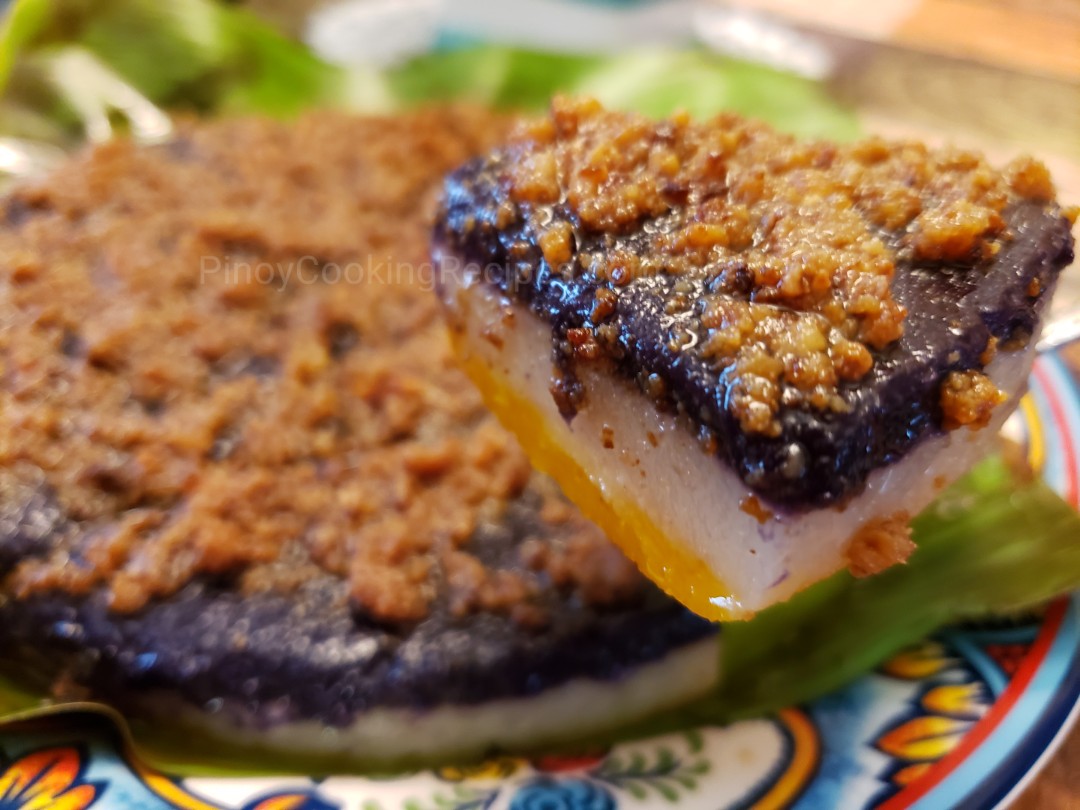
Sapin-Sapin
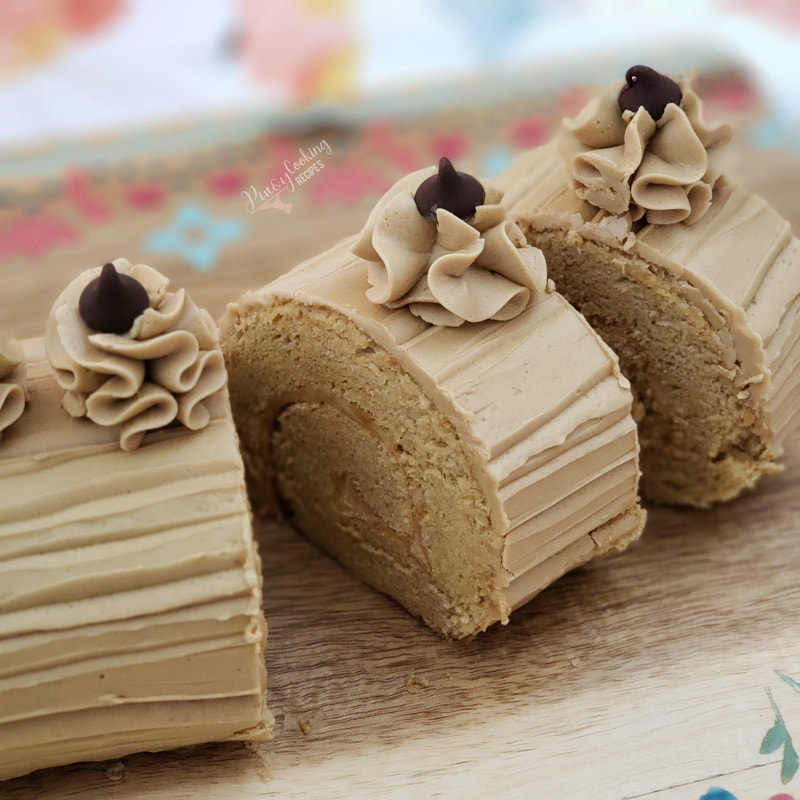
Mocha Roll
recent posts
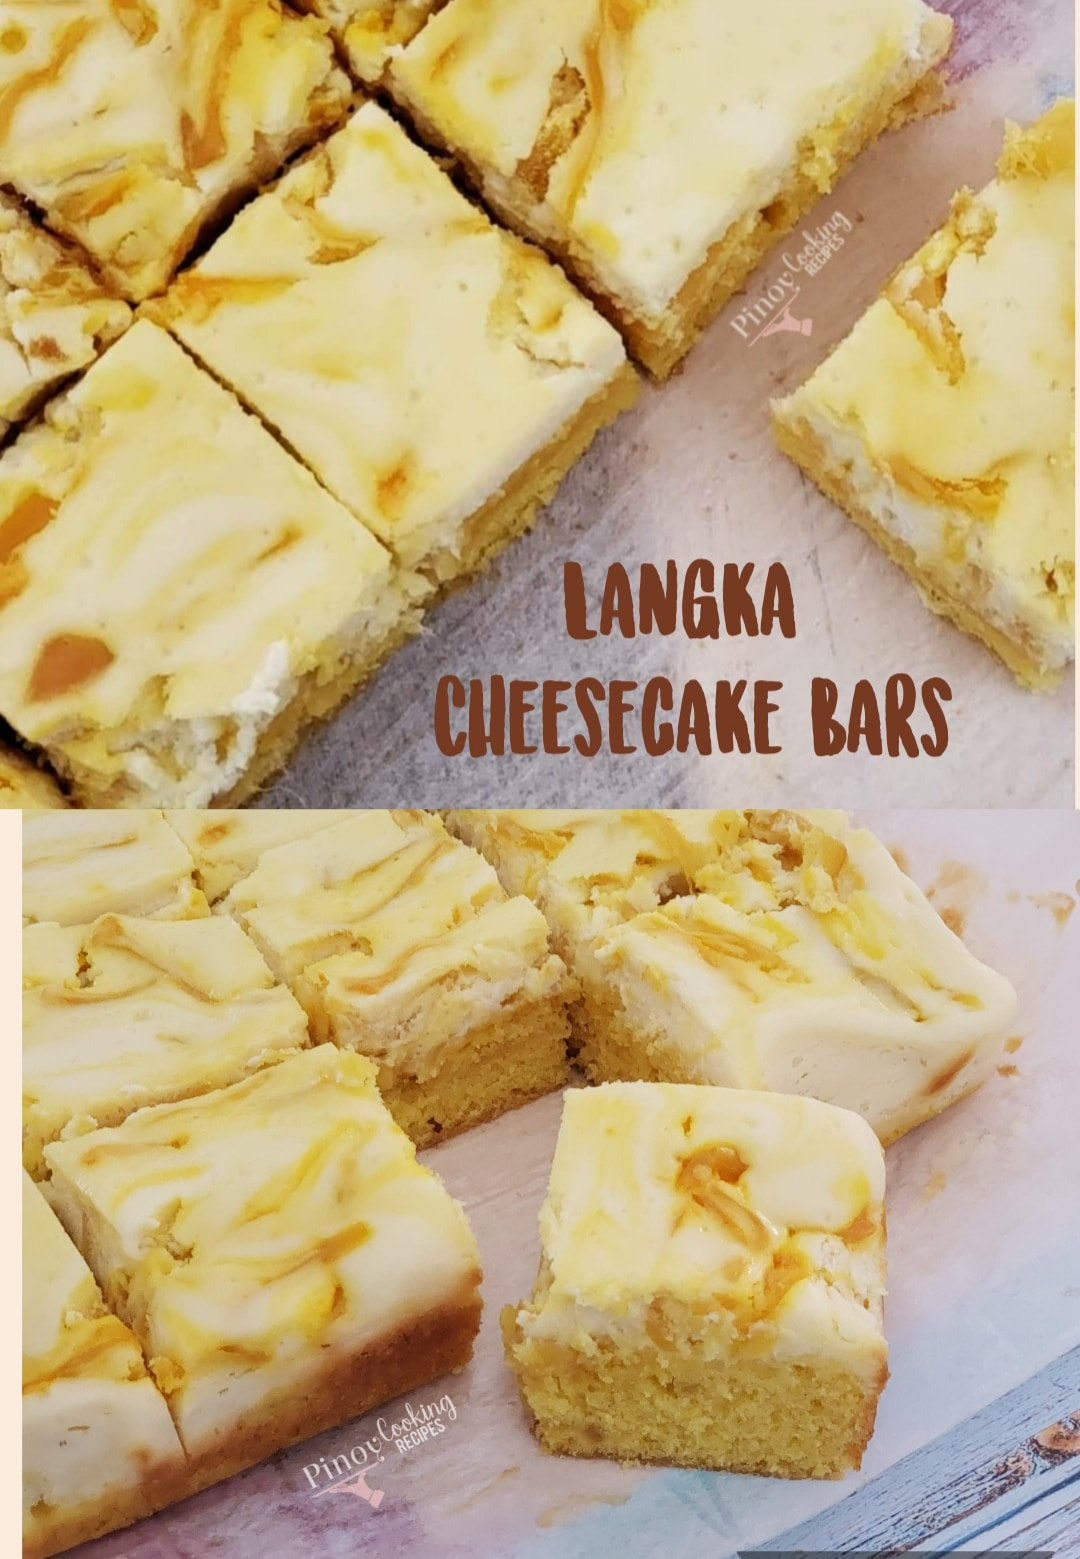
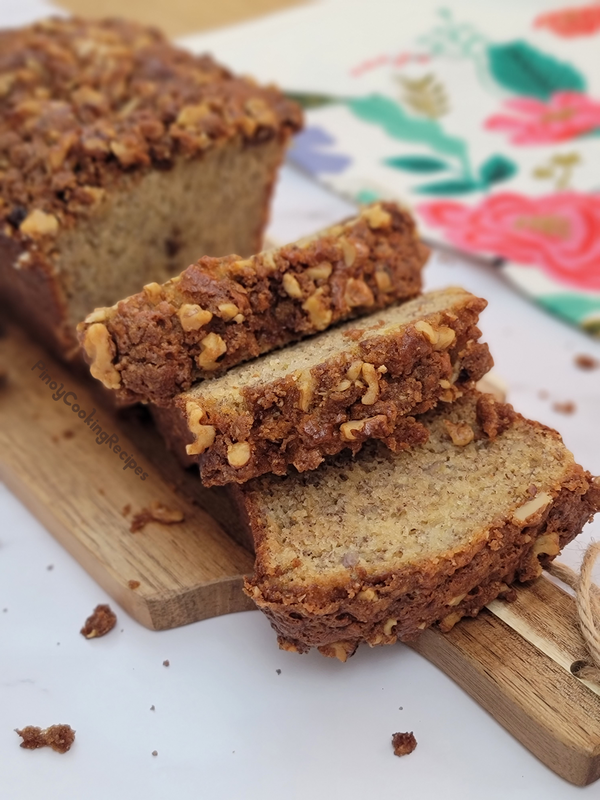
Banana Loaf Bread
TRADTITIONAL ENSAYMADA
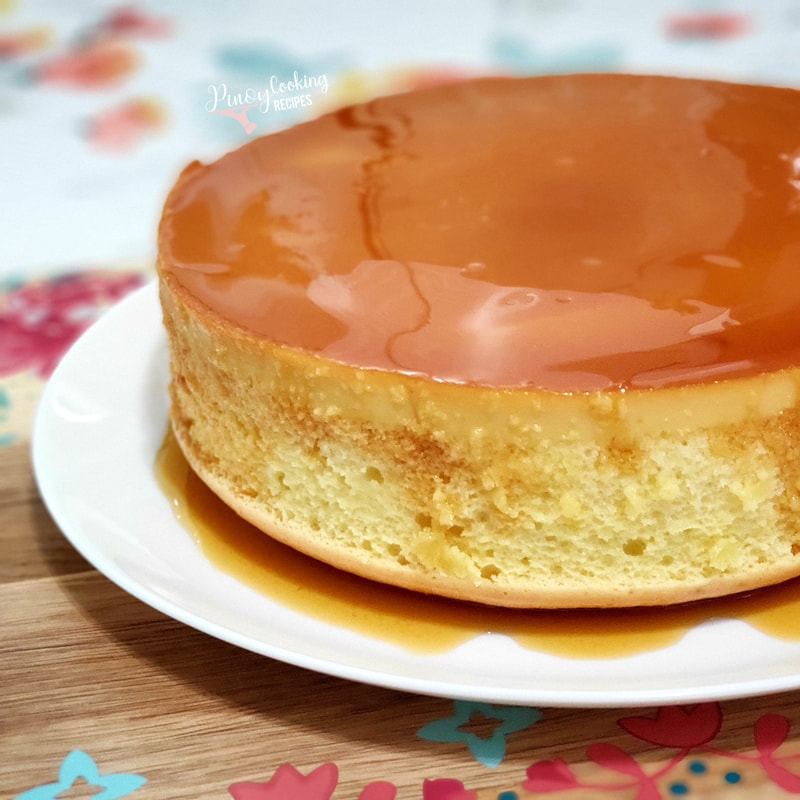
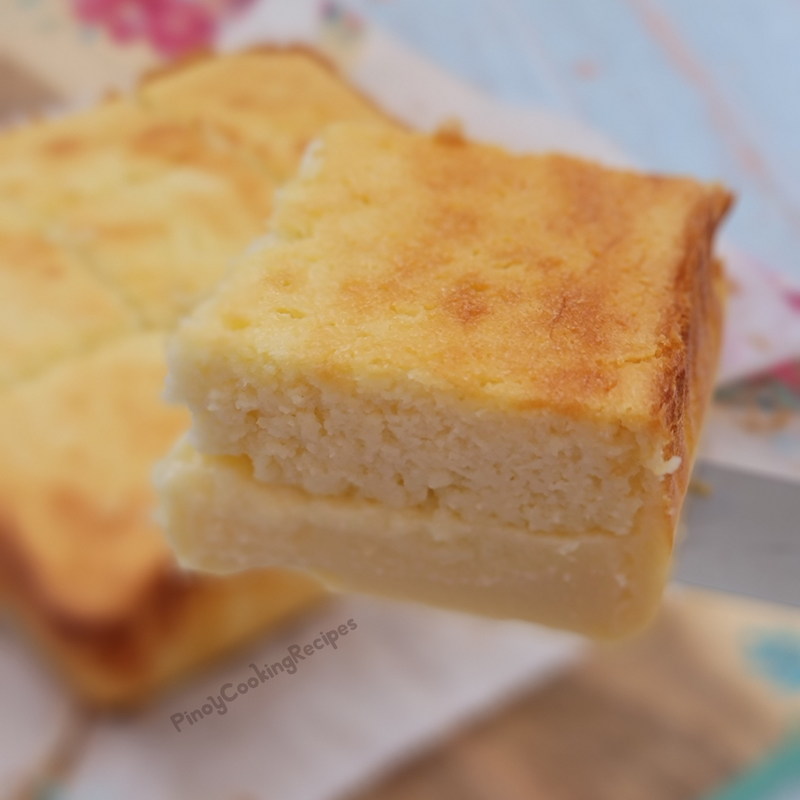
MAGIC CUSTARD CAKE
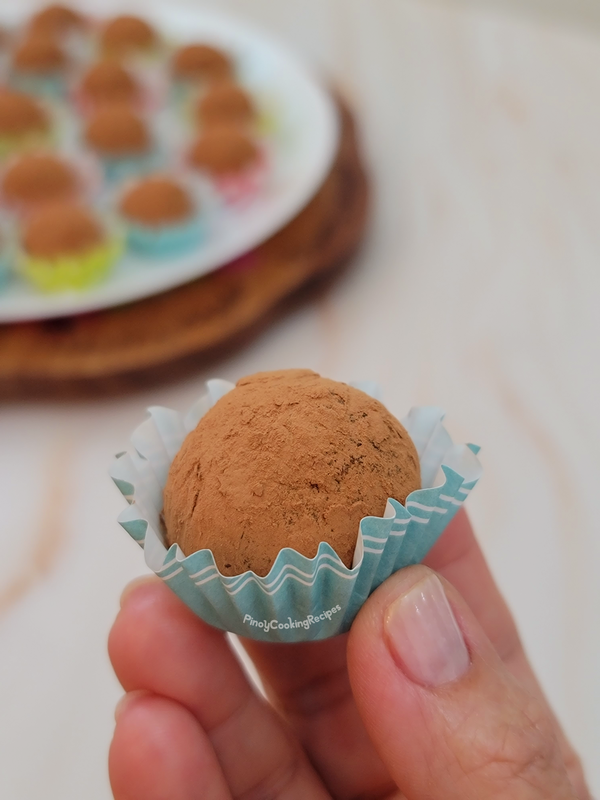
TIRAMISU TRUFFLES
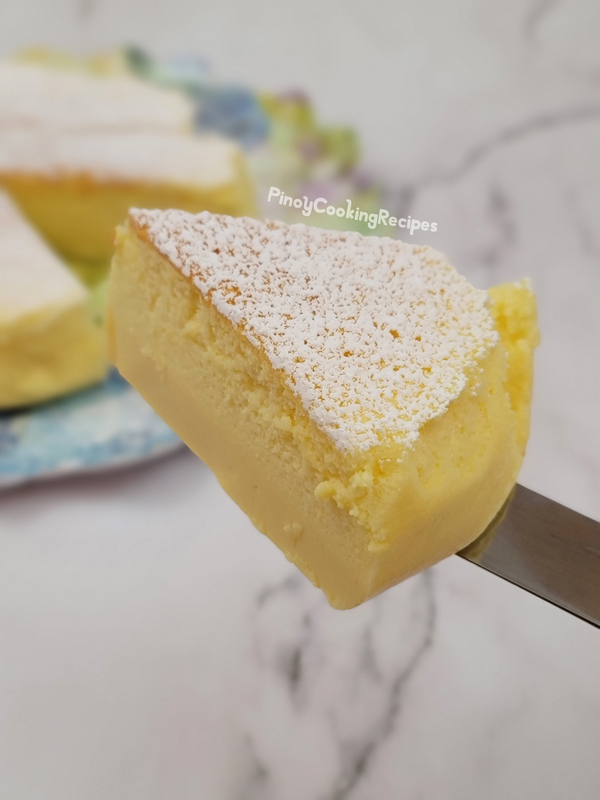
3-INGREDIENTS CHEESECAKE
PANDESAL

MY SOFT, FLUFFY AND DELICIOUS PANDESAL
SIOPAO

Pineapple Upside-Down cake