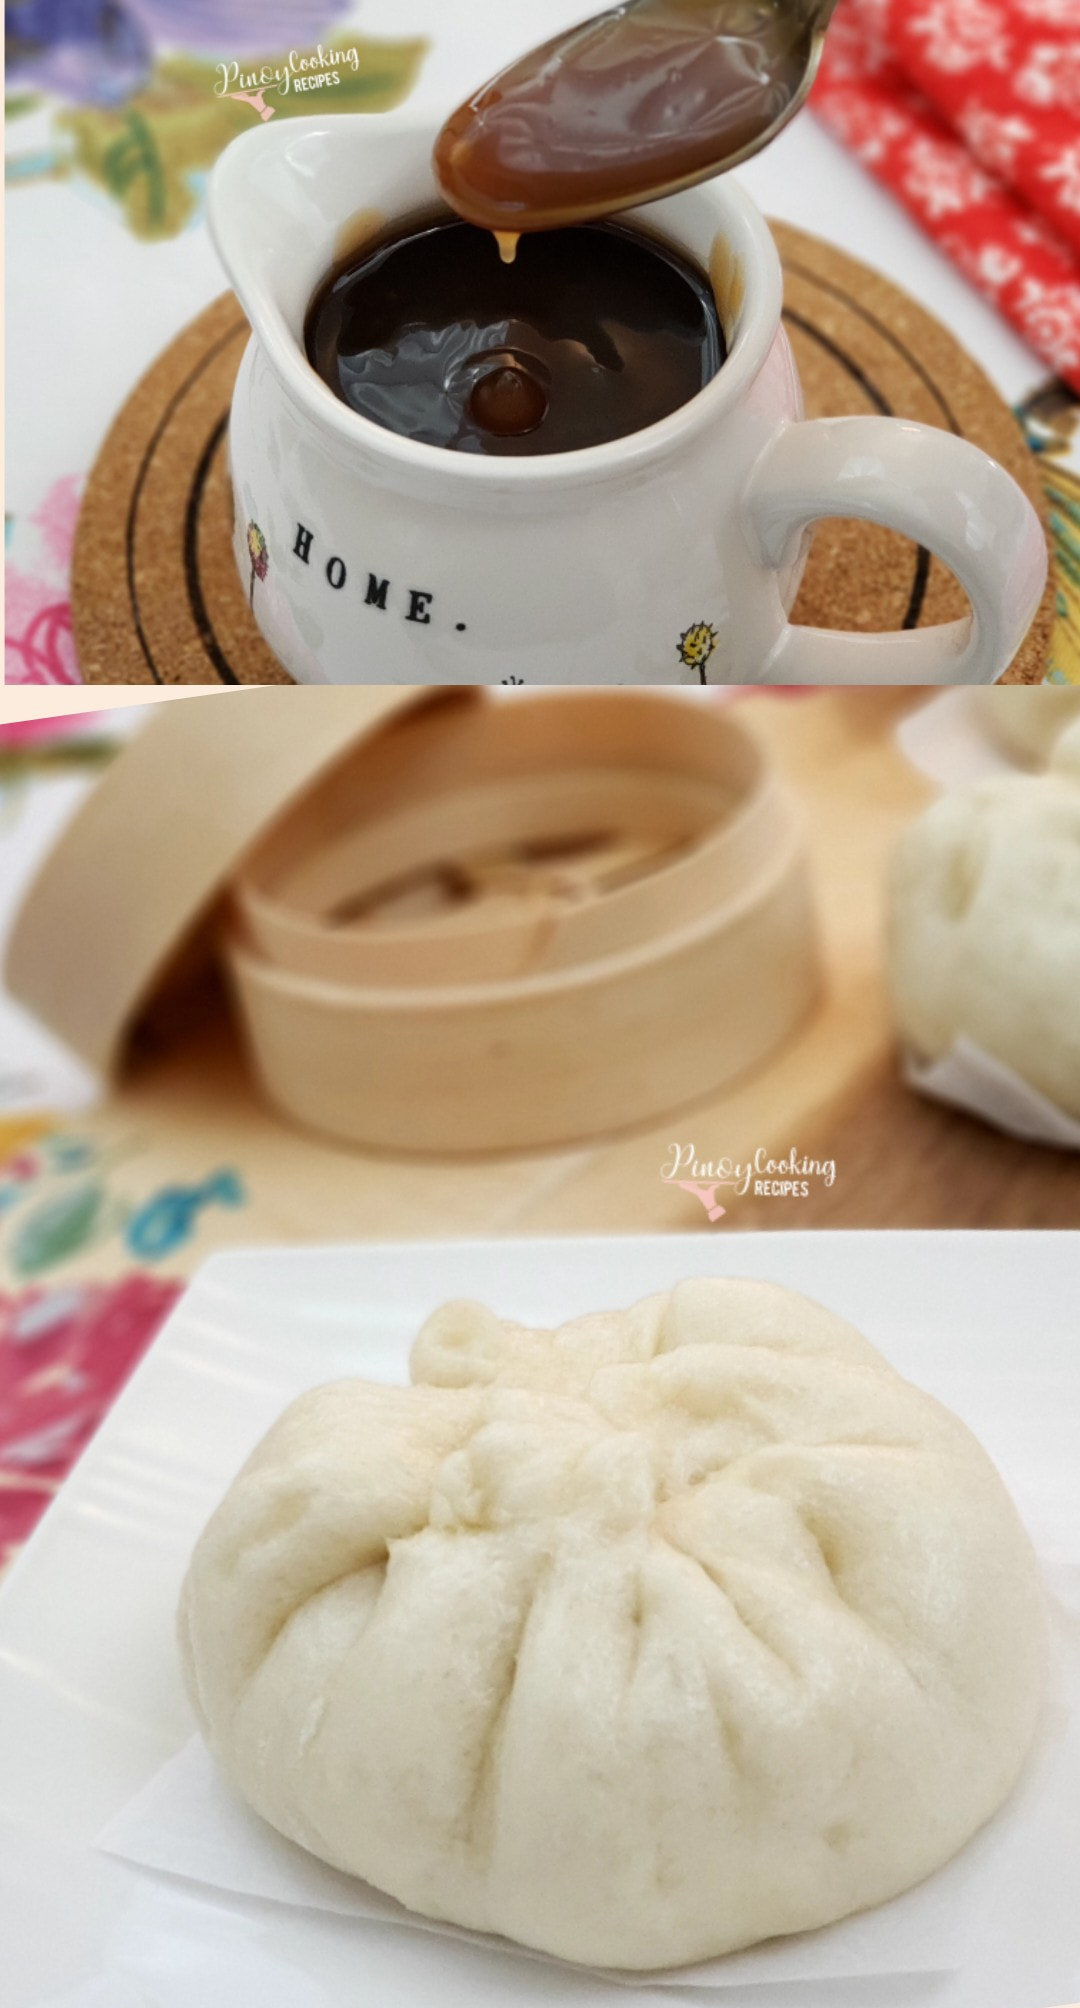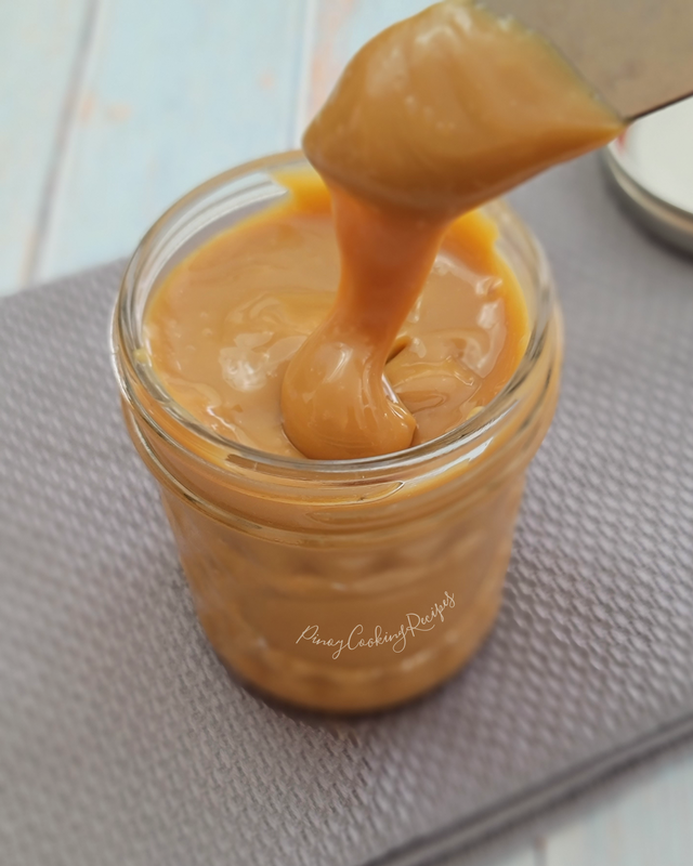
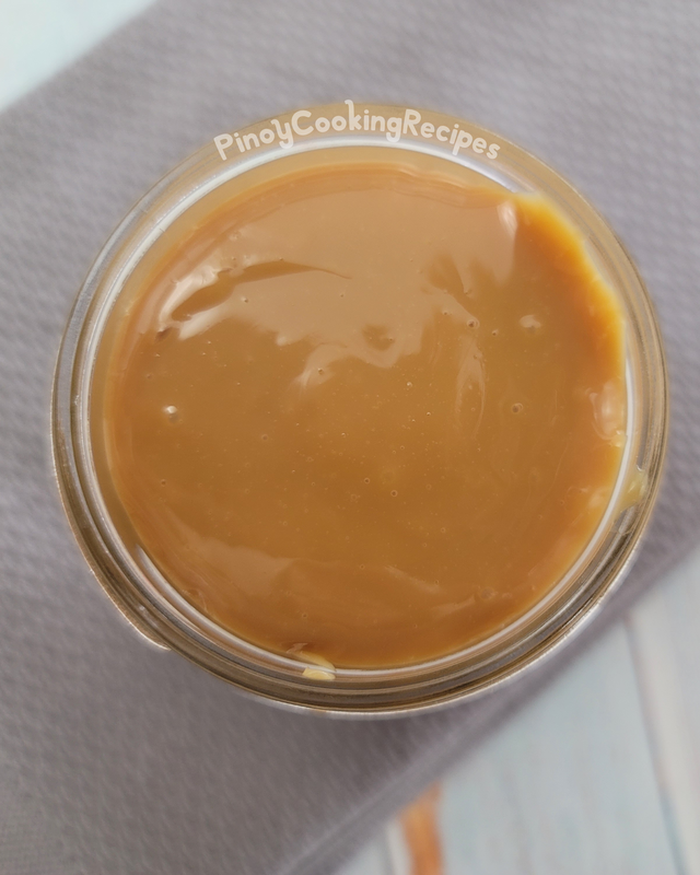
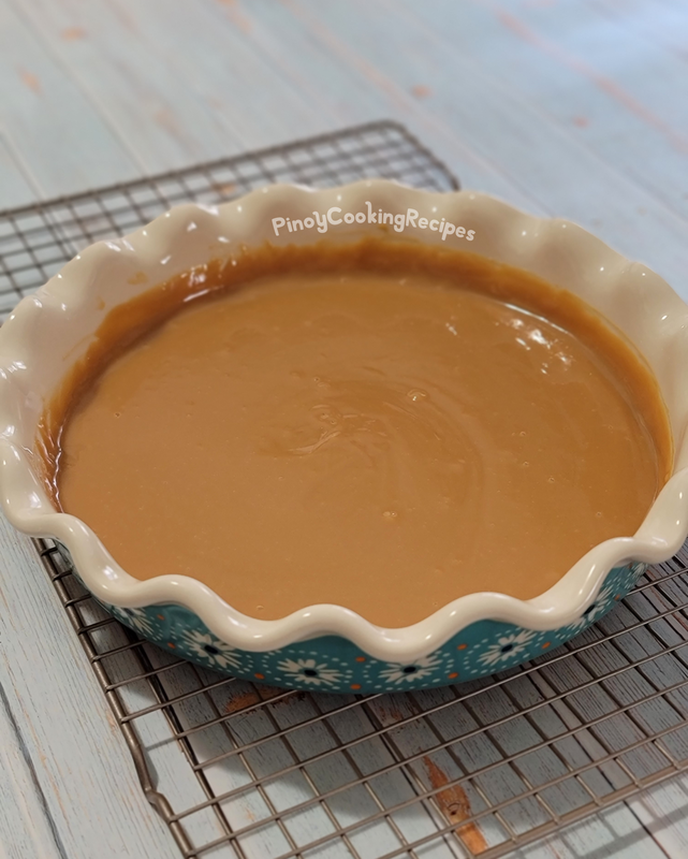
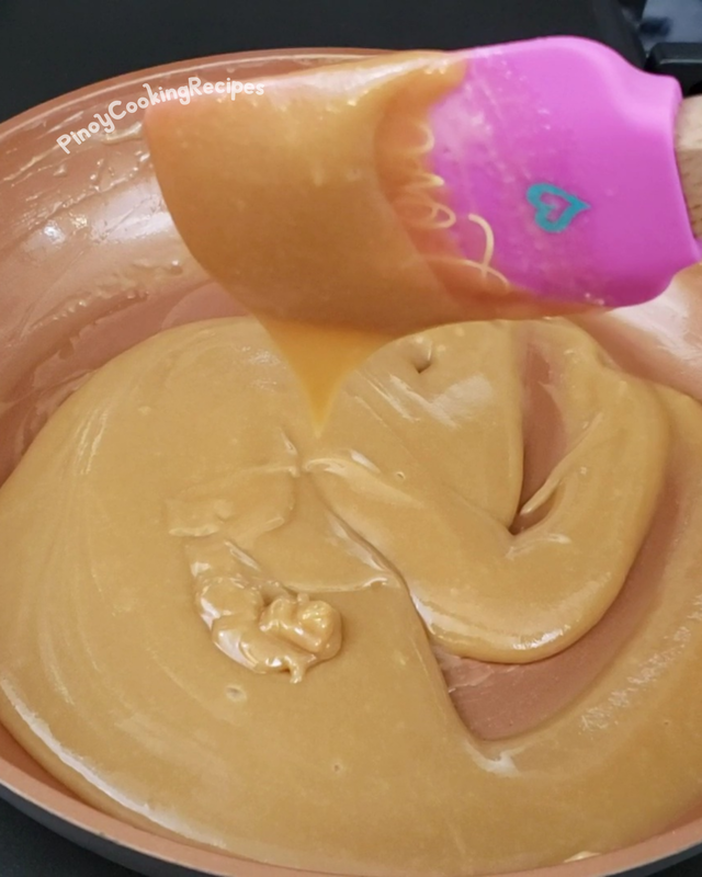
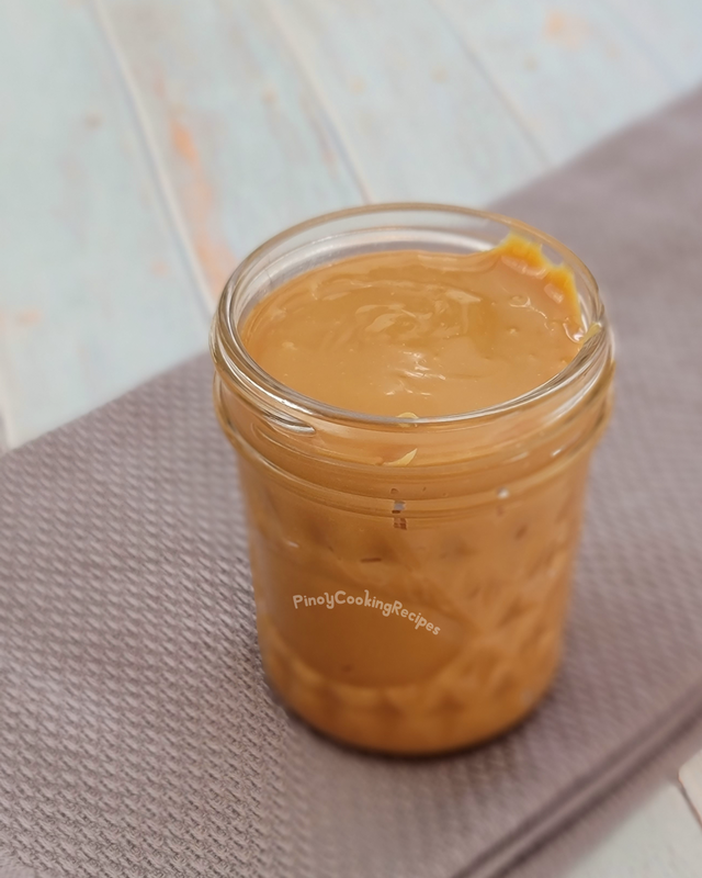
The above photo is making it from scratch using a stove top. It is a simple combination of fresh whole milk and sugar, simmered until thick and color turns like caramel. You can also add vanilla for flavor if desired. Once it cools, the sauce thickens more. It probably took about 45 minutes until I achieved the thickness and color. It's simple, easy and safe as well. Use immediately as a spread or cake frosting and many more. They can be stored in an airtight container and refrigerate until ready to use. Before using you can heat it up in a double boiler or microwave for few seconds to make it spreadable. Once opened, it can last refrigerated up to 1 week.
If you'll ask me, I prefer the oven method. It is easy, no stirring required during baking, simple and very safe. Next time I will share what recipes to make using this delicious homemade Caramel Sauce. Give it a try and let me know what you think by leaving a comment below. Enjoy!
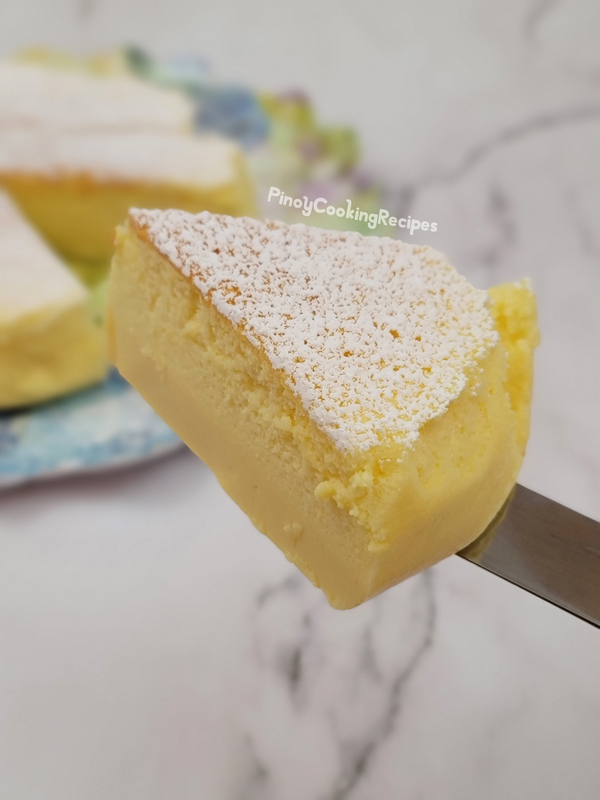
DULCE DE LECHE RECIPE
Bake Method:
VIDEO TUTORIAL
RECIPE NOTES:
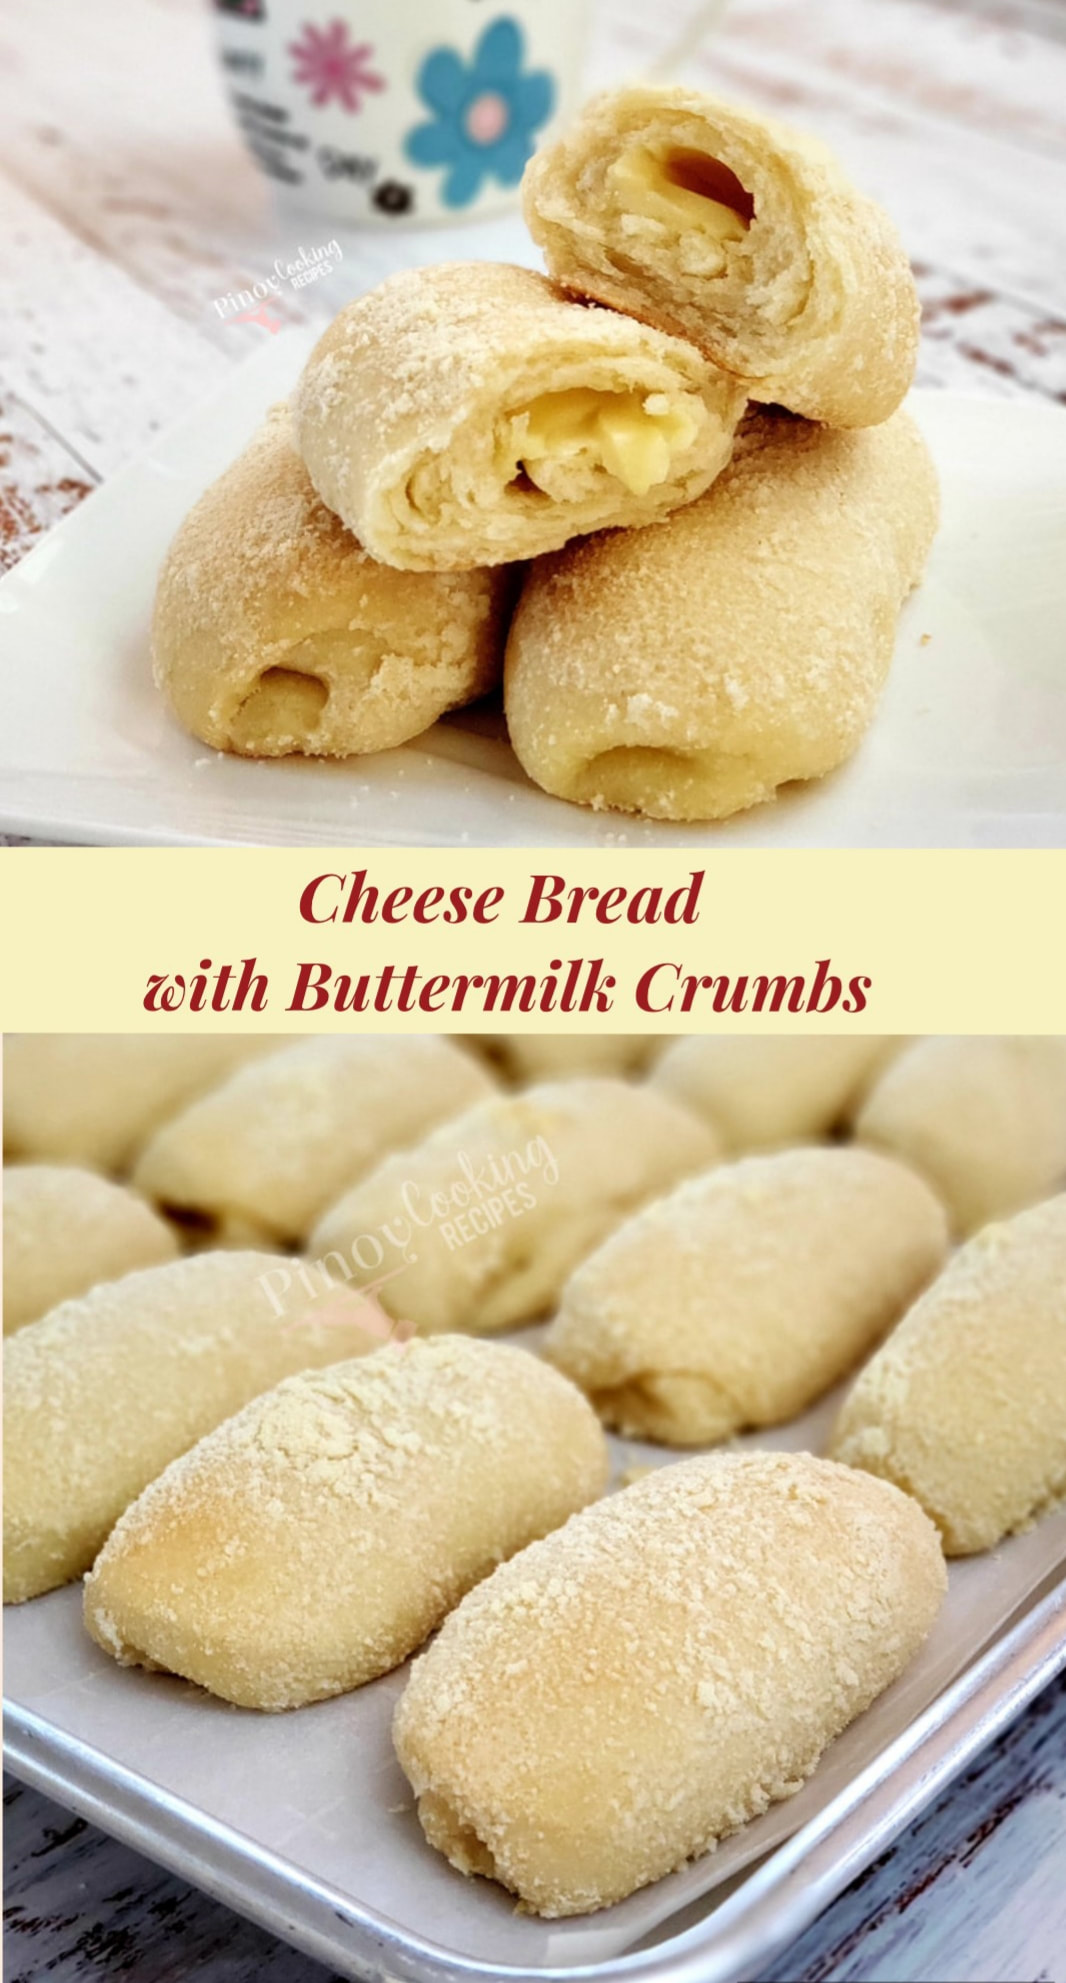
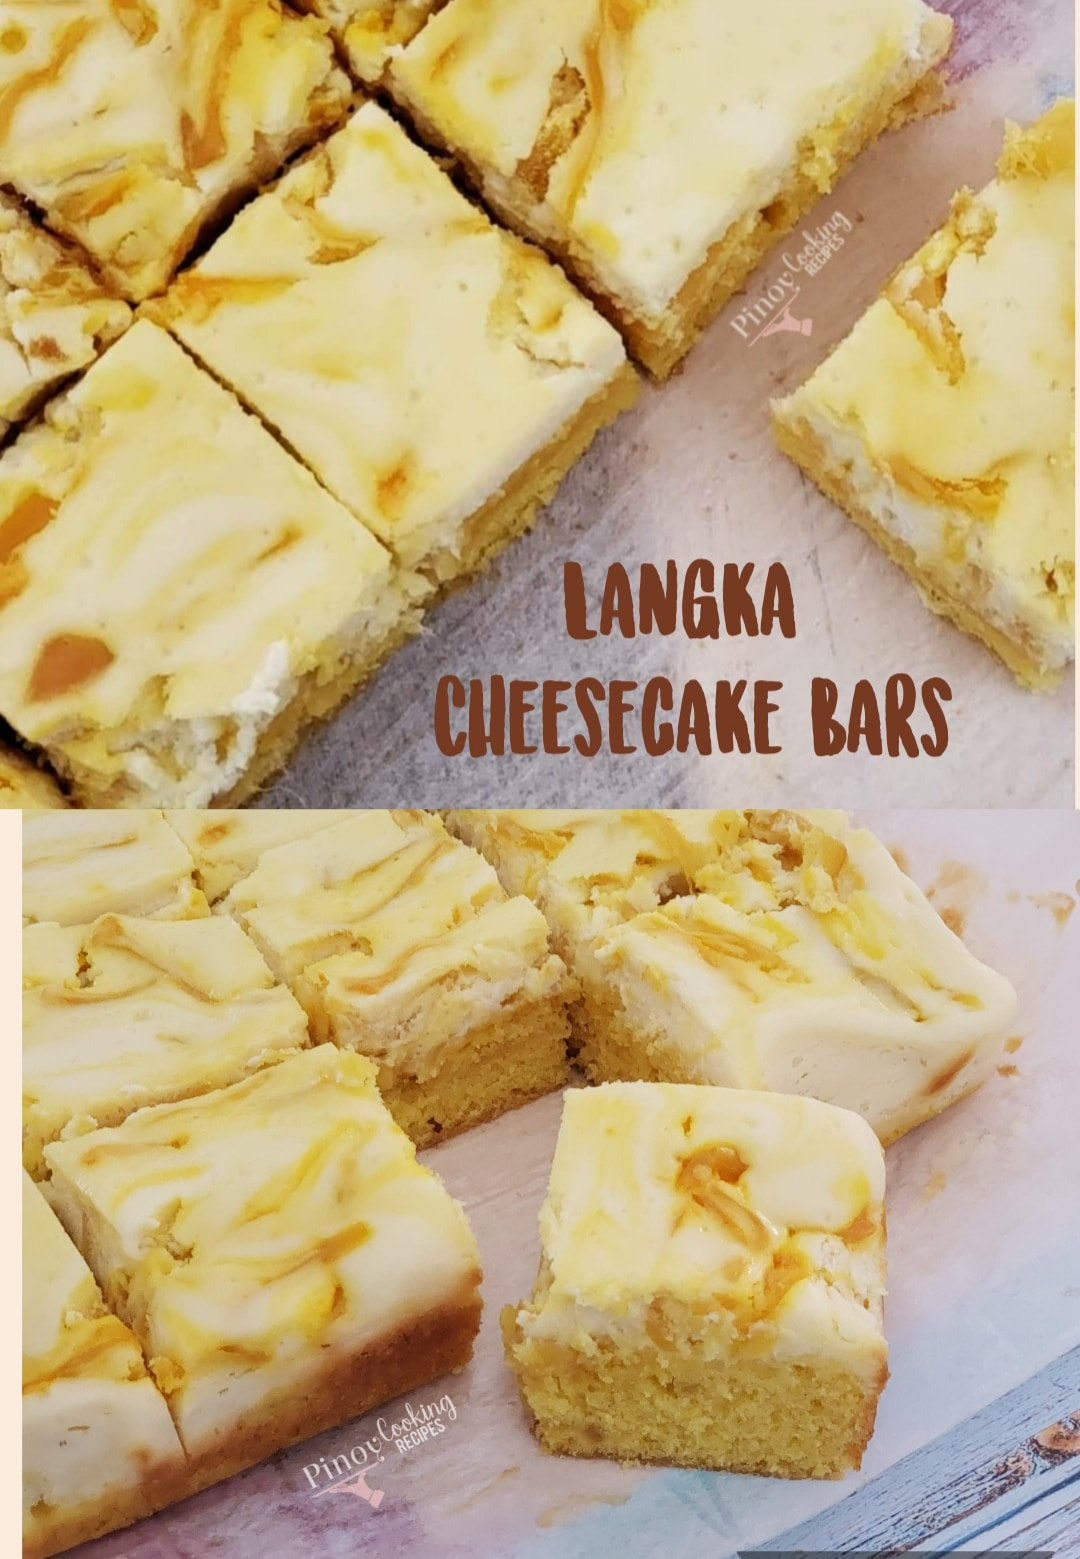
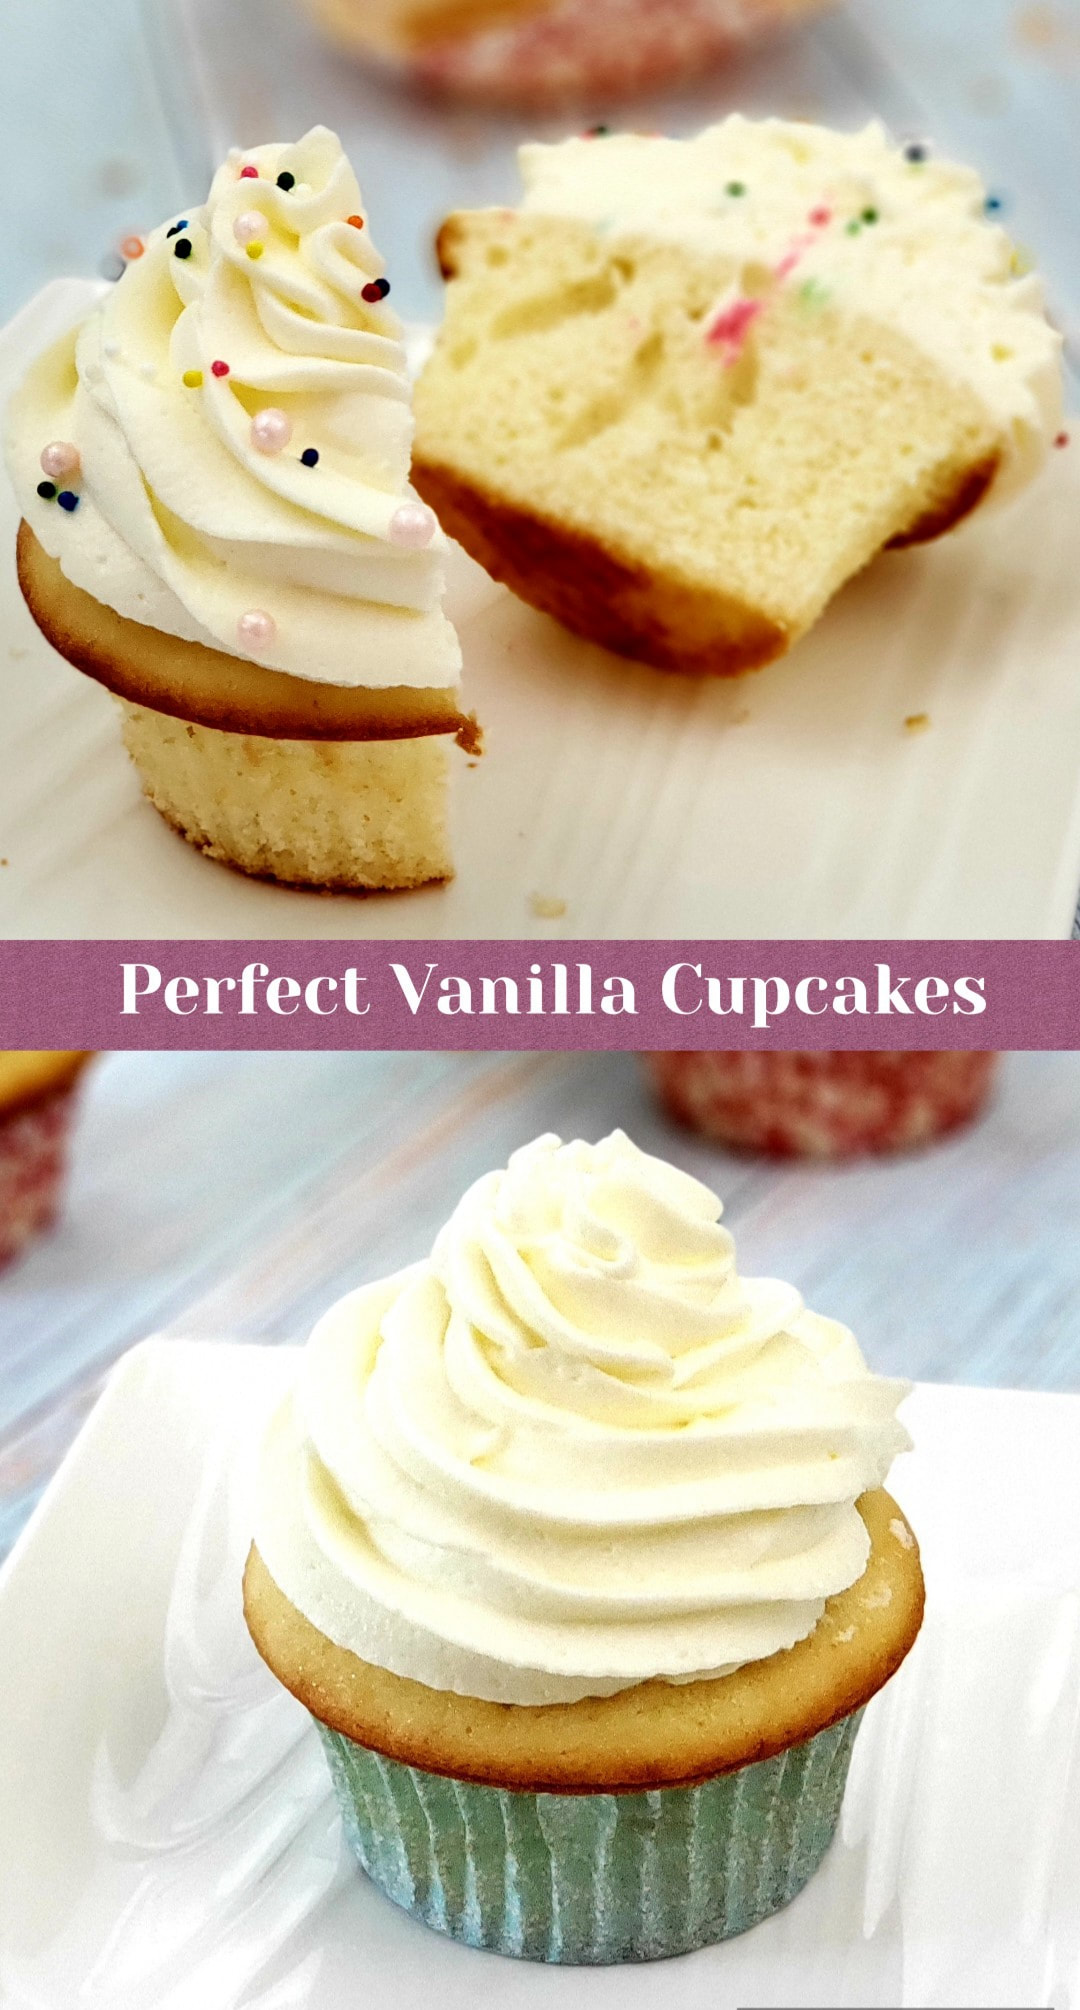
YOU MAY ALSO LIKE:PINEAPPLE COCONUT CUPCAKES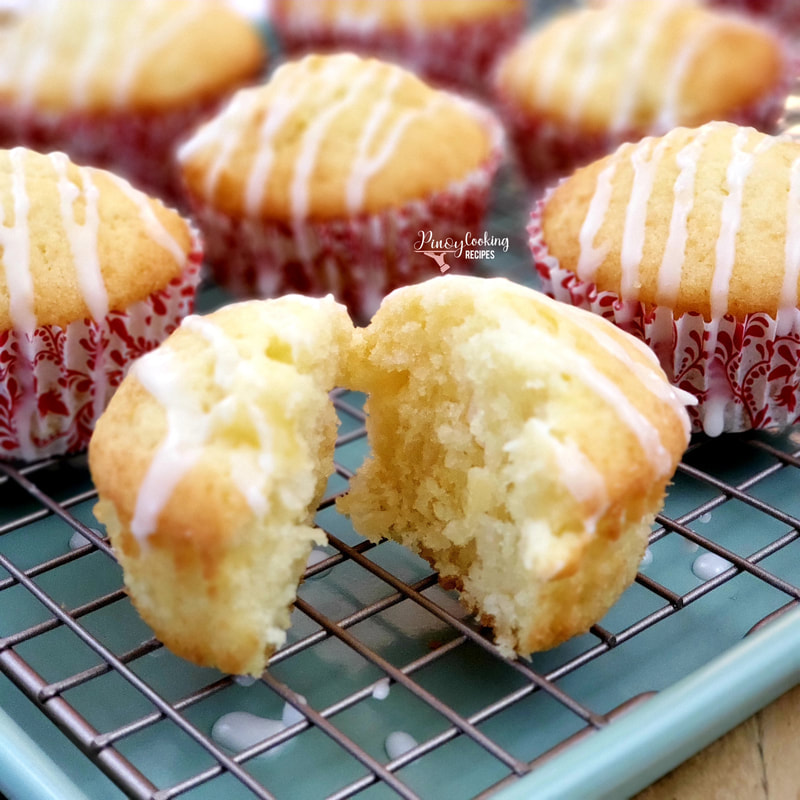
|

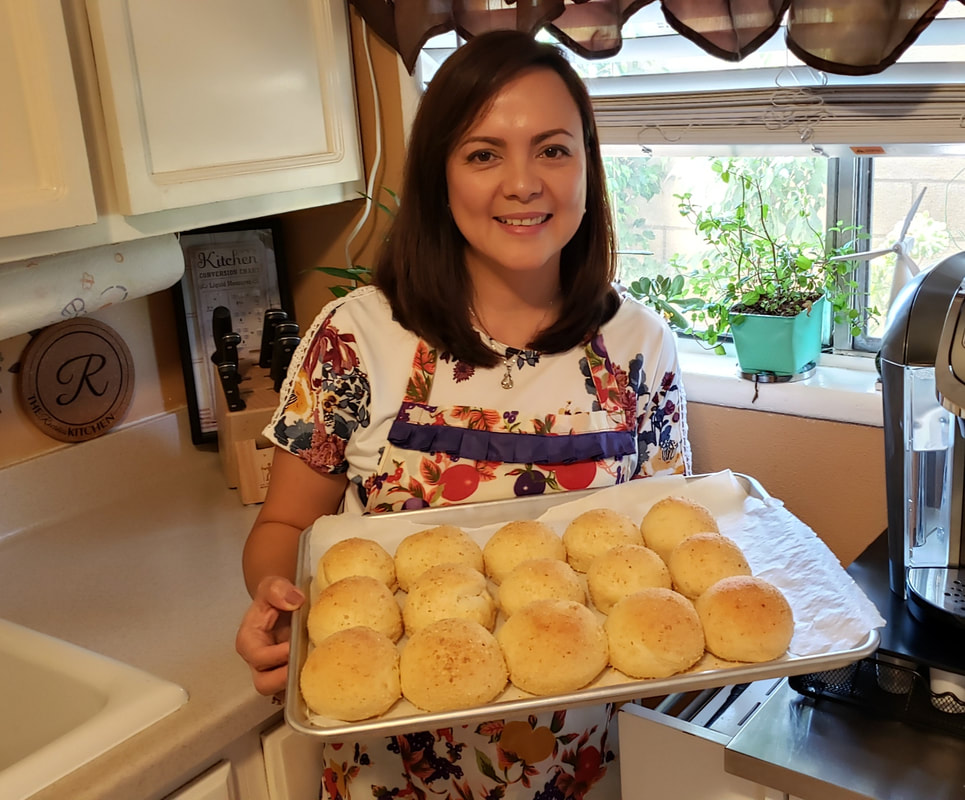
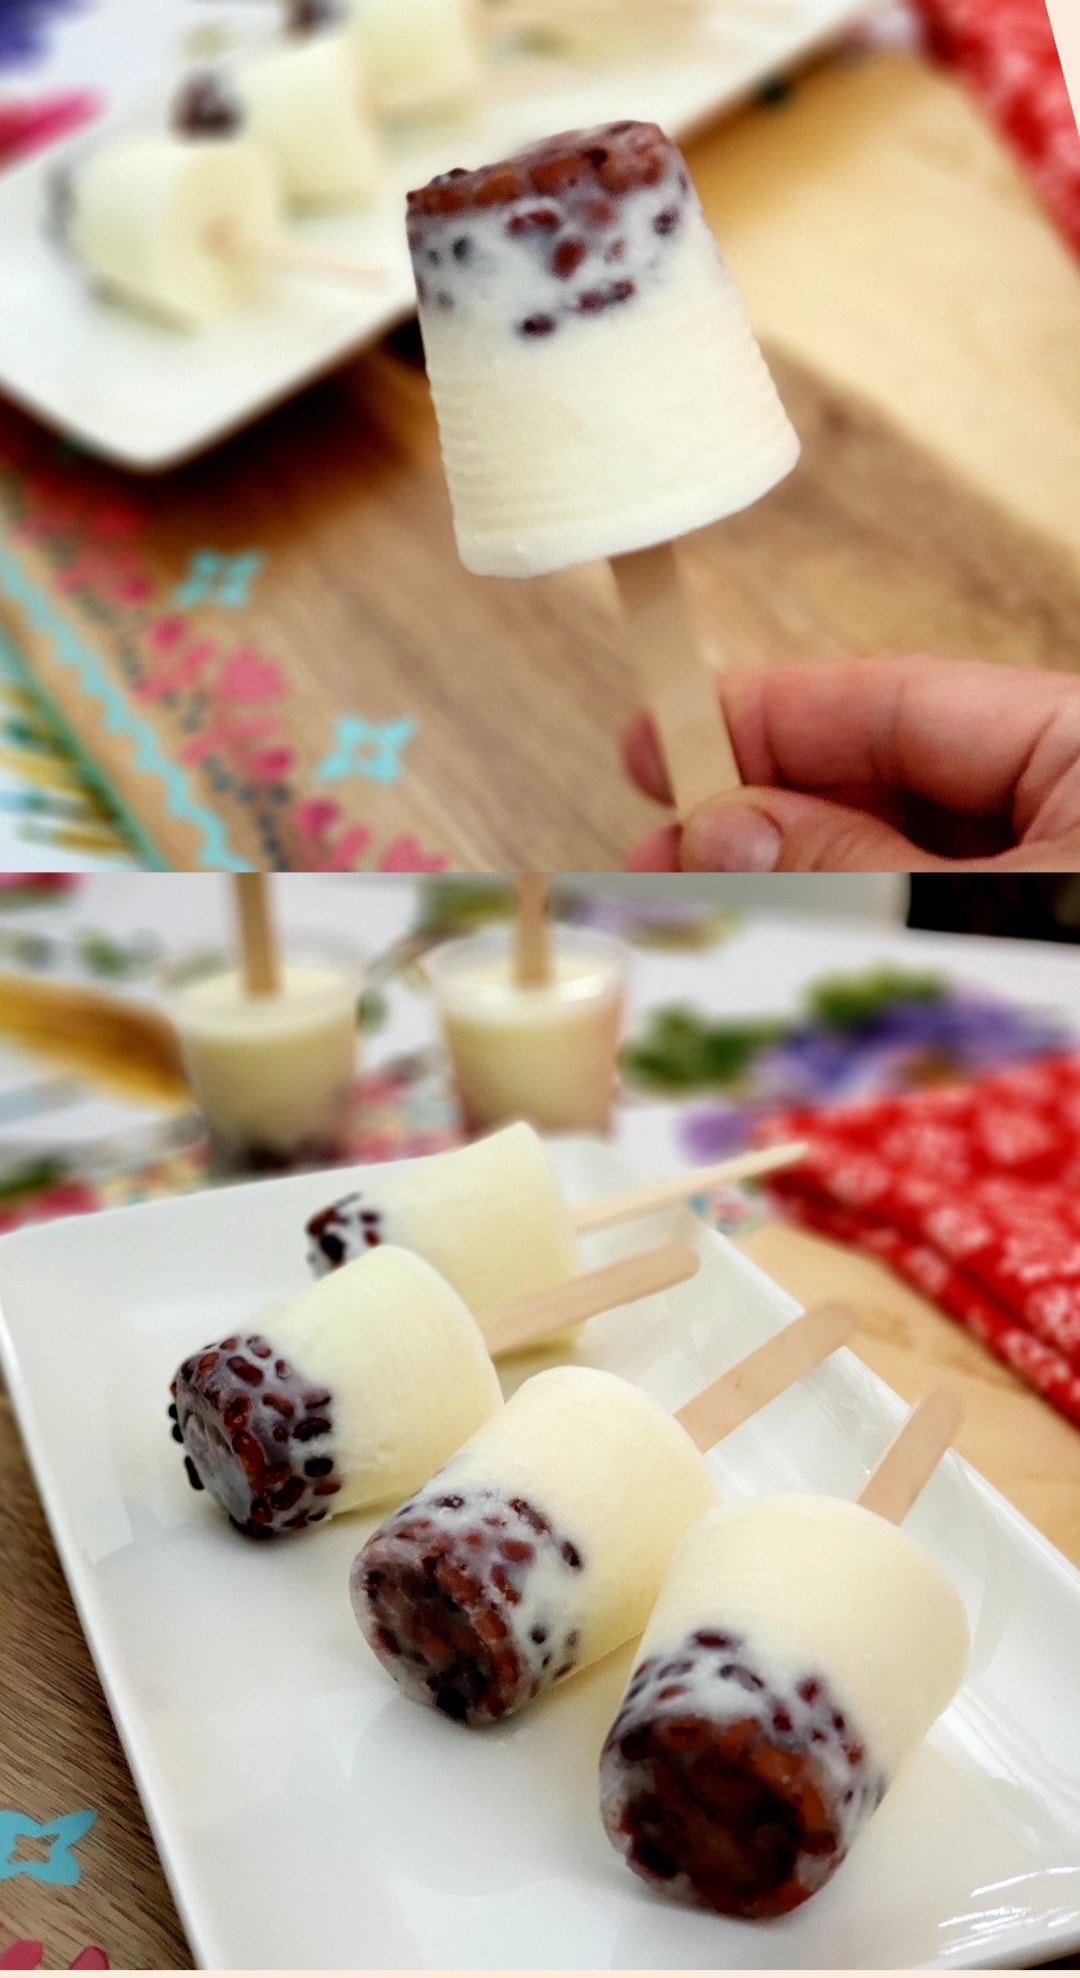
AuthorHi! Janette here. Welcome to my blog PinoyCookingRecipes where you can find true and kitchen tested recipes. To read more about me, click here. follow ME:recipe search:This website contains affiliate links. If you make a purchase through these links, as an Amazon Associate, I will earn a small amount from qualifying purchases at no cost to you. FEATURED RECIPESBILO-BILO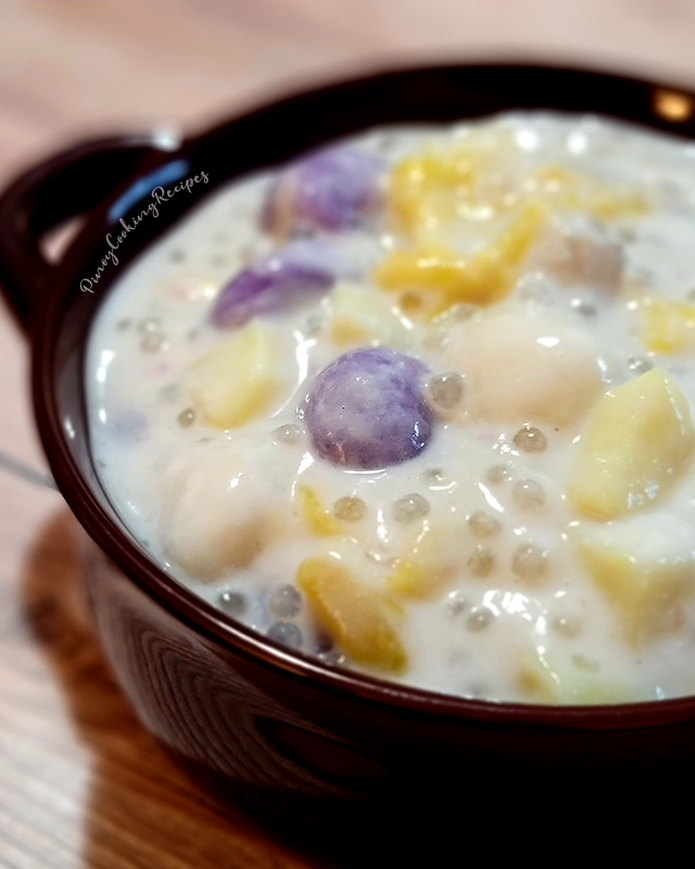
UBE ENSAYMADA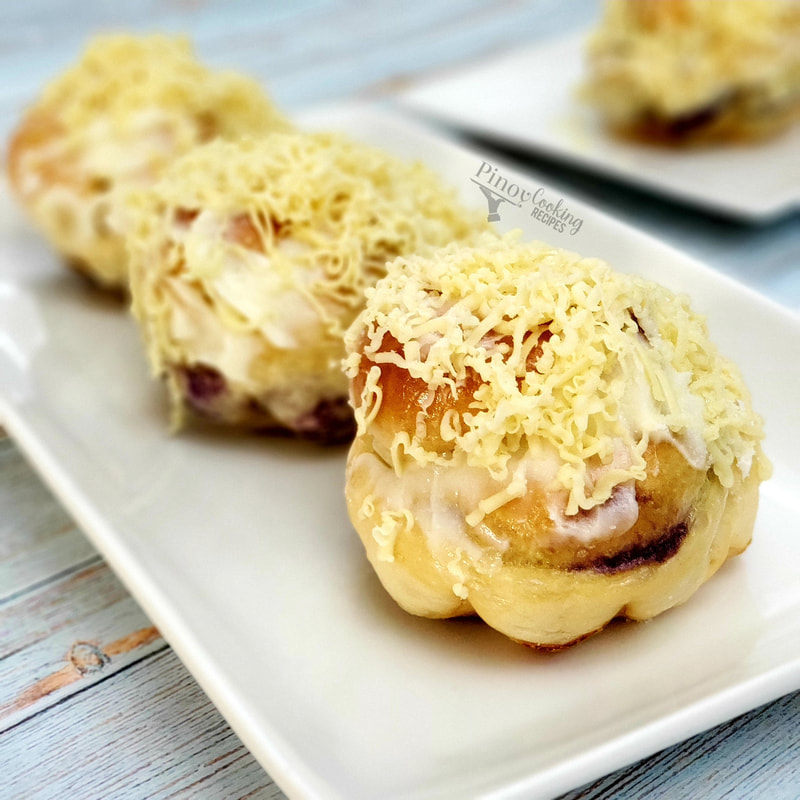
UBE CASSAVA FLAN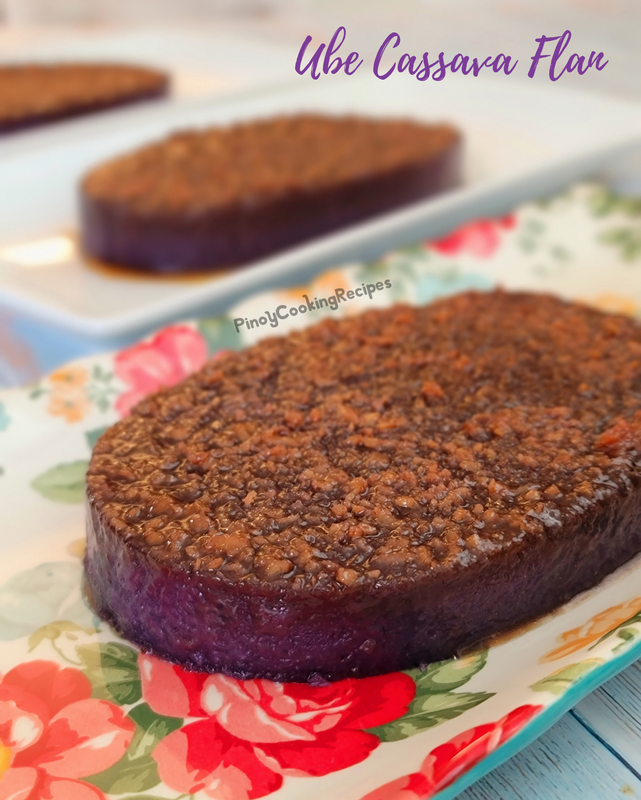
Custard Cake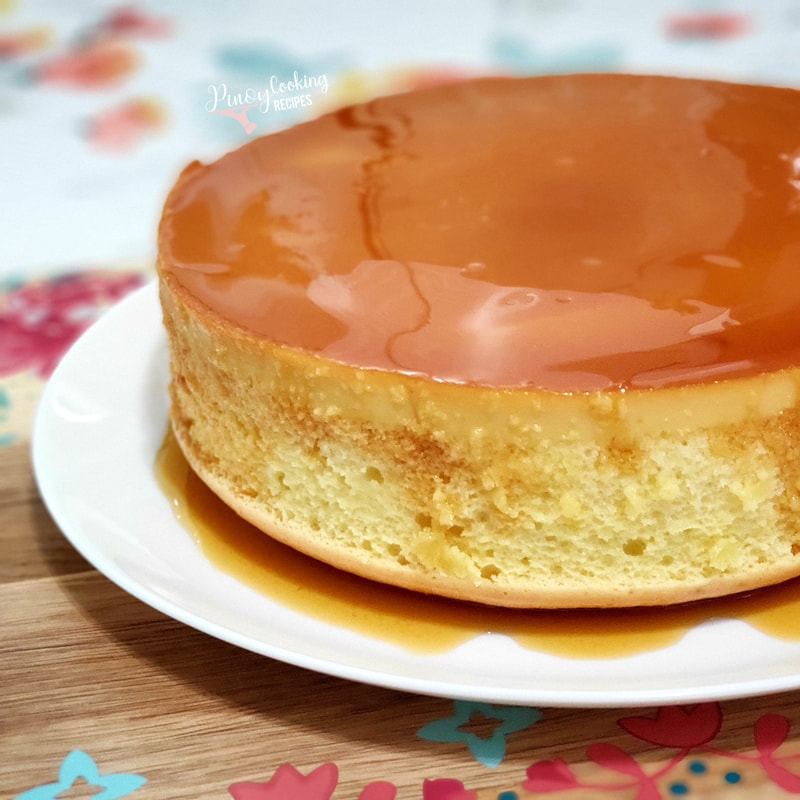
NATIVE KUTSINTA
Sapin-Sapin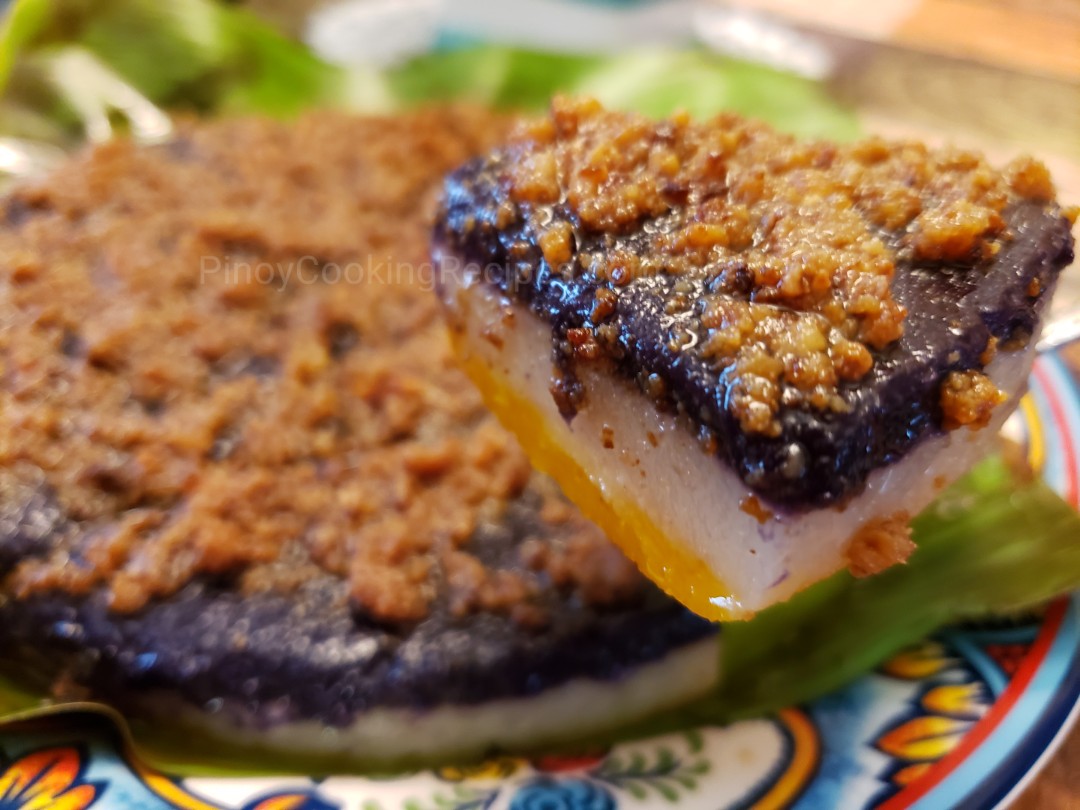
Mocha Roll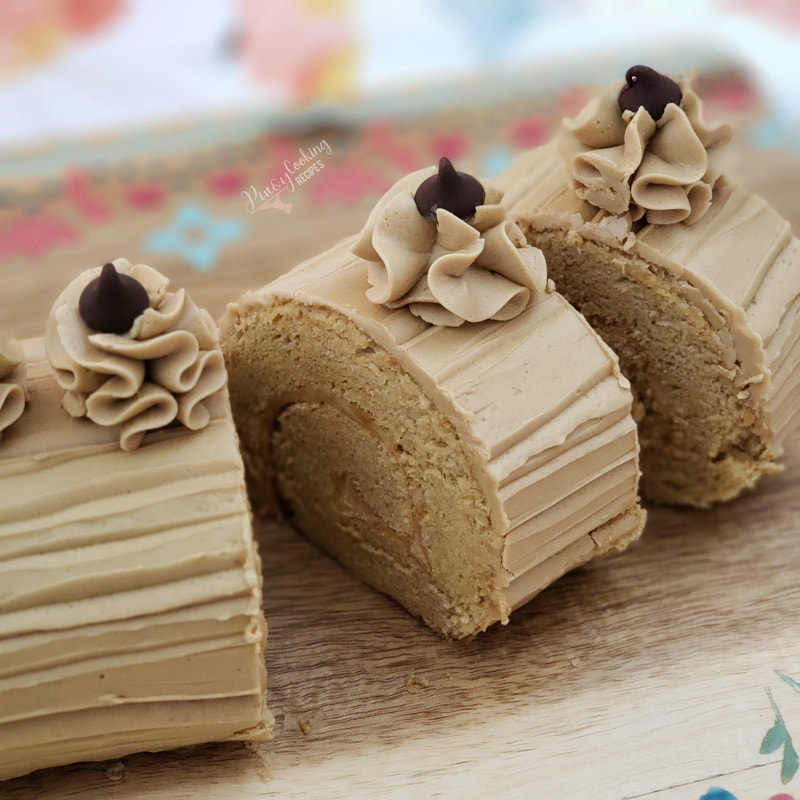
|
 RSS Feed