
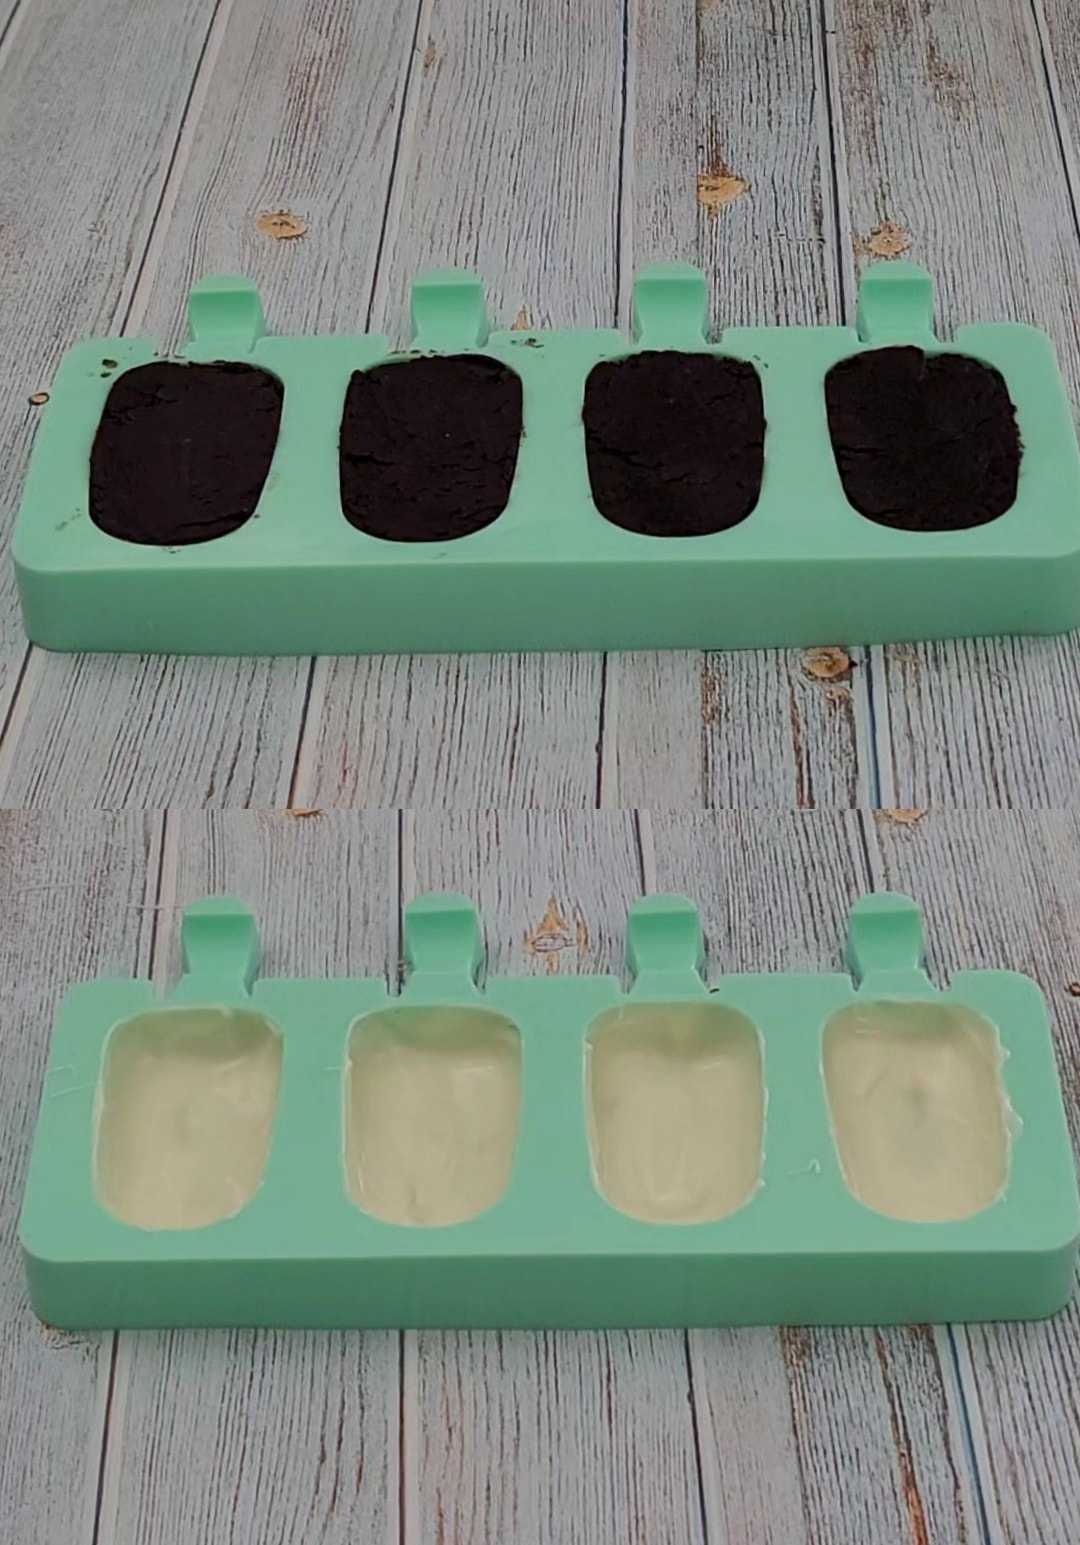
I bought my Silicone Popsicle Molds in Amazon and it's perfect for this. I actually thought of using it to make ice cream pops but since I have a leftover cake to use, then this is perfect! I will make the ice cream pops later or when I'm ready to share another great recipe.
Anyway, the good thing about the Silicone Popsicle Molds I bought, it comes with popsicles sticks and bags with twisted ties already. In a pack, it has 2 pack of molds (8 cavity total) plus 50 each of popsicles sticks and bags with ties. A bundle that's a good deal!
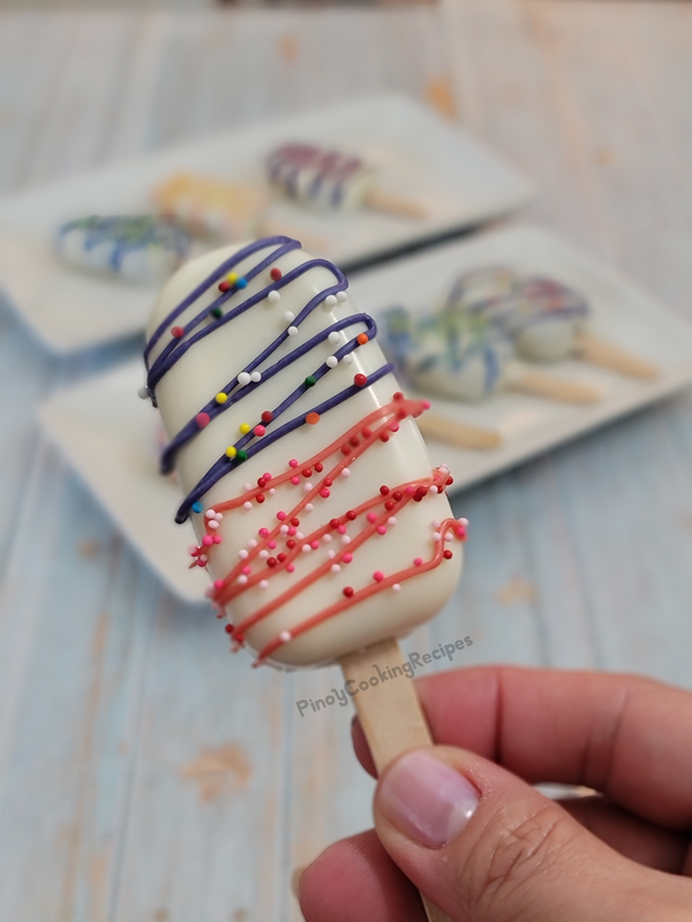
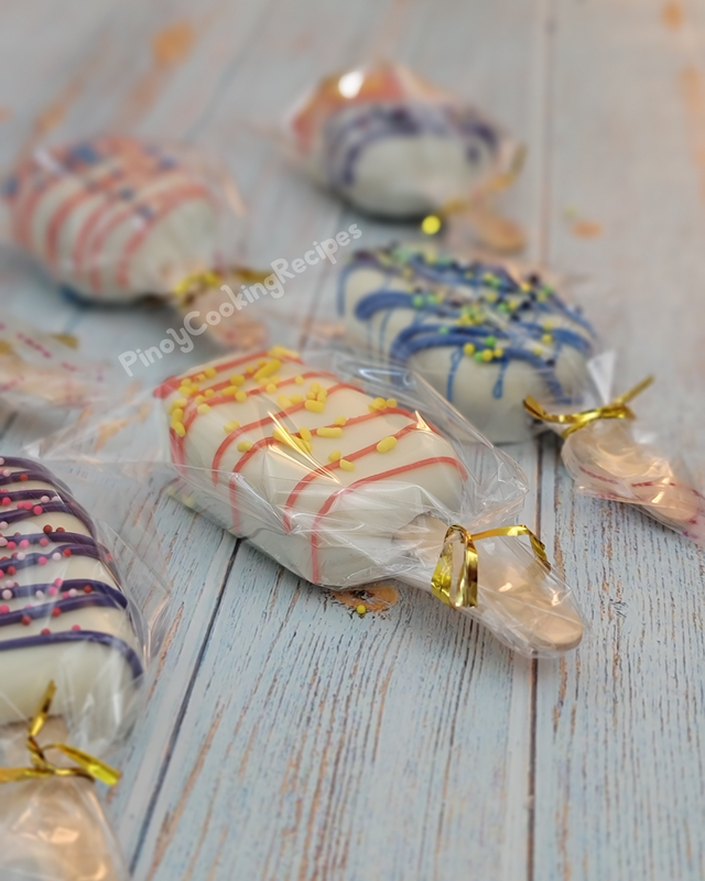
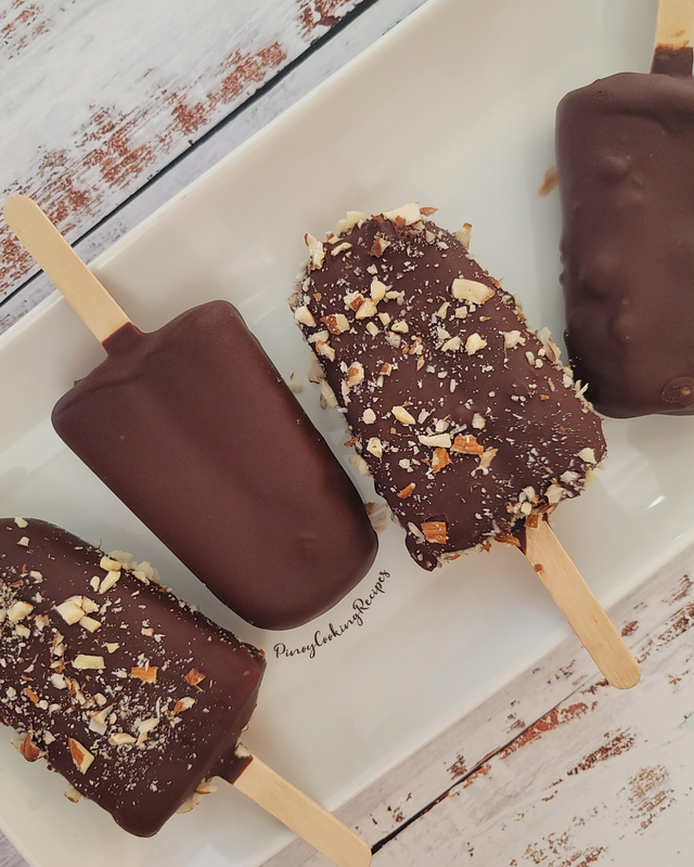
I prepared two methods to make this cute treats. The first one was prepared by dipping the molded cake into the melted chocolate. Like dipping an ice cream to make ice cream bars. The second one was made from hard candy shells using the silicone molds where the cake was enclosed.
The second method needs extra time and care as it is a delicate process but produces a thin, smooth and glossy candy shell. Give this recipe a try and let me know what you think by leaving a comment below. Enjoy!
CAKESICLES RECIPE
|
|
Procedure:
|
|
|
2nd Method:
|
Commission earned for sales at no extra cost to you
|
RECIPE NOTES:
- I used leftover chocolate cupcakes for this recipe ang use white chocolate for the shell.
- I used cream cheese instead of frosting. Why? Because the candy coating is already sweet and I find the buttercream frosting sweet as well, so I thought of mixing the cake with something light instead.
- You can use baking chocolate bars, almond bark, chocolate chips or candy melts.
- When unmolding, be careful to avoid cracks on the cake or hard candy shells. Do not pull the cake but push the popsicle sticks instead.
- If you do not have a microwave oven, you can use a double boiler when melting the chocolate. Just boil some water in a saucepan then place a glass bowl with chocolate over the saucepan then stir the chocolate until melted. Make sure to use a potholder when handling the glass bowl.
- This recipe can produce about 12 or more Cakesicles using small silicone popscile molds.
1st Method (Dipping the Cakesicle into the melted chococlate)
- It's quicker but I find the shell much thicker so you'll get a bigger cakesicle using this method. You'll need more melted chocolate though.
- I find it time consuming but you'll get a nice shape and the shell has this smooth and glossy exterior . Smaller cakesicle but looks nicer.
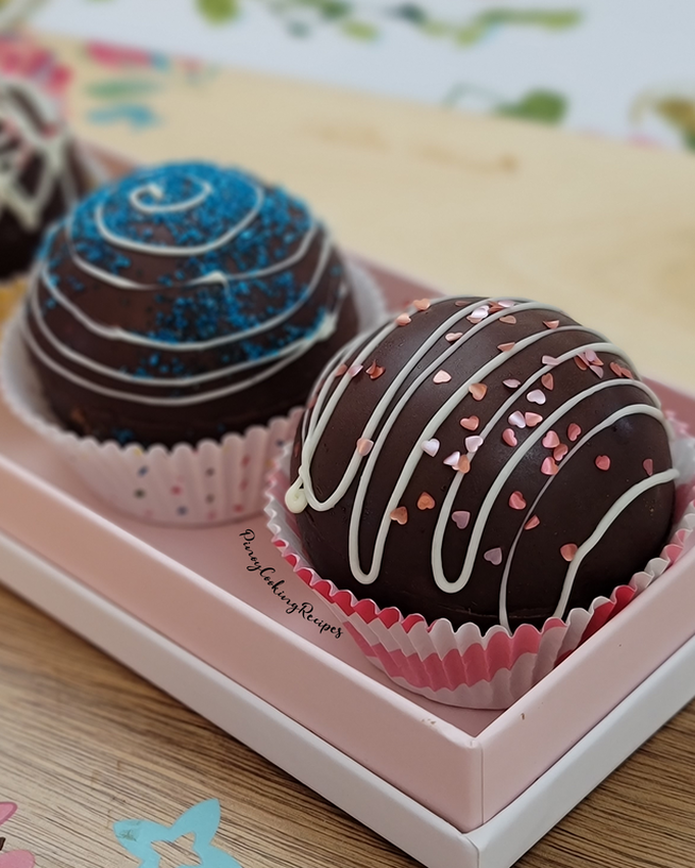
YOU MAY ALSO LIKE
ICE CREAM BARS
CHOCOLATE BOMBS
0 Comments
Leave a Reply.

Author
Hi! Janette here. Welcome to my blog PinoyCookingRecipes where you can find true and kitchen tested recipes. To read more about me, click here.
follow ME:
recipe search:
This website contains affiliate links. If you make a purchase through these links, as an Amazon Associate, I will earn a small amount from qualifying purchases at no cost to you.
 RSS Feed
FEATURED RECIPES
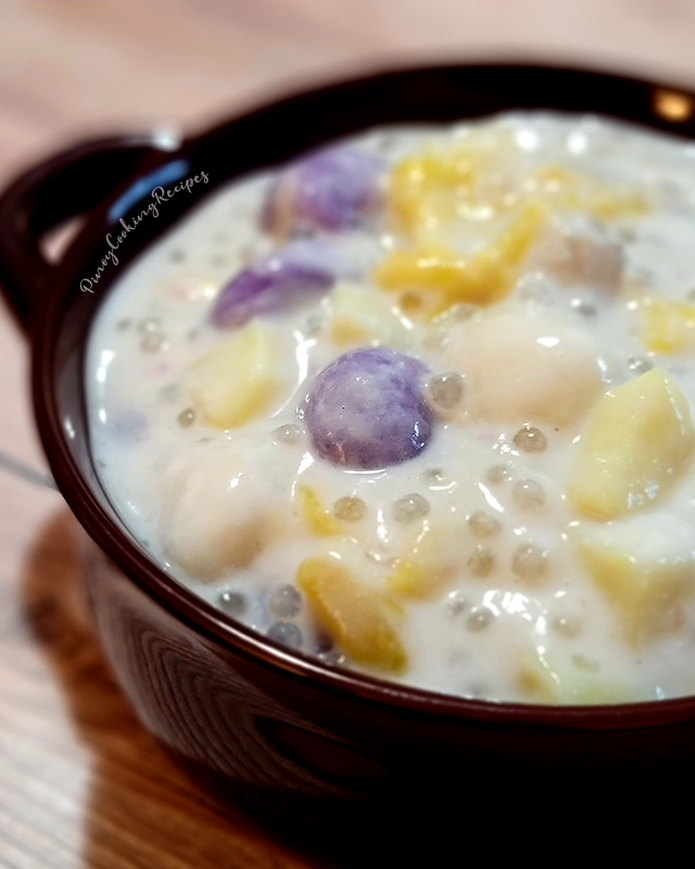
BILO-BILO
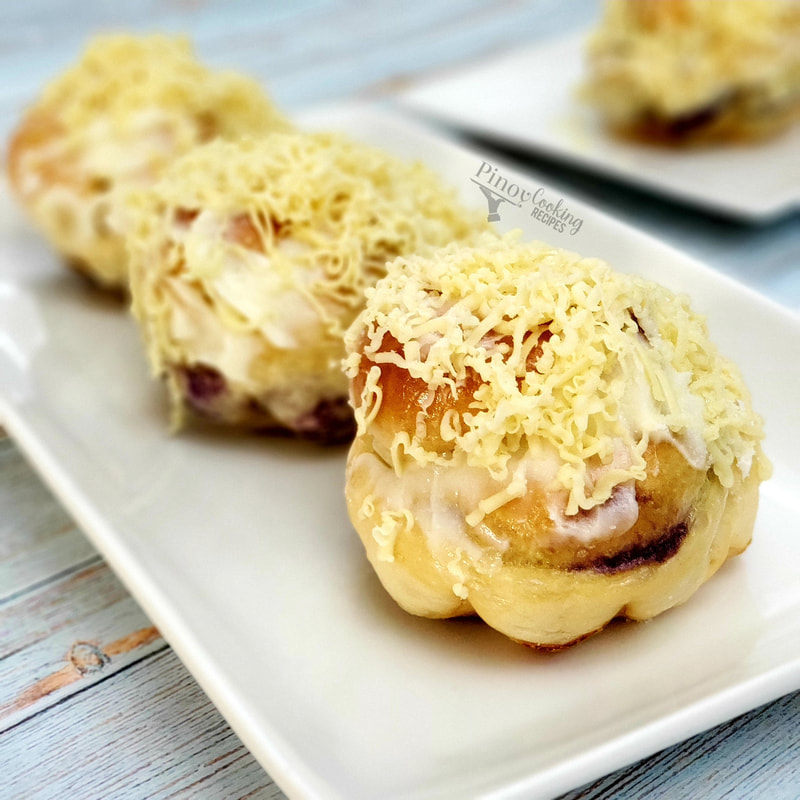
UBE ENSAYMADA
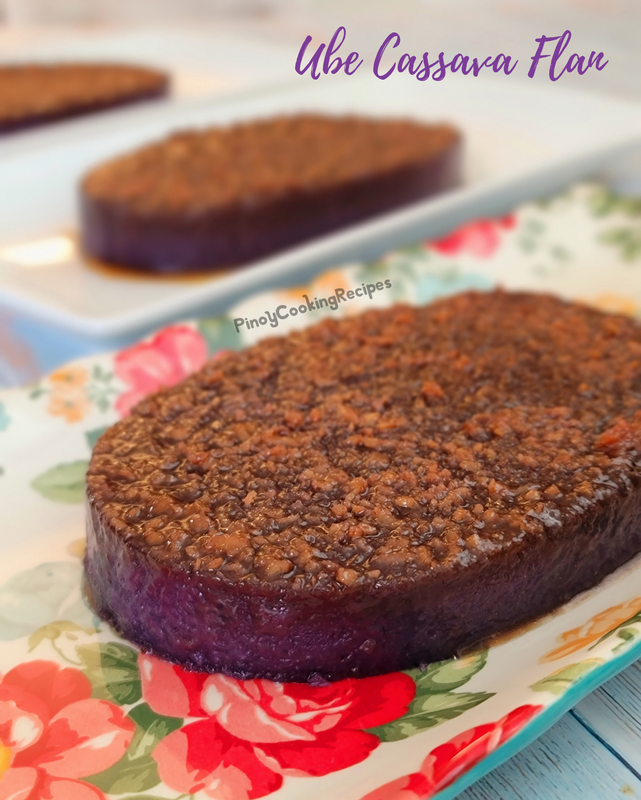
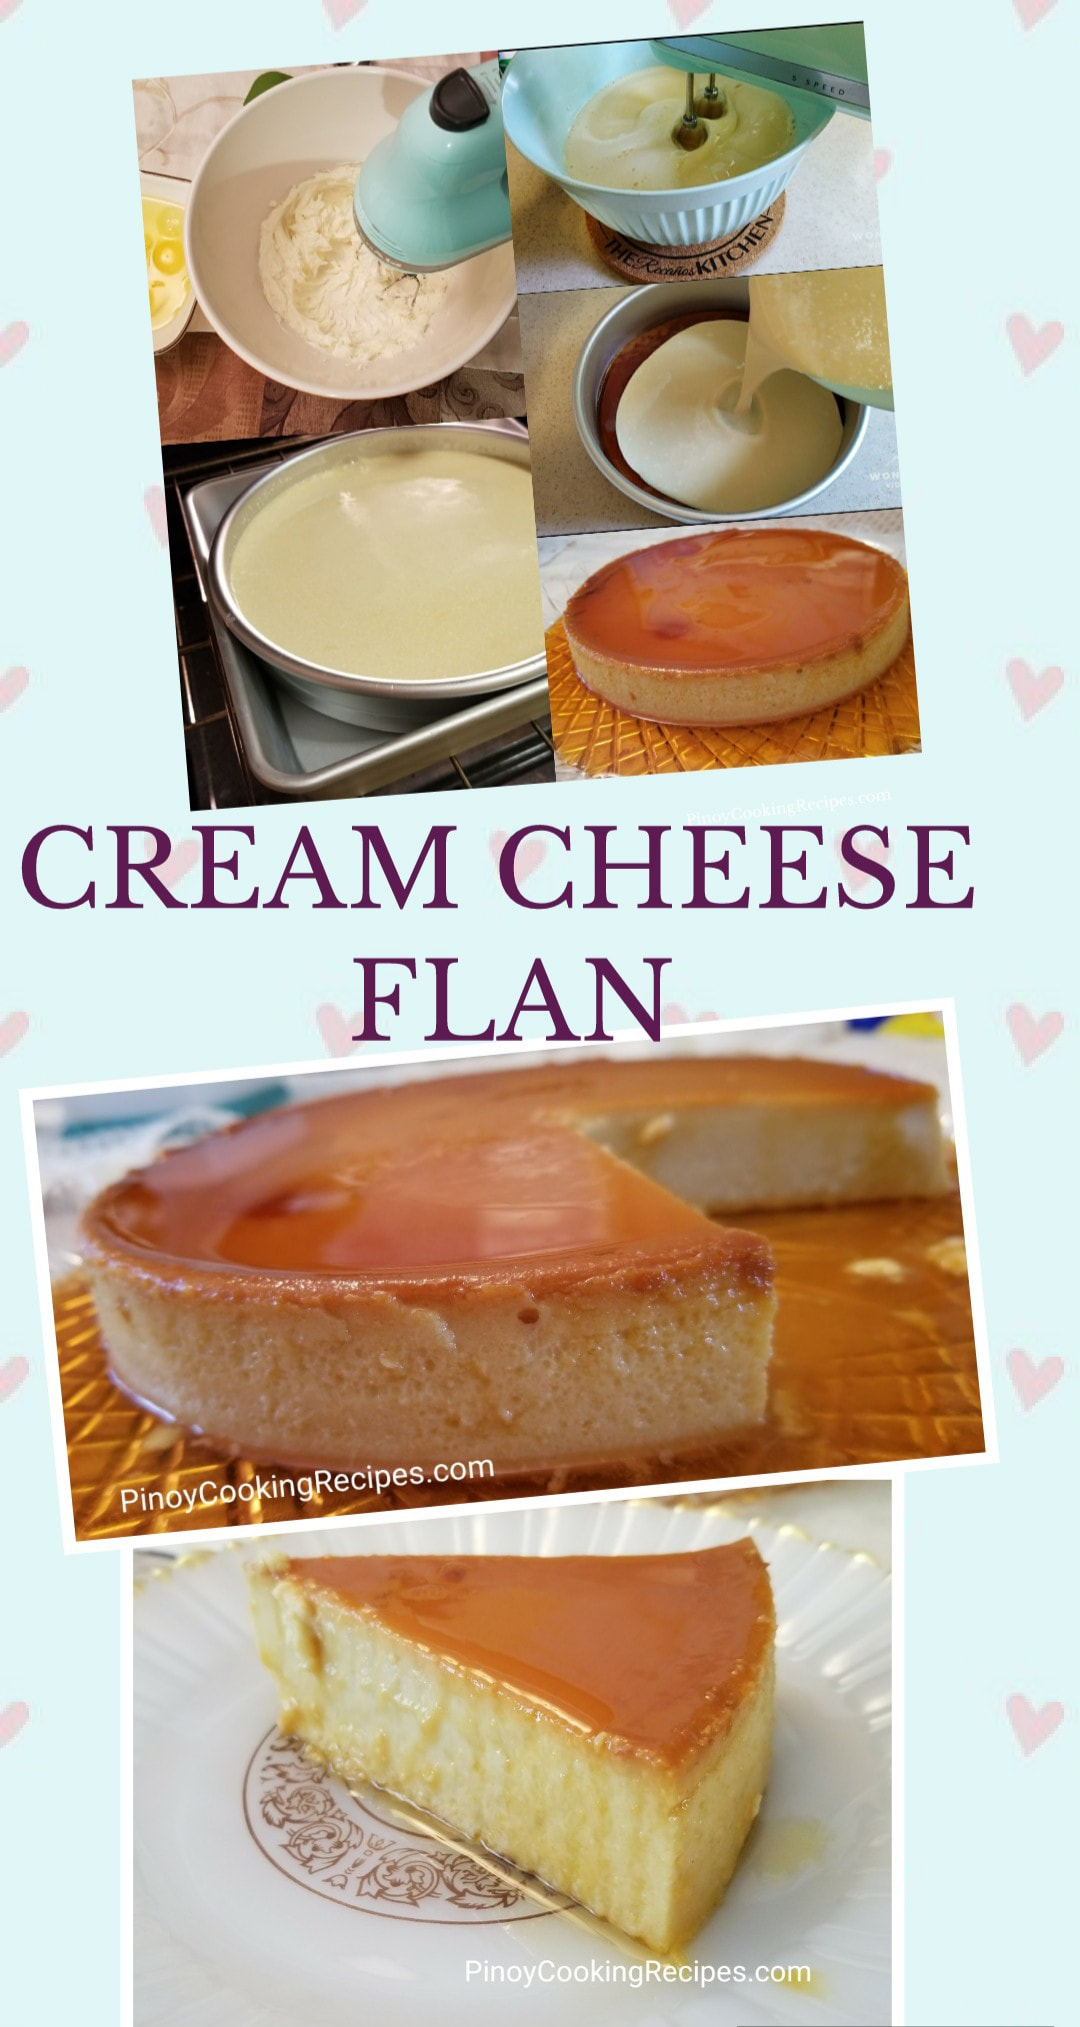
UBE CASSAVA FLAN
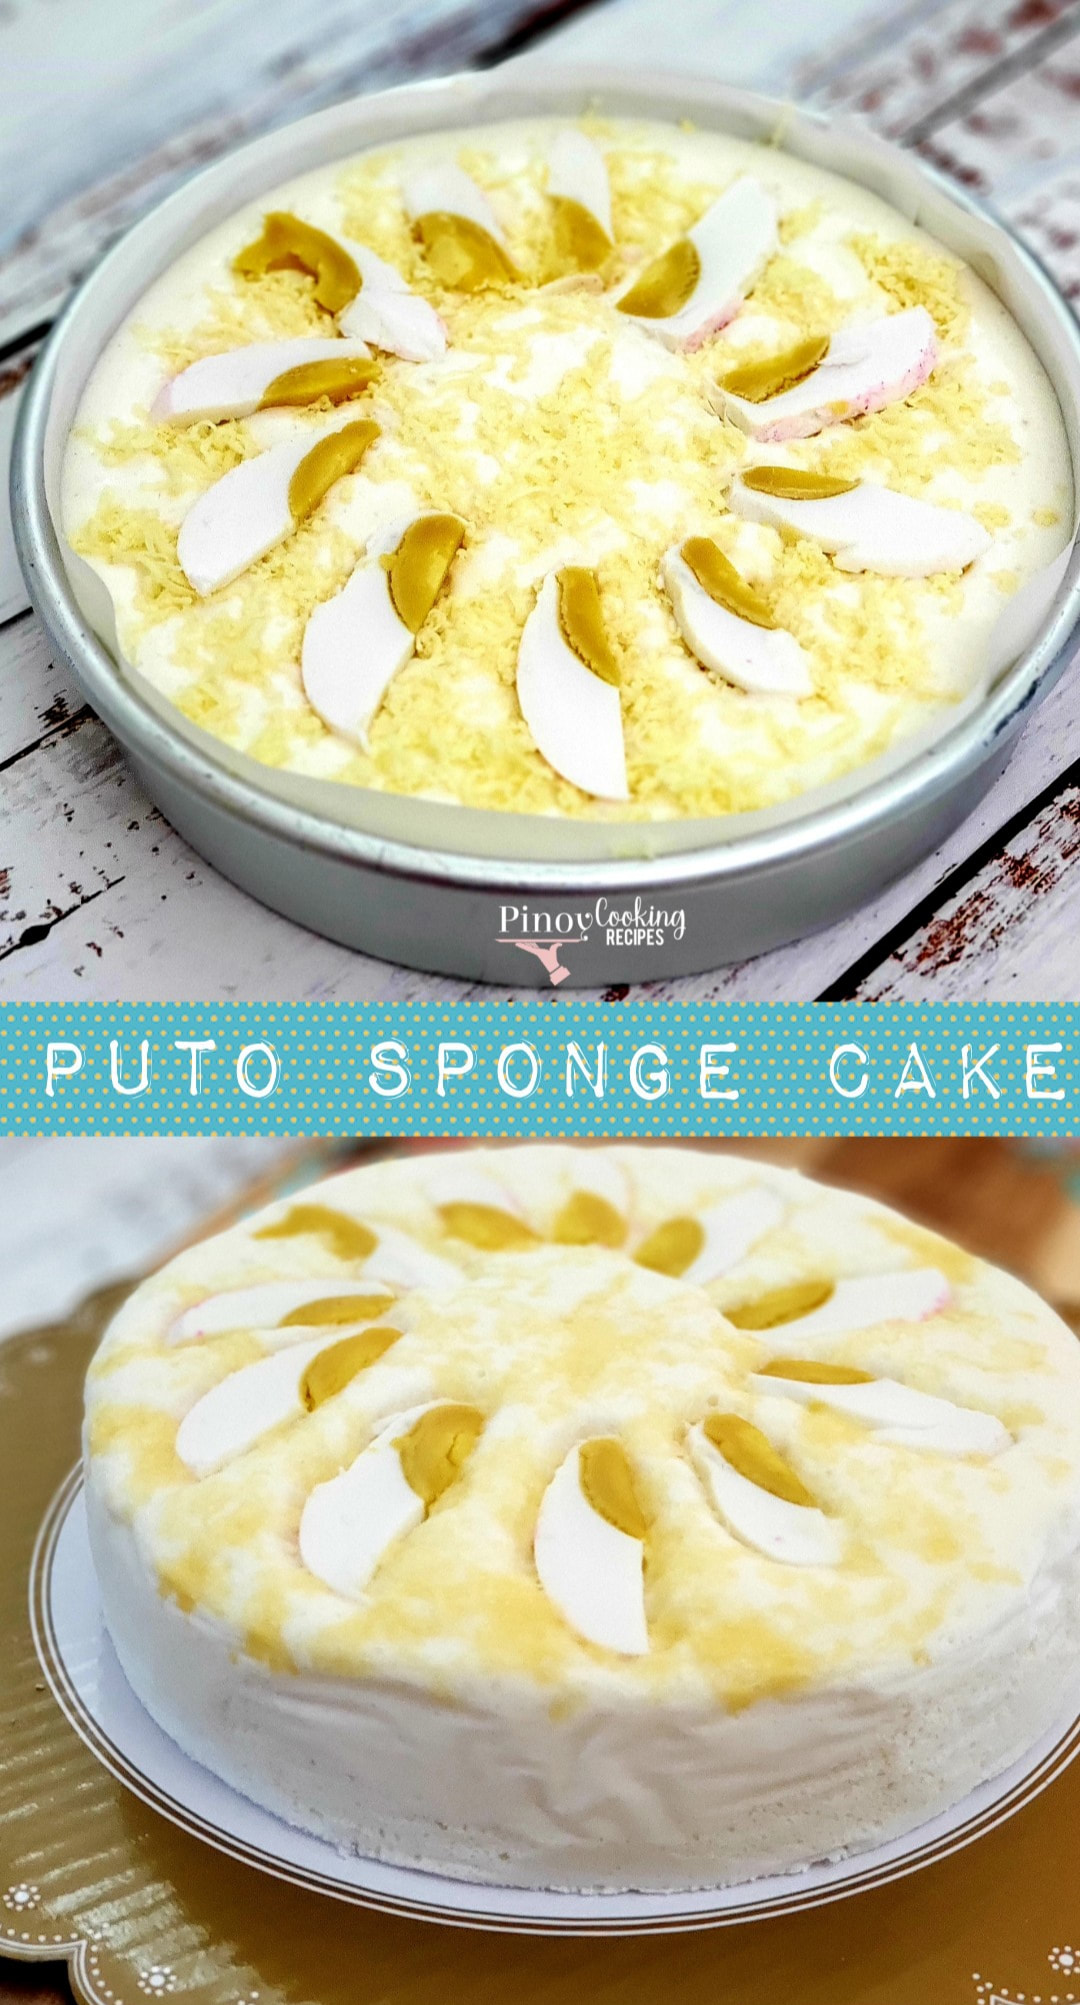
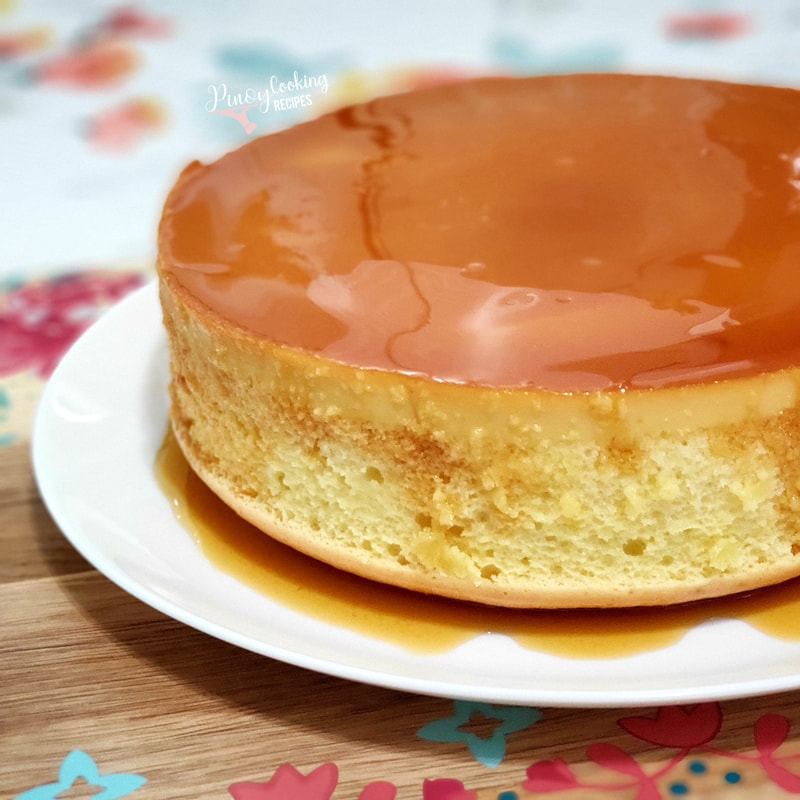
Custard Cake
NATIVE KUTSINTA
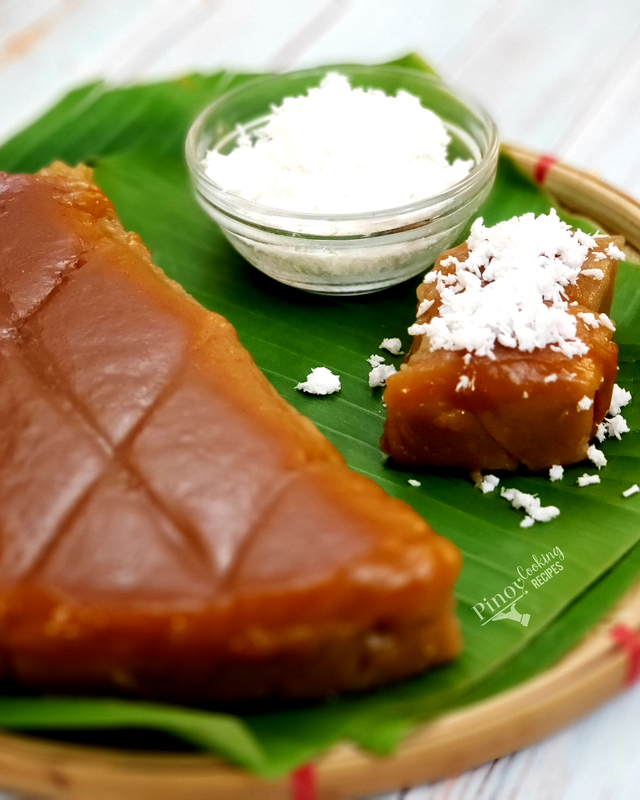
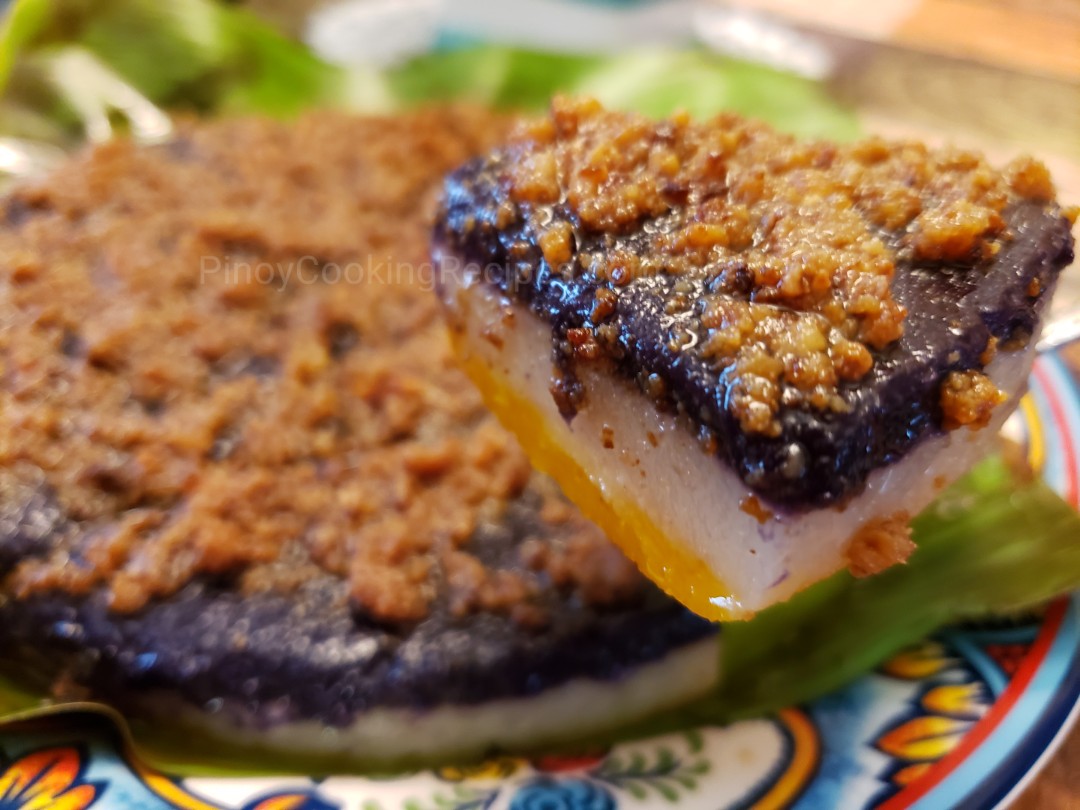
Sapin-Sapin
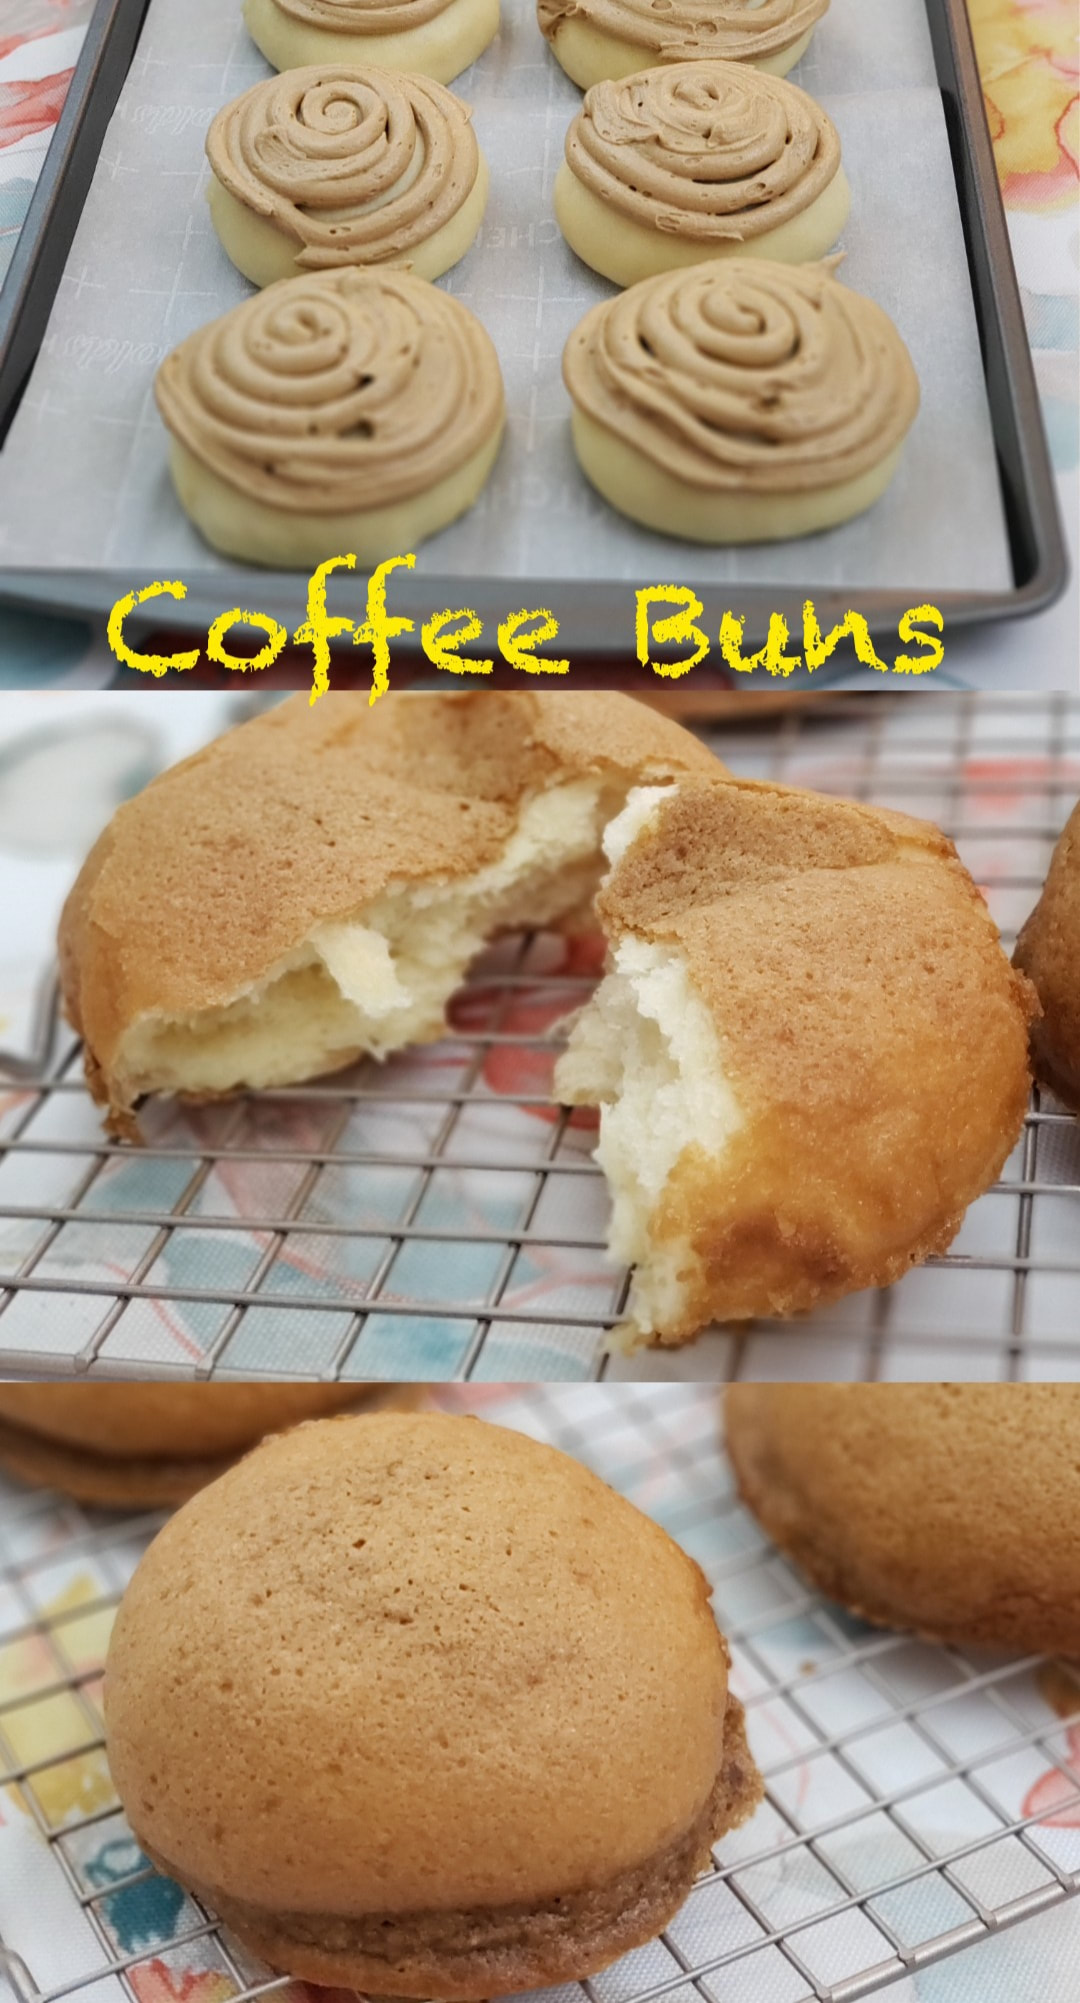
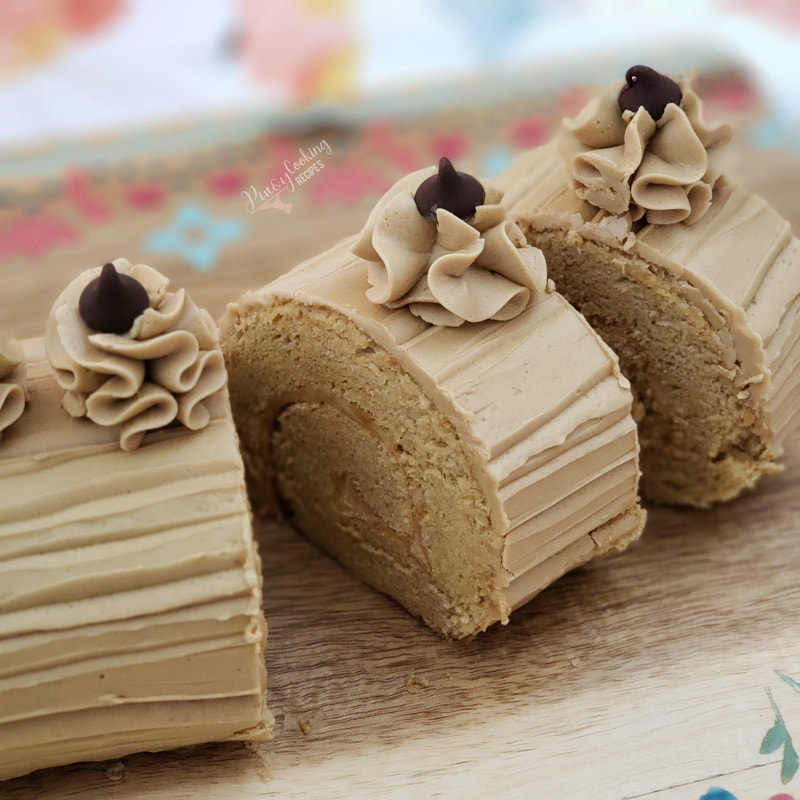
Mocha Roll
recent posts
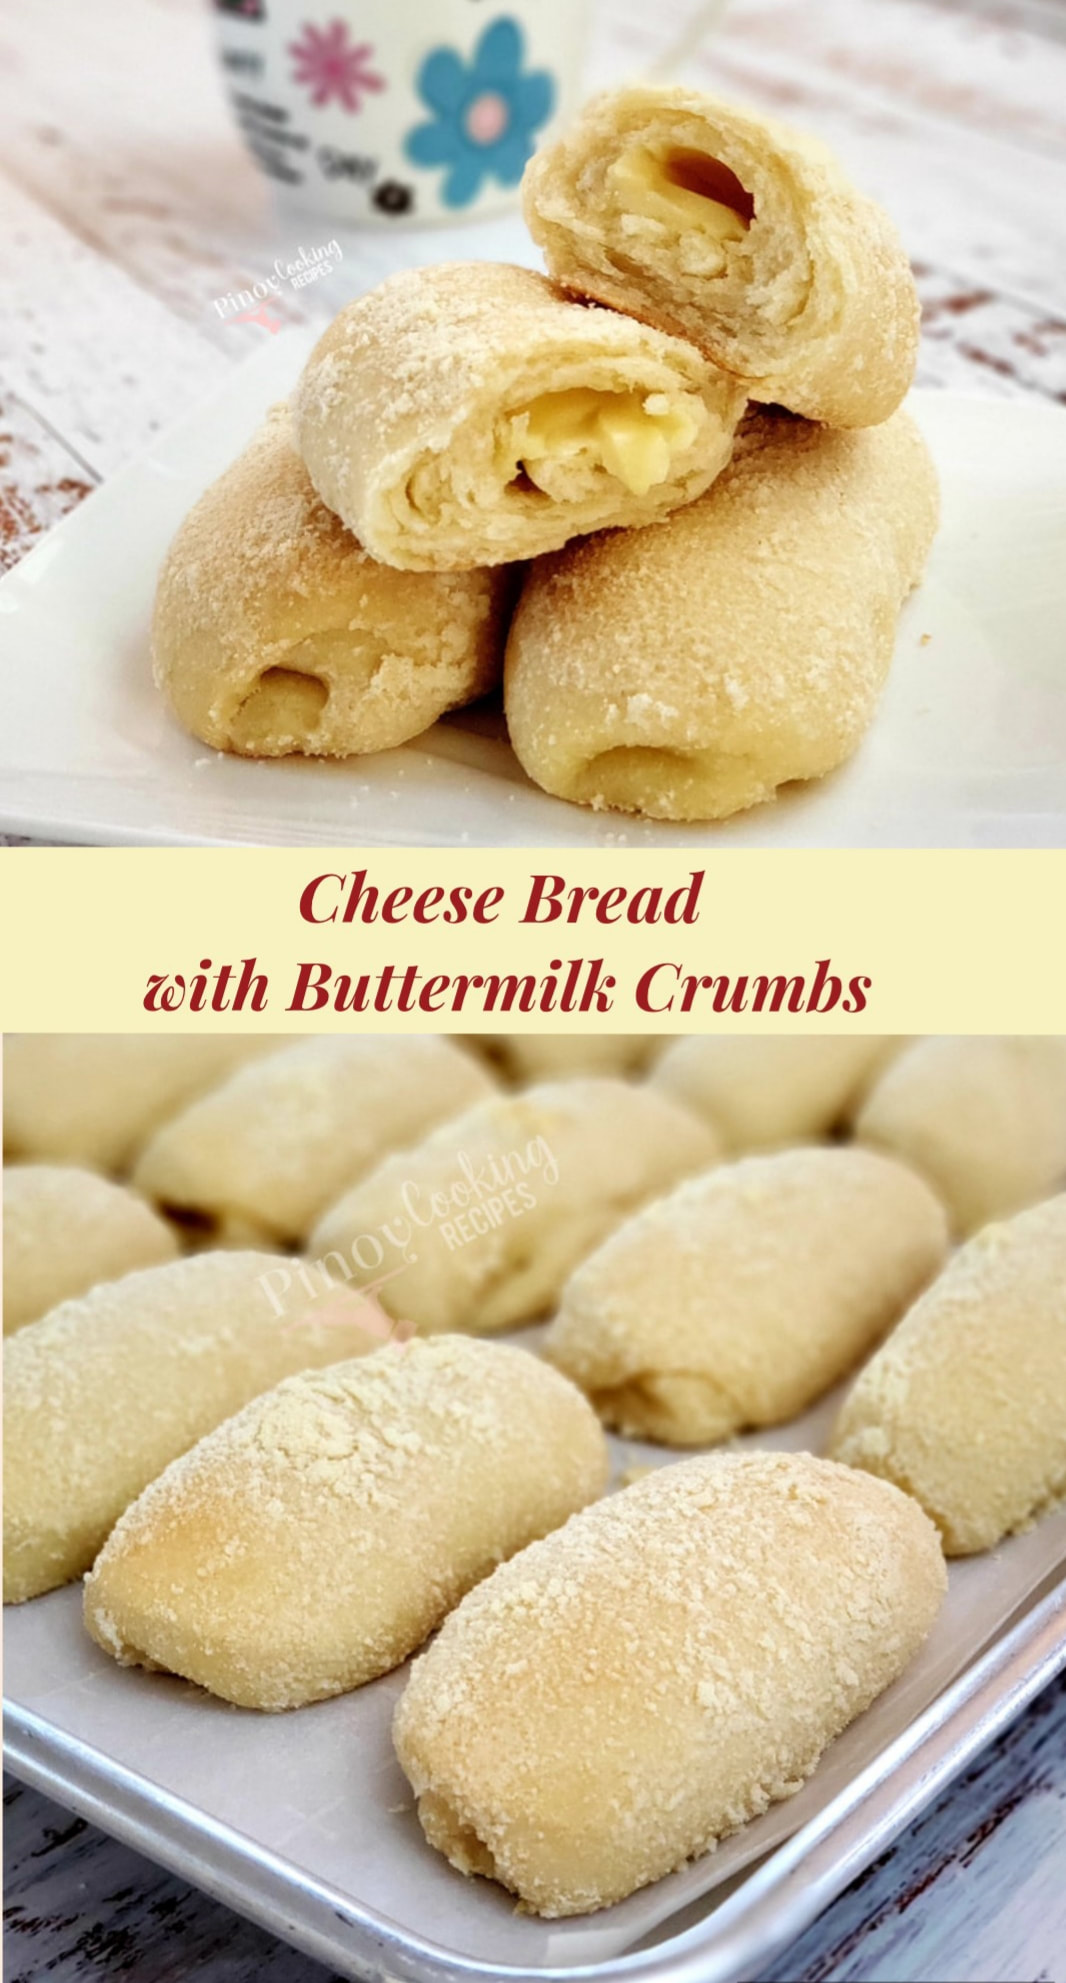
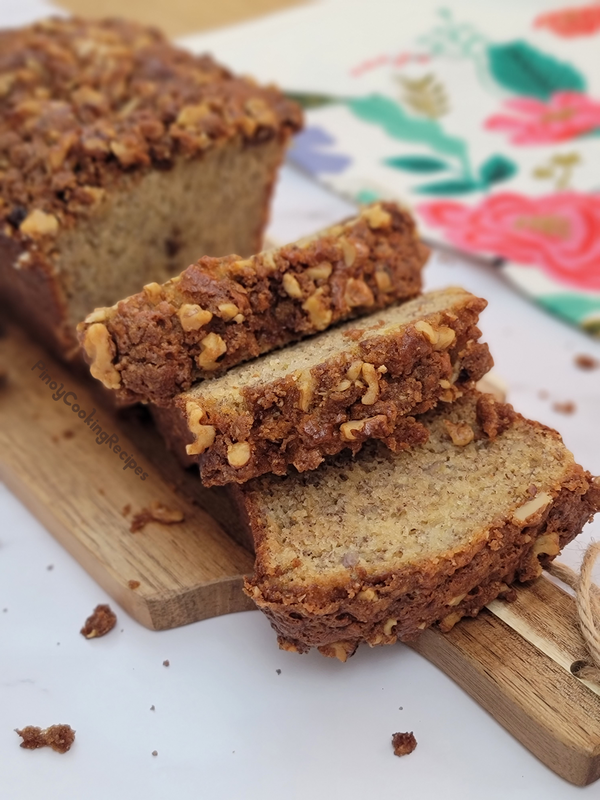
Banana Loaf Bread
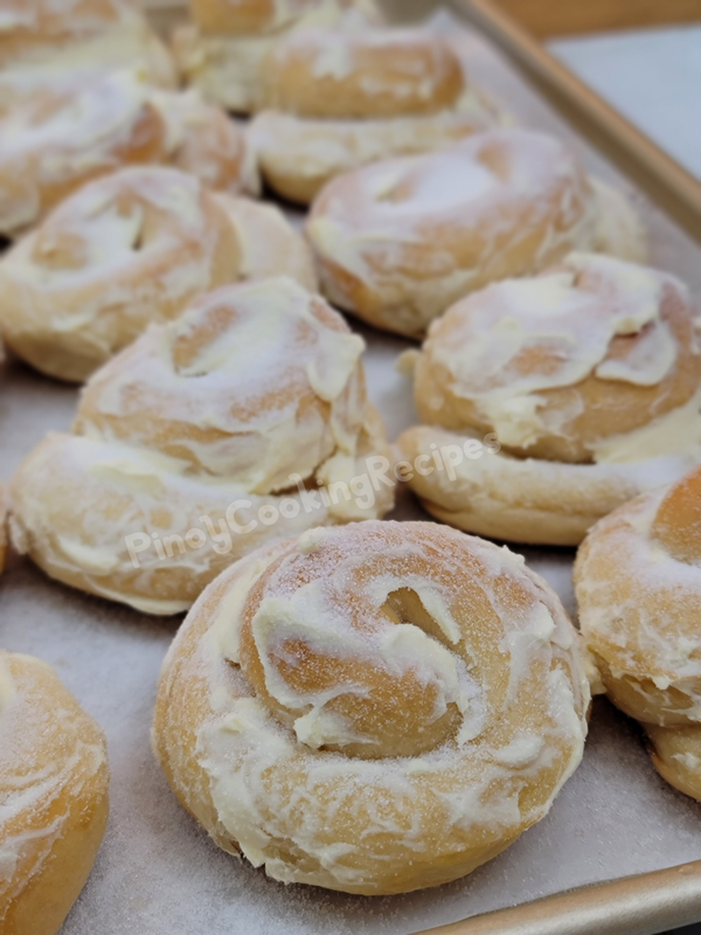
TRADTITIONAL ENSAYMADA
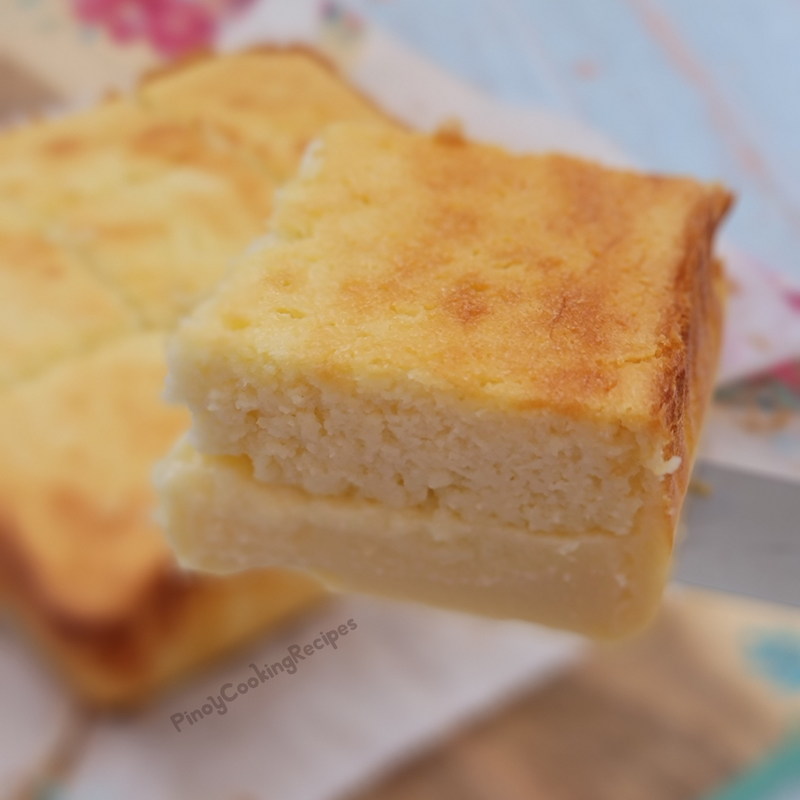
MAGIC CUSTARD CAKE
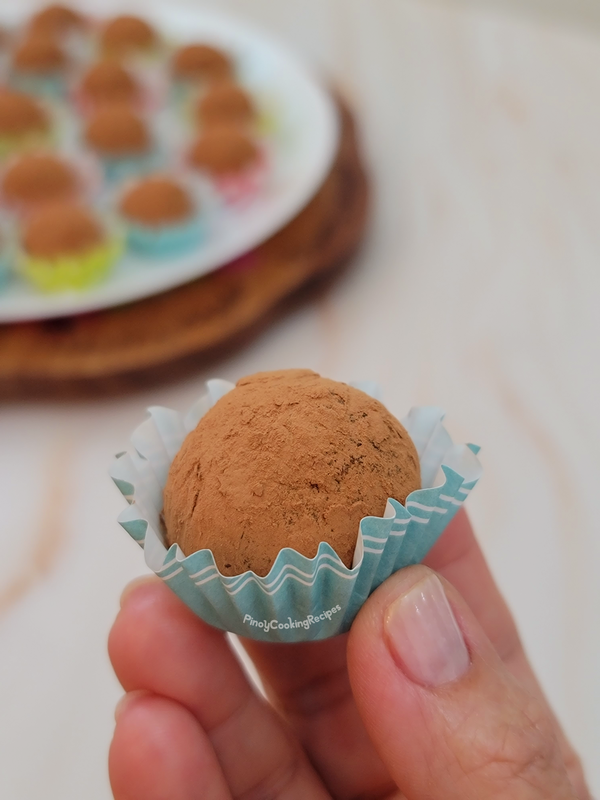
TIRAMISU TRUFFLES
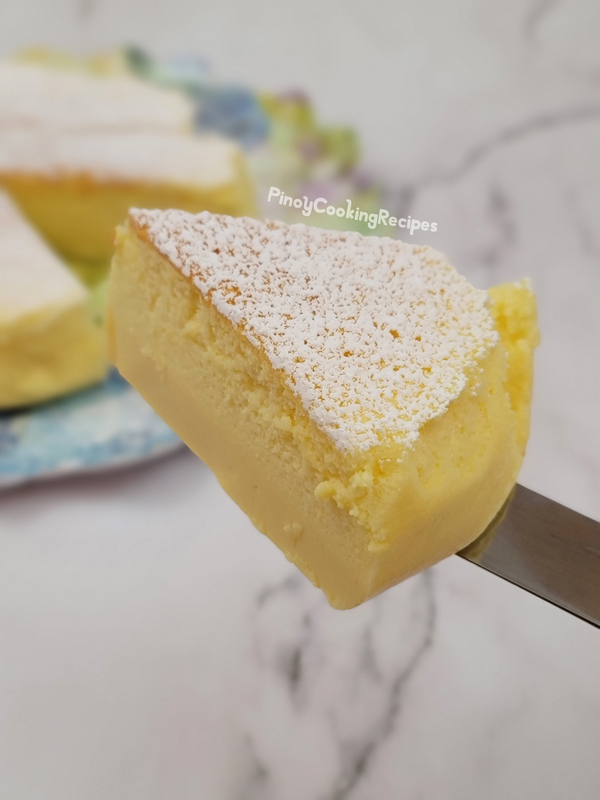
3-INGREDIENTS CHEESECAKE
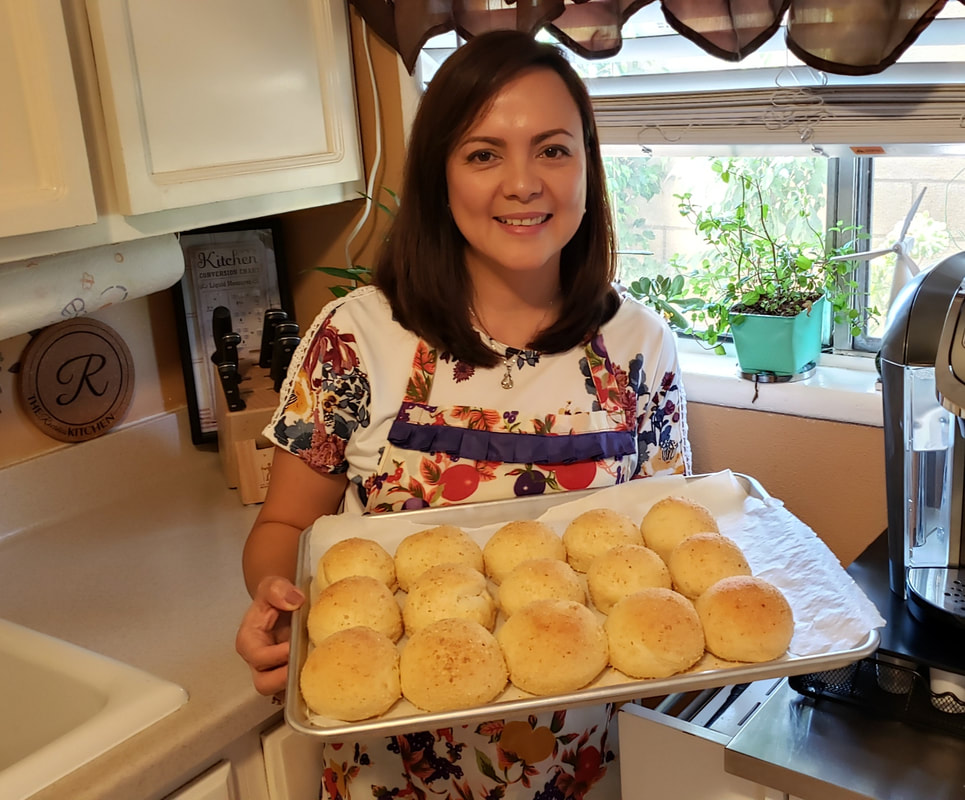
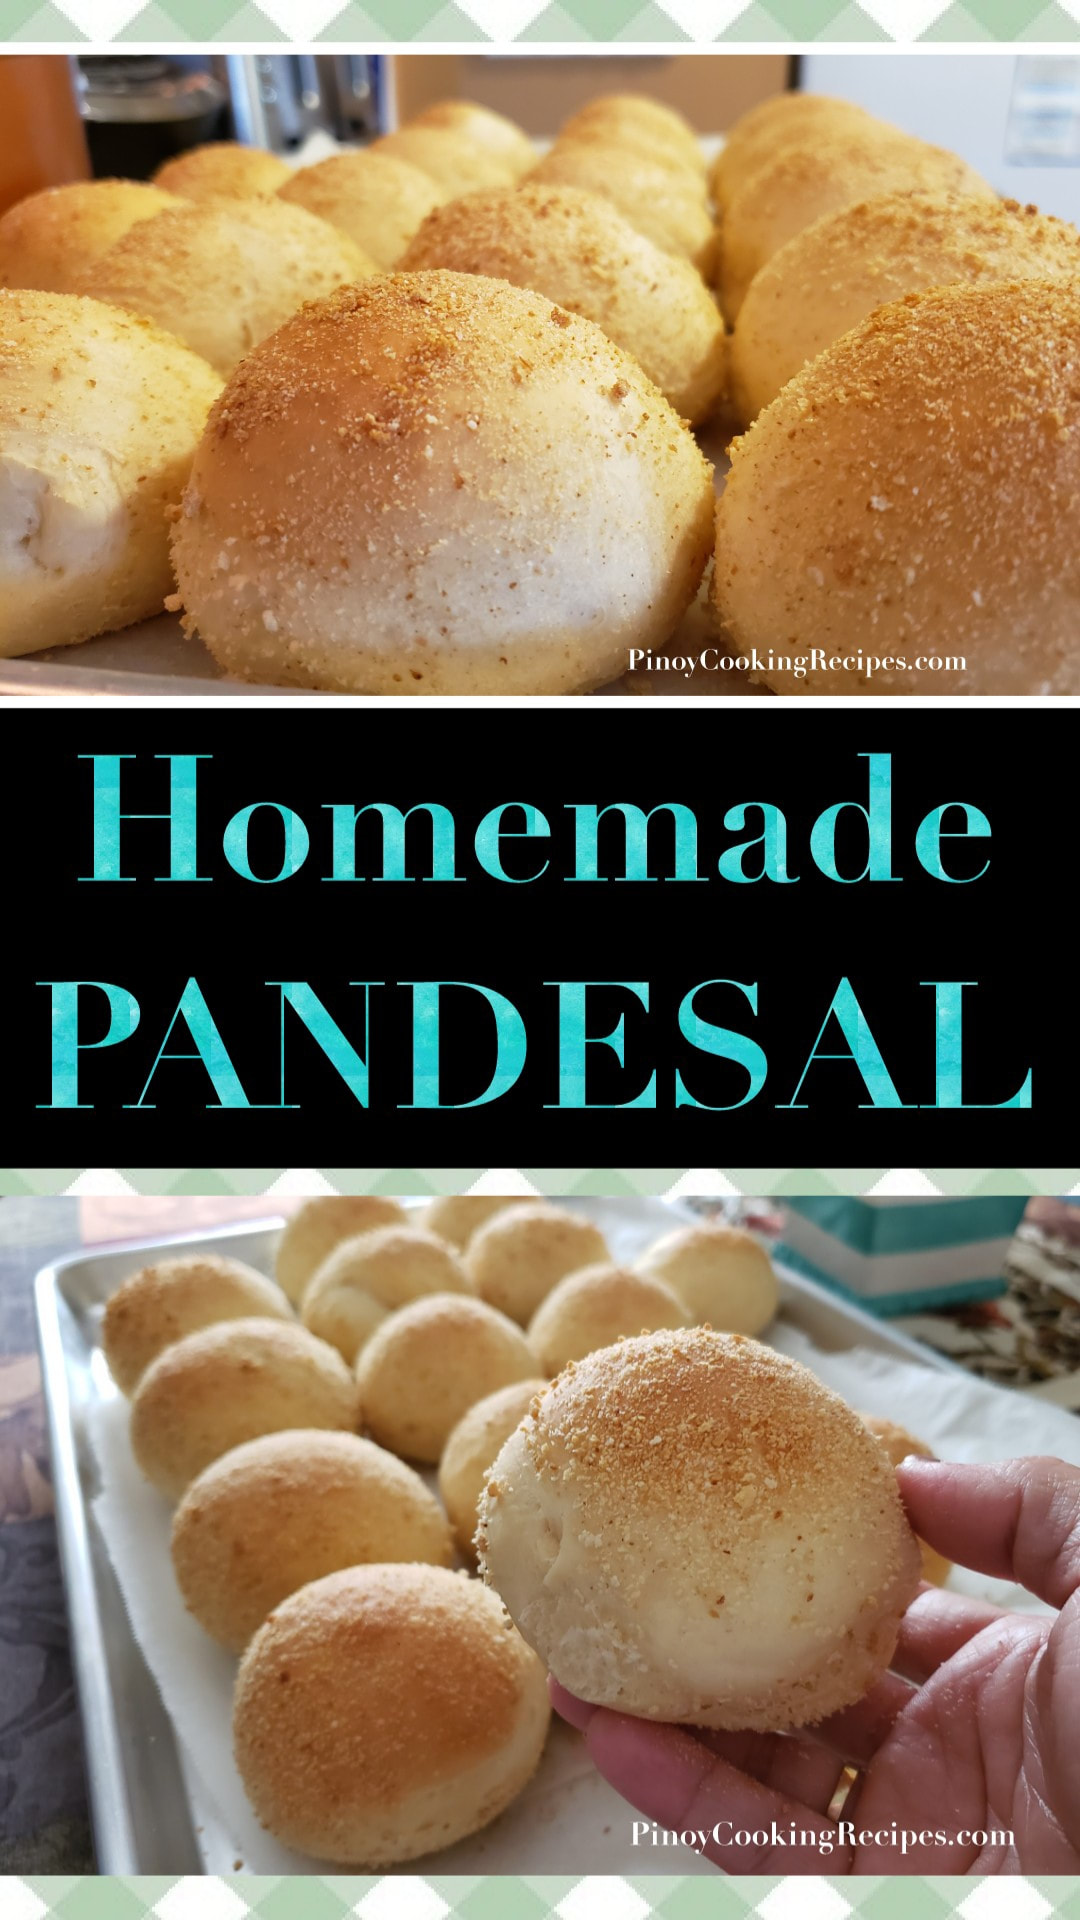
PANDESAL
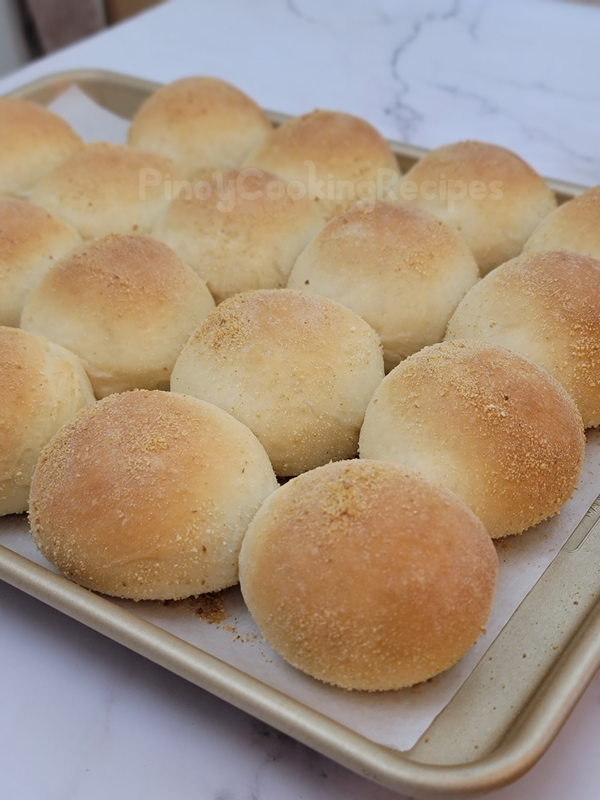
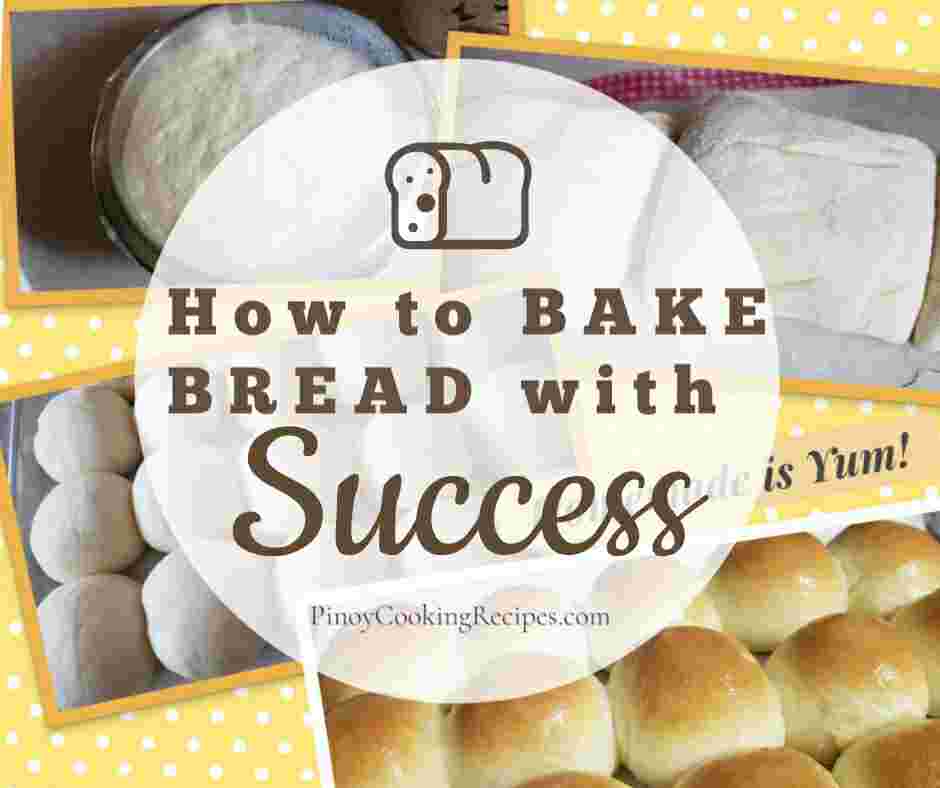
MY SOFT, FLUFFY AND DELICIOUS PANDESAL
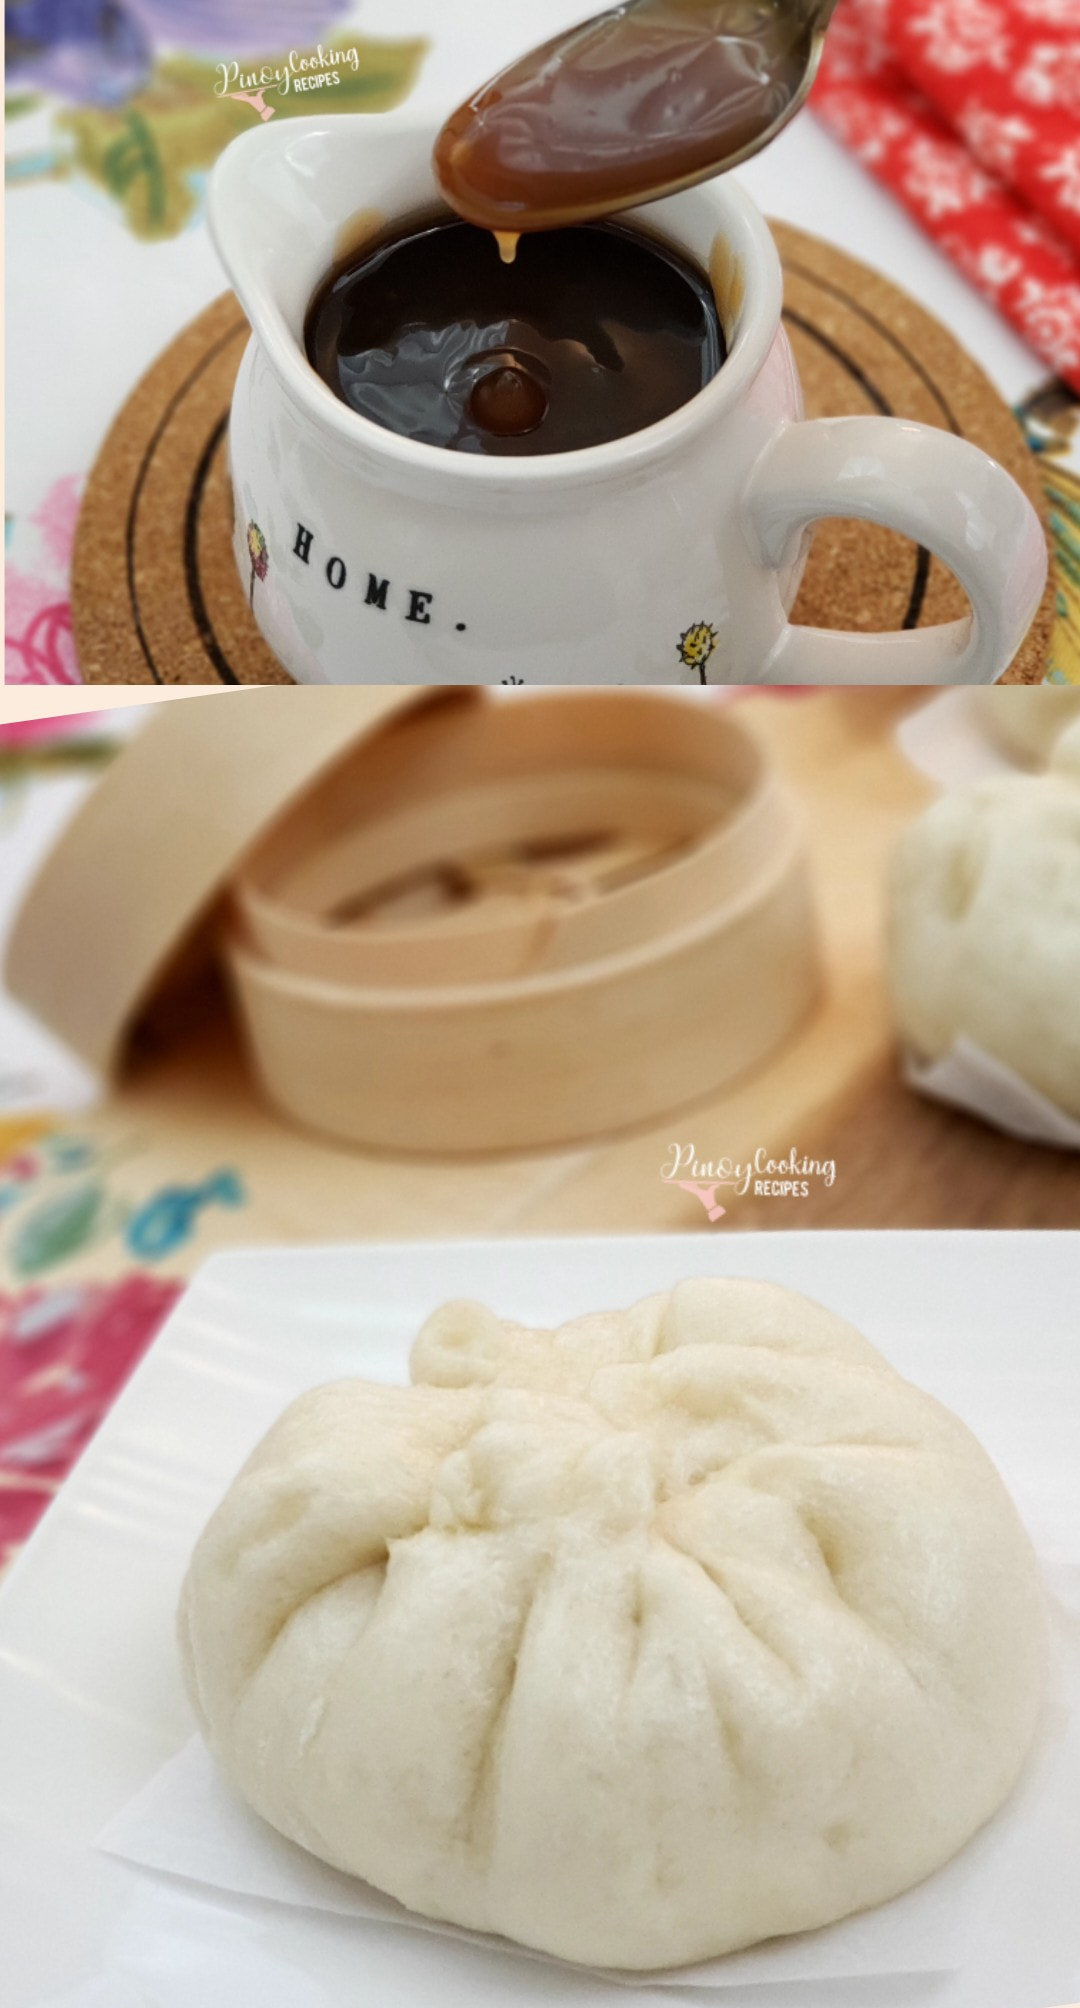
SIOPAO
Pineapple Upside-Down cake