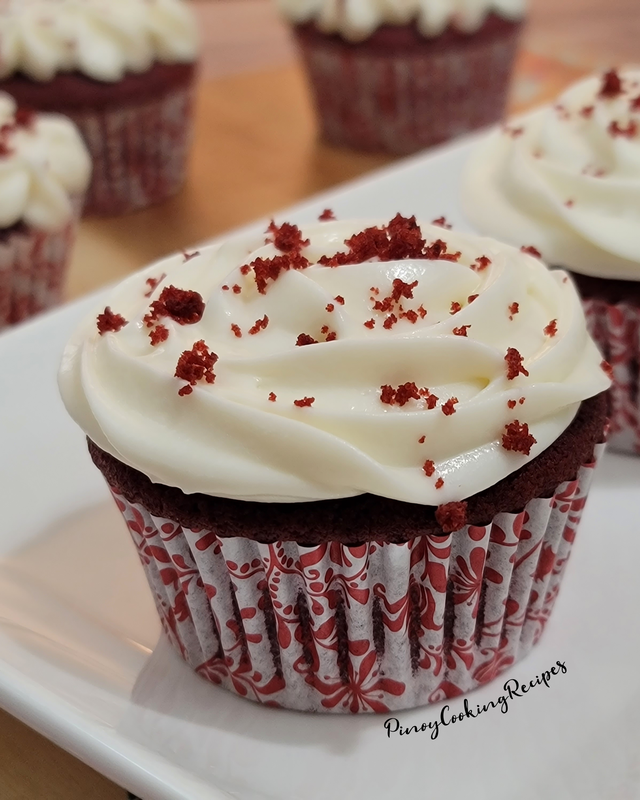
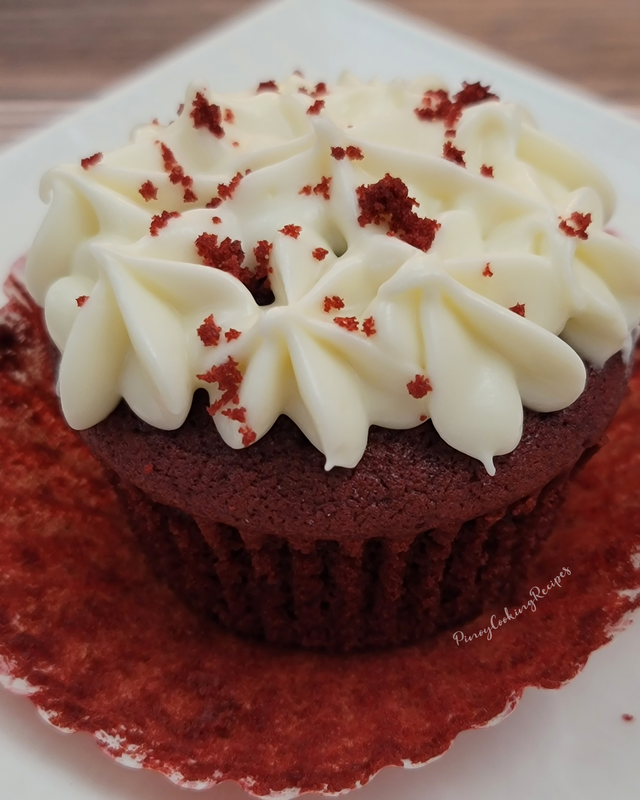
This recipe yielded 14 cupcakes. I used one extra cupcake and made crumbs out of it to use as a topping. For the frosting, you can add 1/2- 1 cup extra powdered sugar if you want it thicker and sweeter. You can also use sprinkles to decorate as desired. For me, the cake crumbs is just perfect with the frosting.
TIPS AND NOTES:
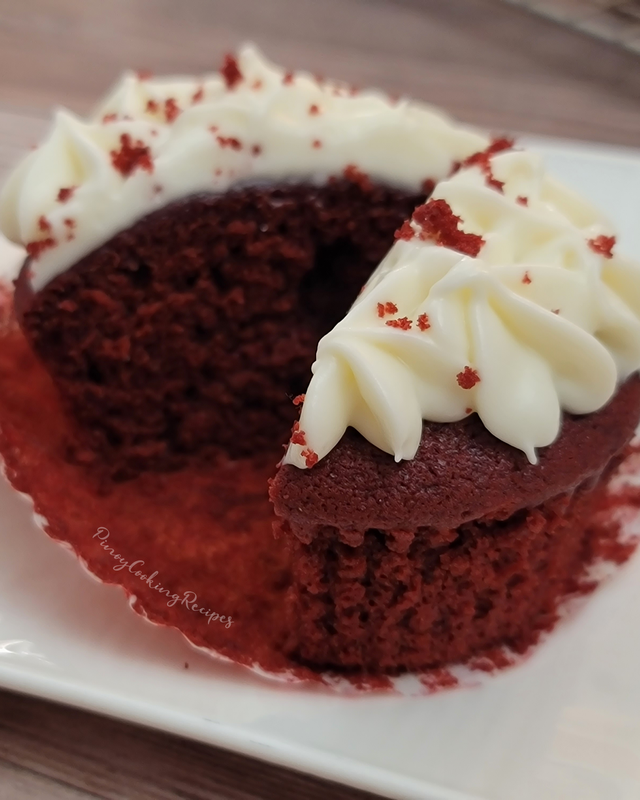
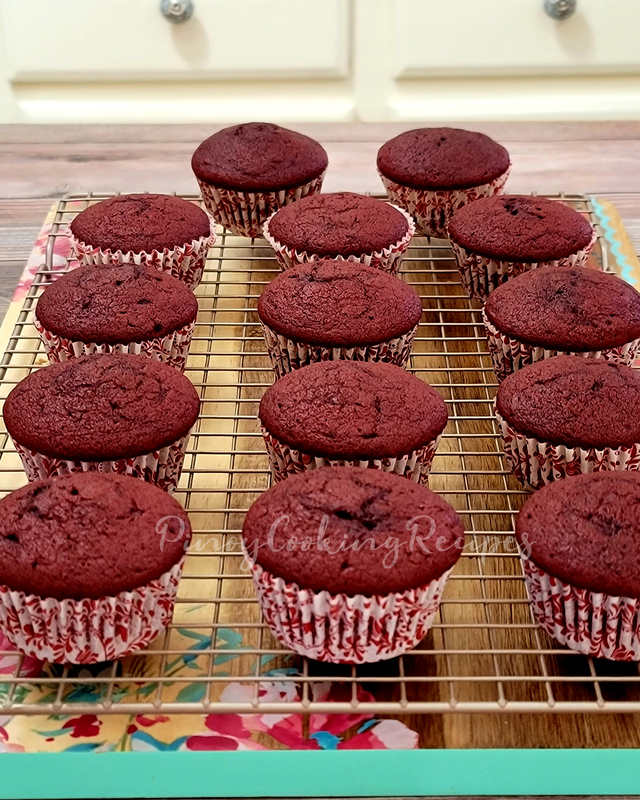
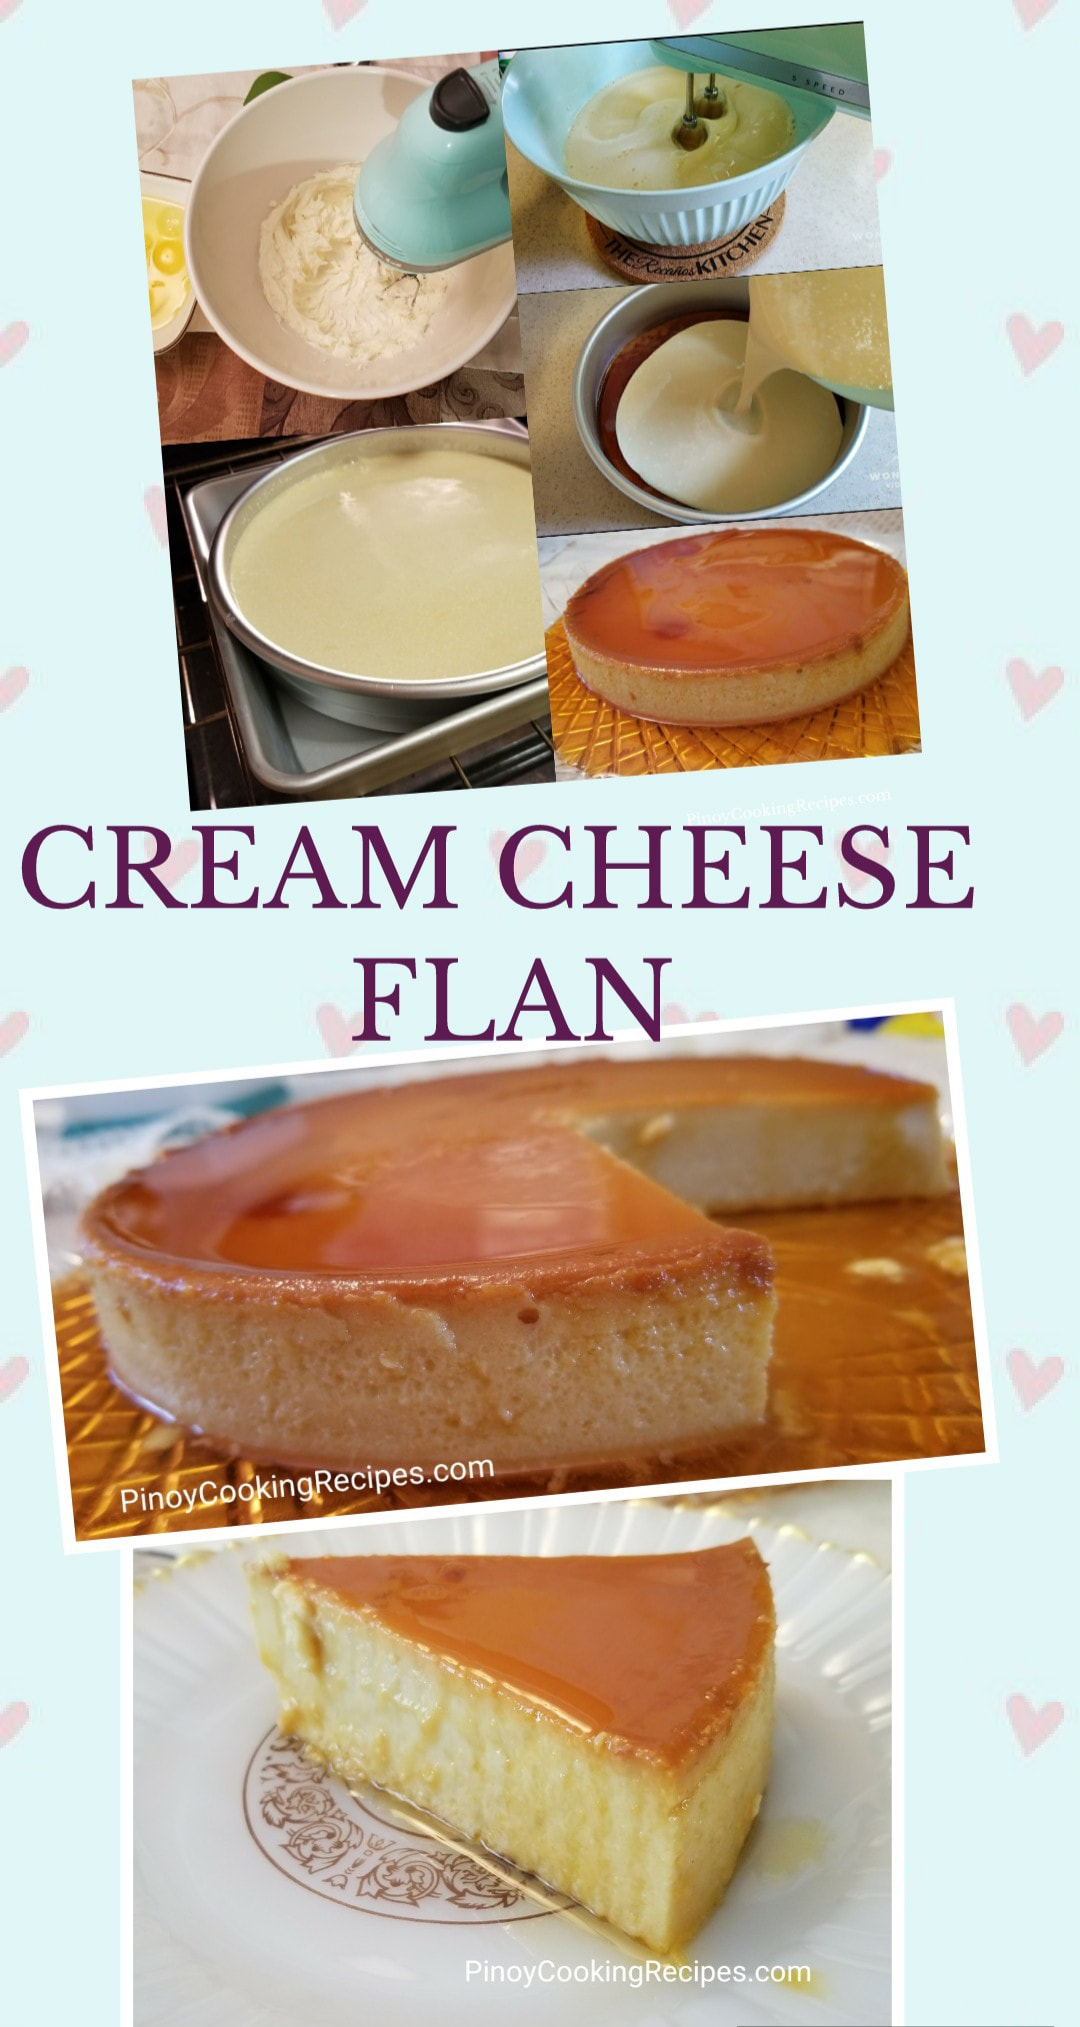
RED VELVET CUPCAKES RECIPE
Cream Cheese Frosting
|
|
Procedure:
|
|
TIPS AND NOTES:
- Make sure to sift the dry ingredients together so that they are well incorporated. I also find that cocoa powder contains little chocolate balls that you'll catch on the sifter. Do not toss that but instead use your hand, a spoon or spatula to press it against the sieve to make fine crumbs.
- When mixing the dry ingredients with the cake batter, make sure to beat on the lowest speed setting. The goal here is to lightly incorporate the ingredients together. When just combined, use a spatula to scrape the sides of bowl and fold until the batter is smooth. Overbeating makes the cake dry and you don't want that.
- Check the cupcakes before the set time. Oven temperature varies but do not open the oven in the middle of the baking time. Say like for this one to bake at 18-22 minutes, check at 17 minutes and insert a toothpick in middle if it comes out clean. If not, use the time recommended and adjust as needed. Do not overbake.
- For the frosting, you can add 1/2 cup more powdered sugar if you want a thicker and sweeter frosting. You can taste test and adjust according to your liking.
YOU MAY ALSO LIKE
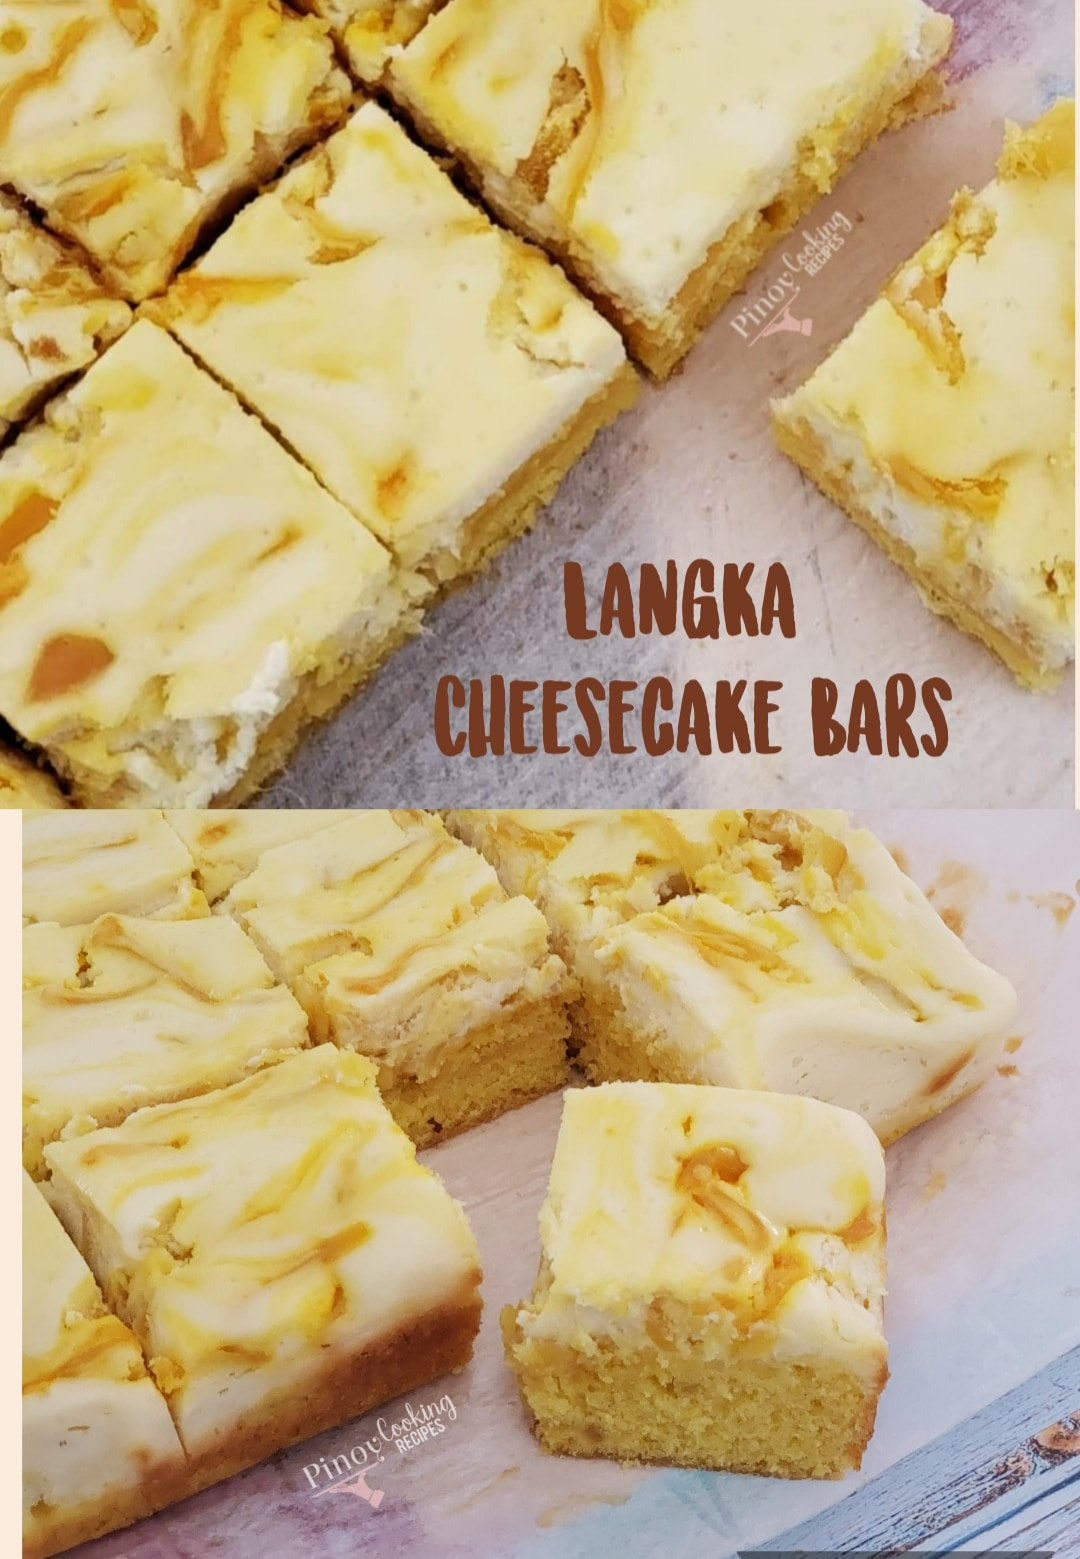
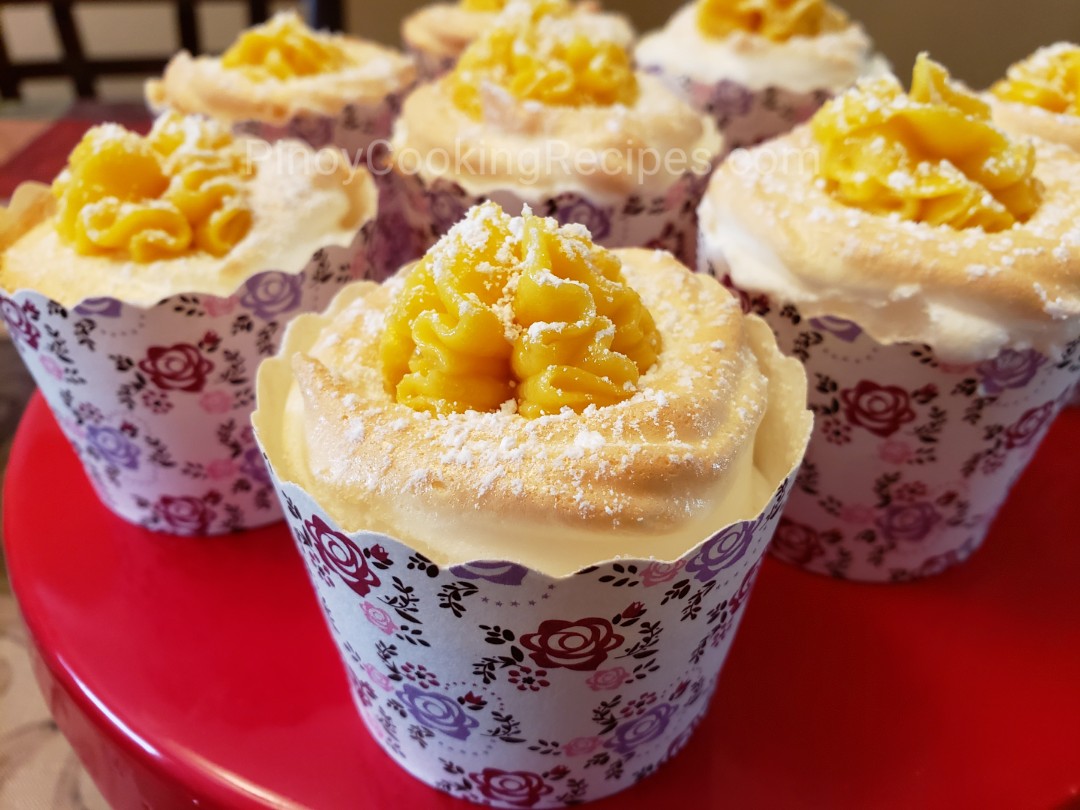
BRAZO DE MERCEDES CUPCAKES
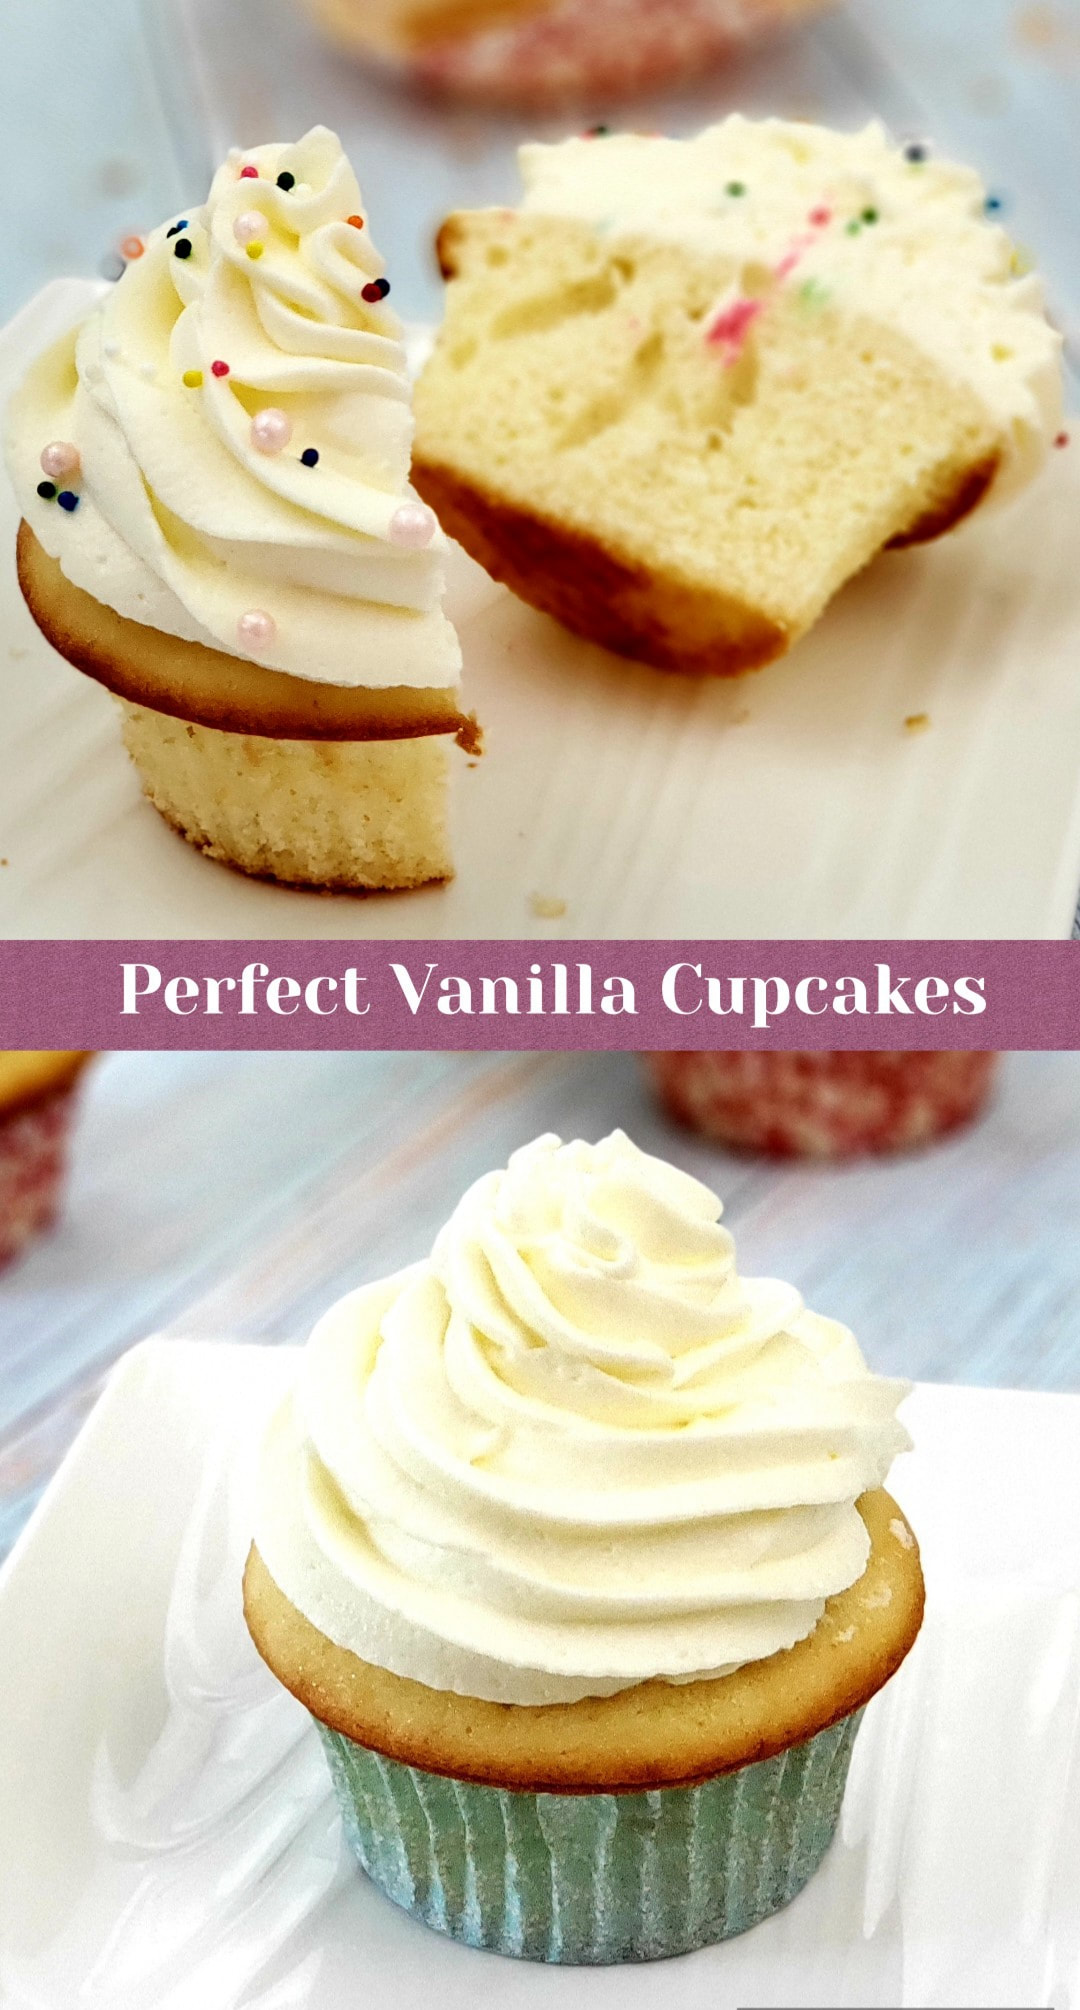
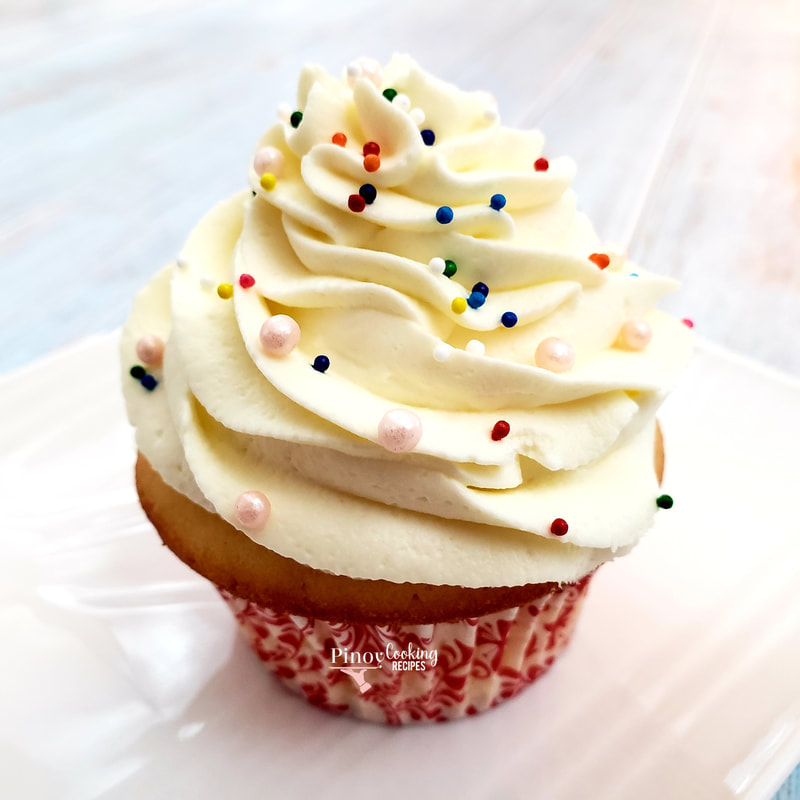
VANILLA CUPCAKES
PRINTABLE RECIPE
4 Comments
Klarr
2/15/2021 09:23:45 am
Followed your recipe for our Valentine’s day. Thank you so much Ma’am Janette! My family loves it!
Janette
2/15/2021 09:34:00 am
Great! So glad you all enjoyed. Hope you had a great Valentine's day! Take care and thanks for the comment. Much appreciated :)
Rona Corpuz
10/8/2021 05:57:49 am
Nahanap ko din 😁 wala po ba kau balak magpublish ng book nyo? Mas madali po kasi hanapin mga recipes nyo kht wlang internet.
Janette
10/15/2021 08:06:57 am
Hi. I've been wanting to. Kaya lang Naka-base ako sa California and super mahal ng printing dito kaya gusto ko sana magpagawa sa Phils. Inabot ng pandemic hindi ako makauwi to inquire.
Leave a Reply.

Author
Hi! Janette here. Welcome to my blog PinoyCookingRecipes where you can find true and kitchen tested recipes. To read more about me, click here.
follow ME:
recipe search:
This website contains affiliate links. If you make a purchase through these links, as an Amazon Associate, I will earn a small amount from qualifying purchases at no cost to you.
 RSS Feed
FEATURED RECIPES
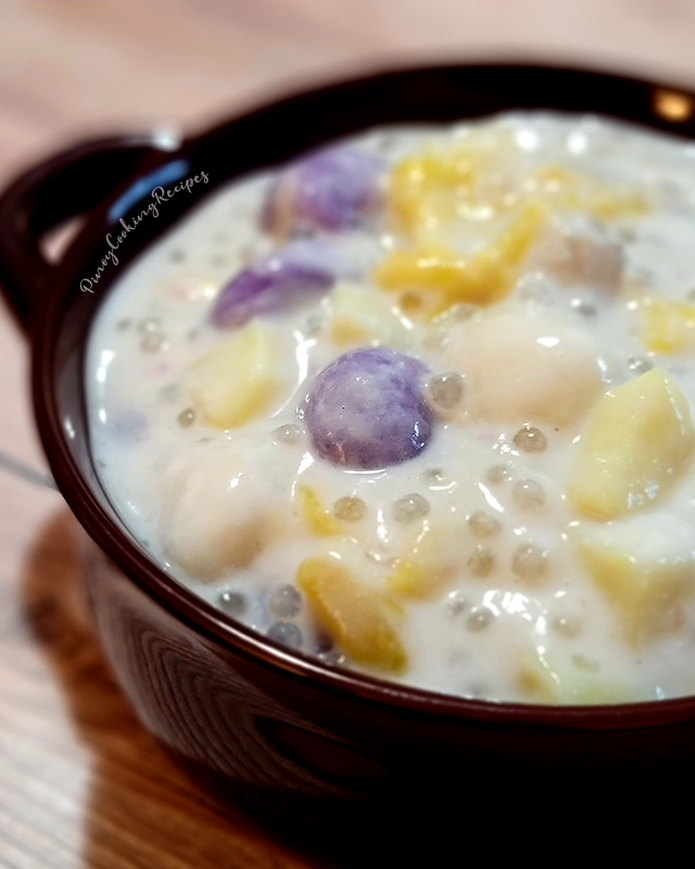
BILO-BILO
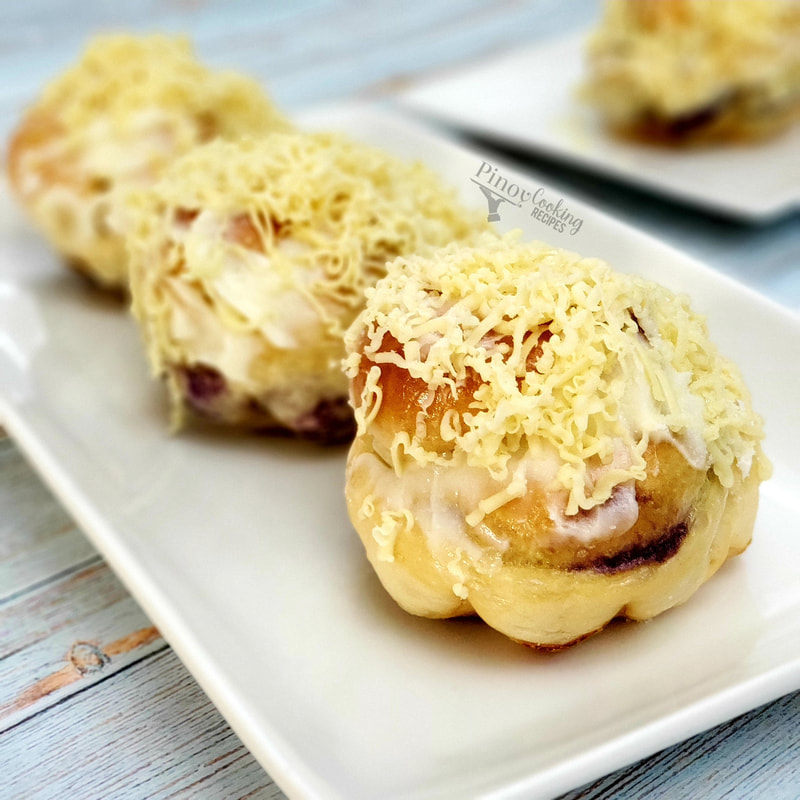
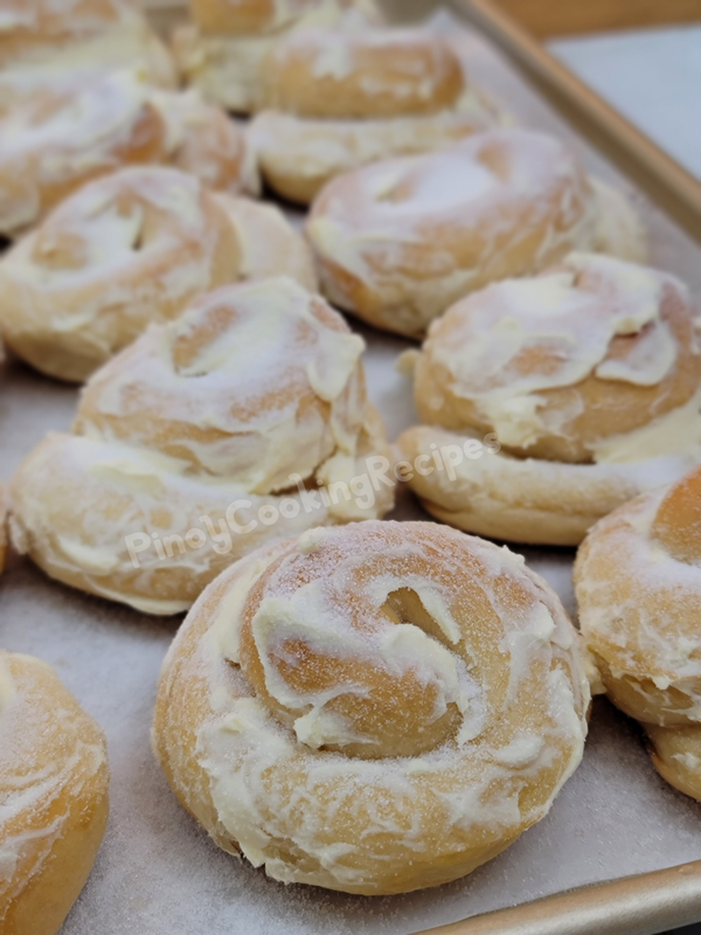
UBE ENSAYMADA
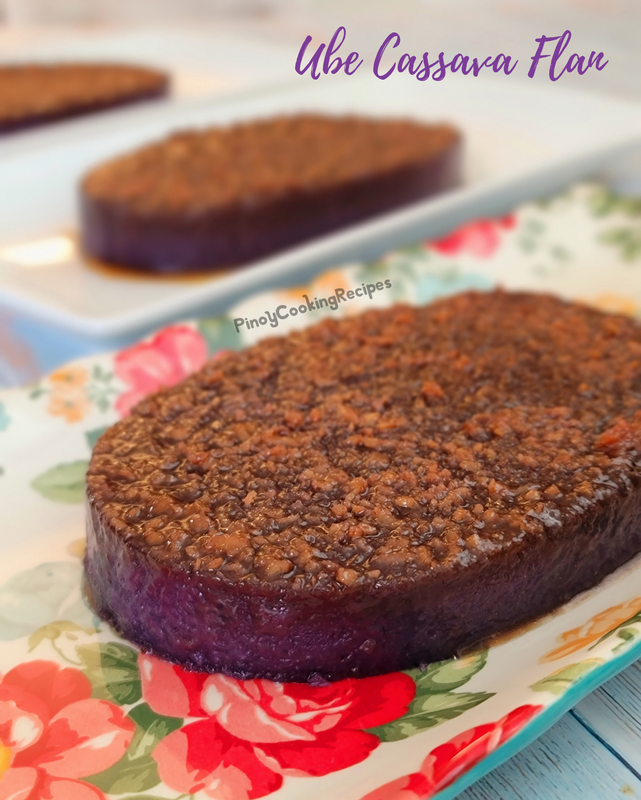
UBE CASSAVA FLAN
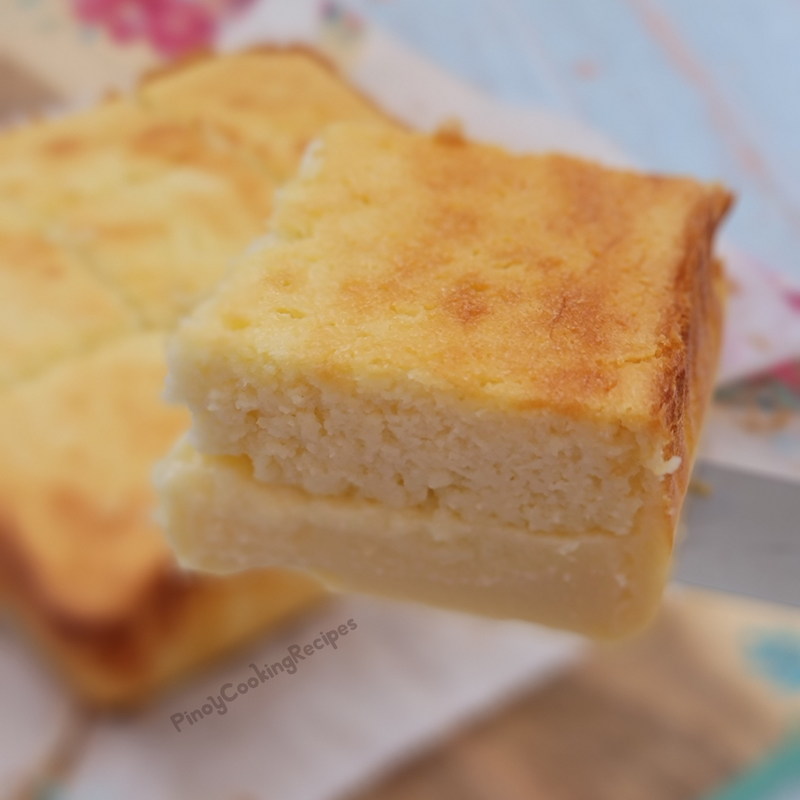
Custard Cake
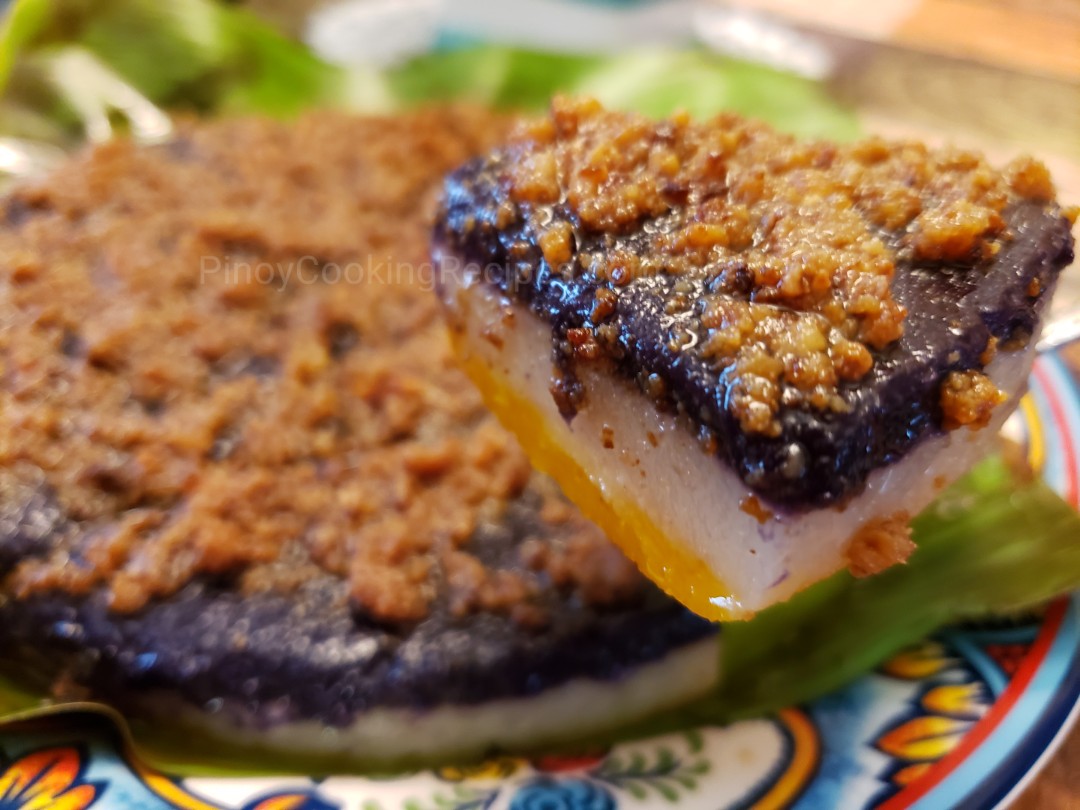
NATIVE KUTSINTA
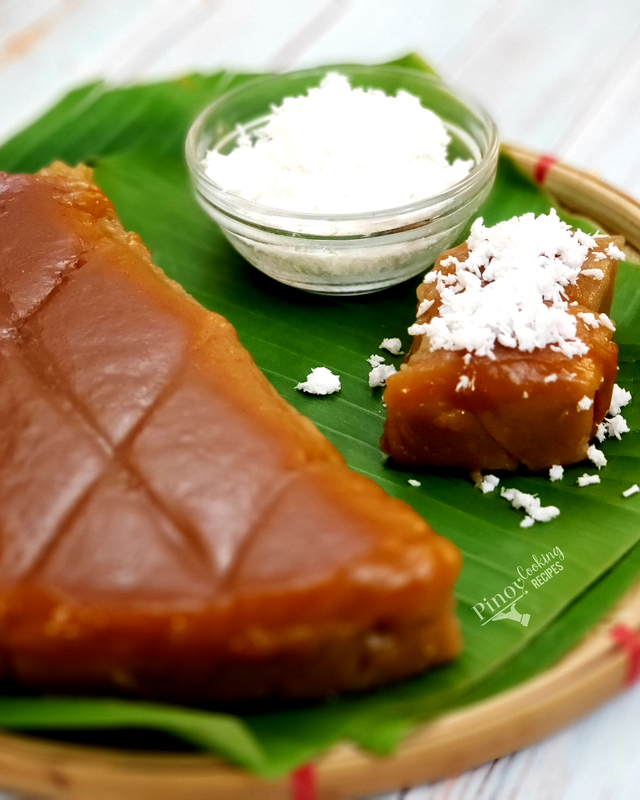
Sapin-Sapin
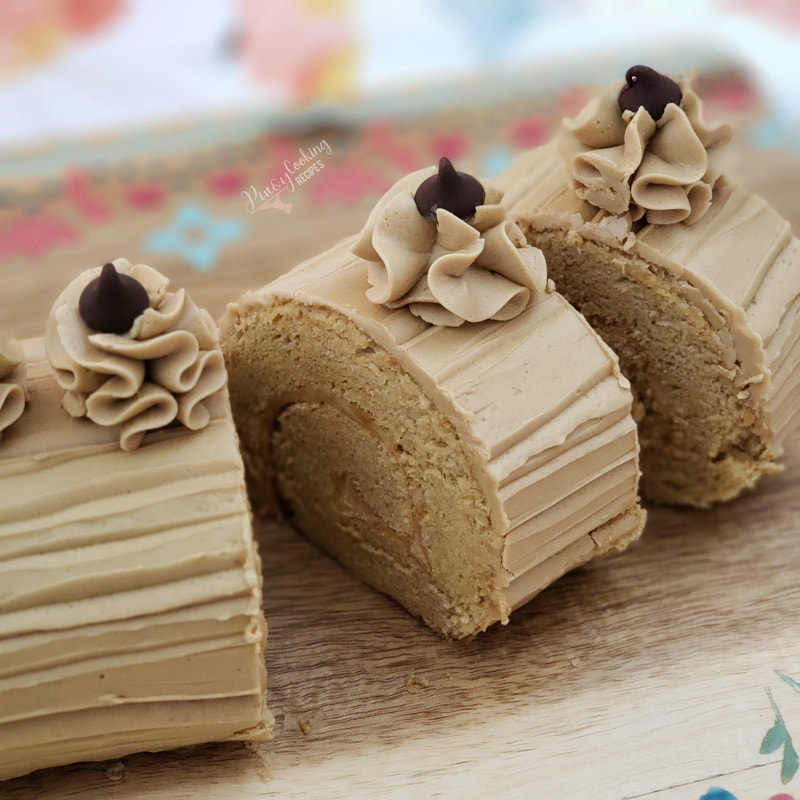
Mocha Roll
recent posts
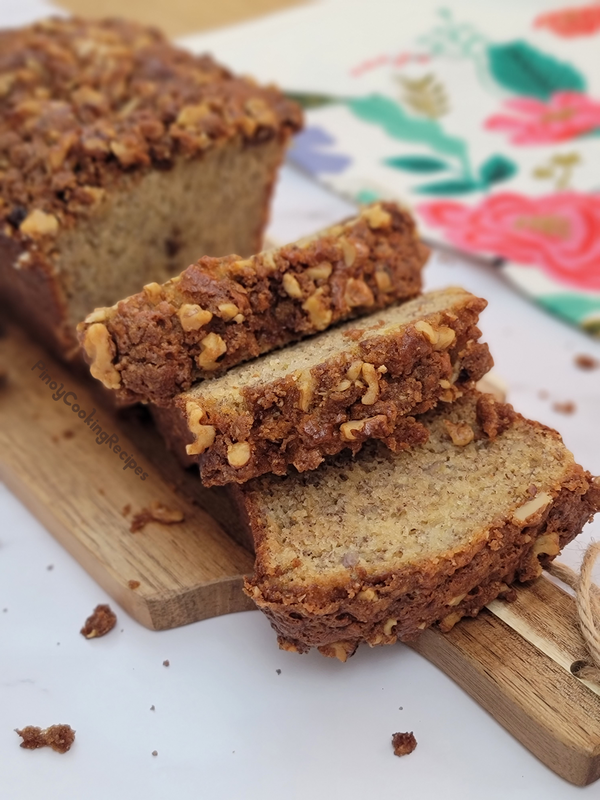
Banana Loaf Bread
TRADTITIONAL ENSAYMADA
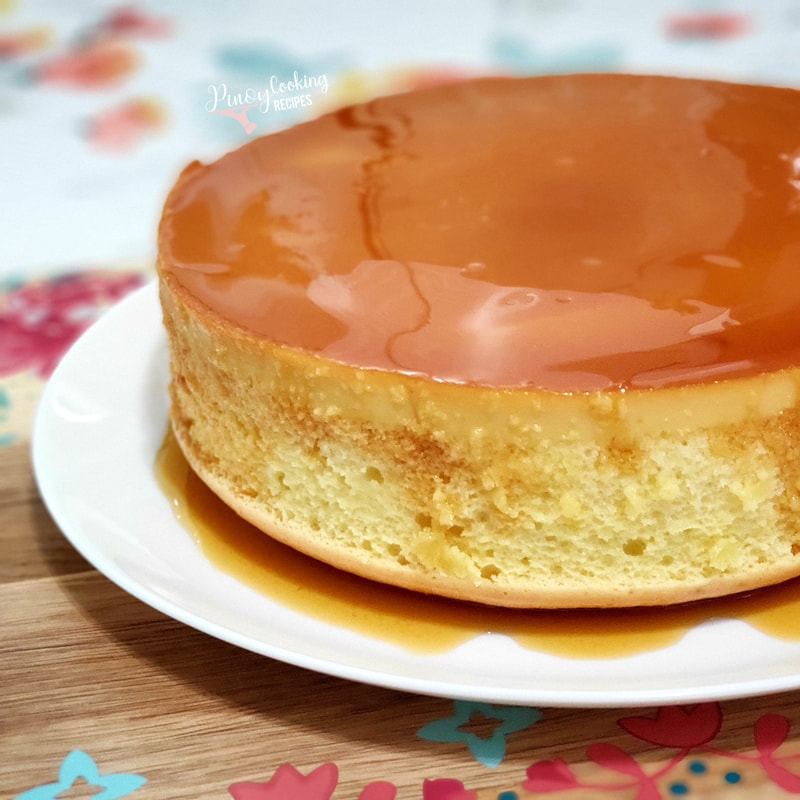
MAGIC CUSTARD CAKE
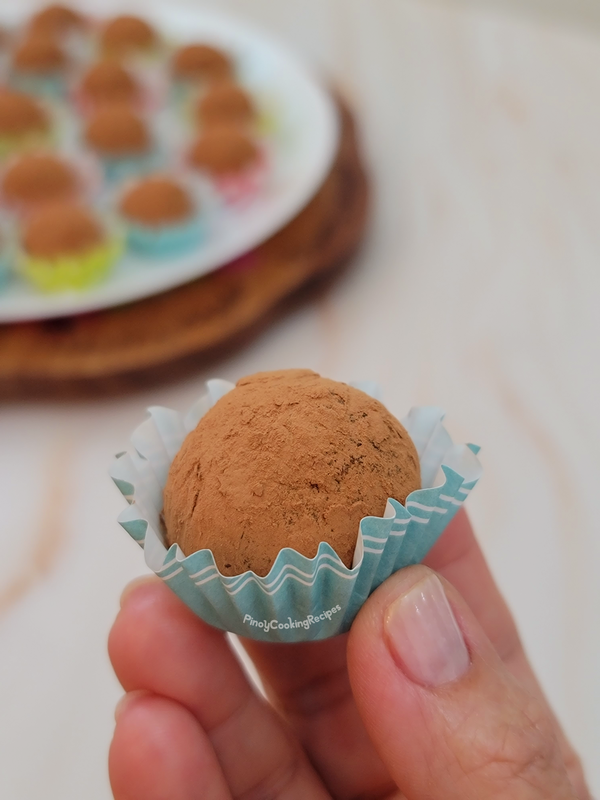
TIRAMISU TRUFFLES
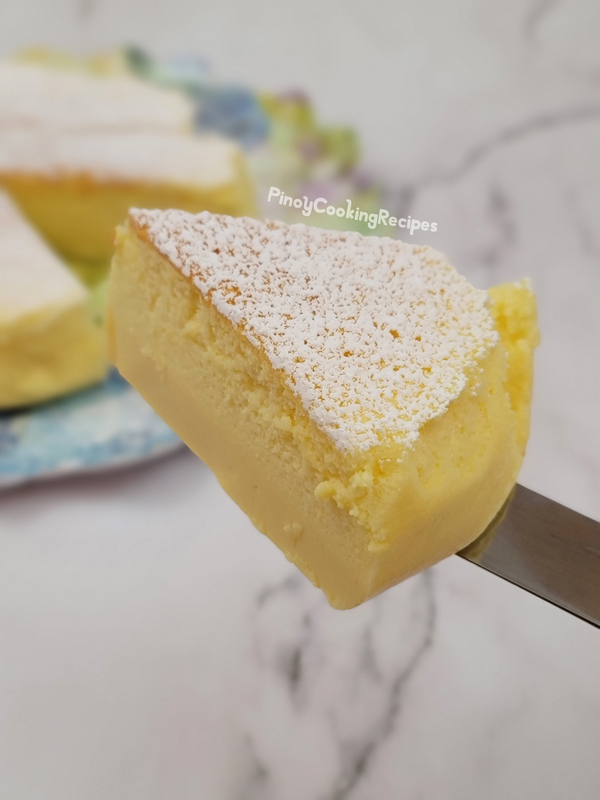
3-INGREDIENTS CHEESECAKE
PANDESAL
MY SOFT, FLUFFY AND DELICIOUS PANDESAL
SIOPAO
Pineapple Upside-Down cake