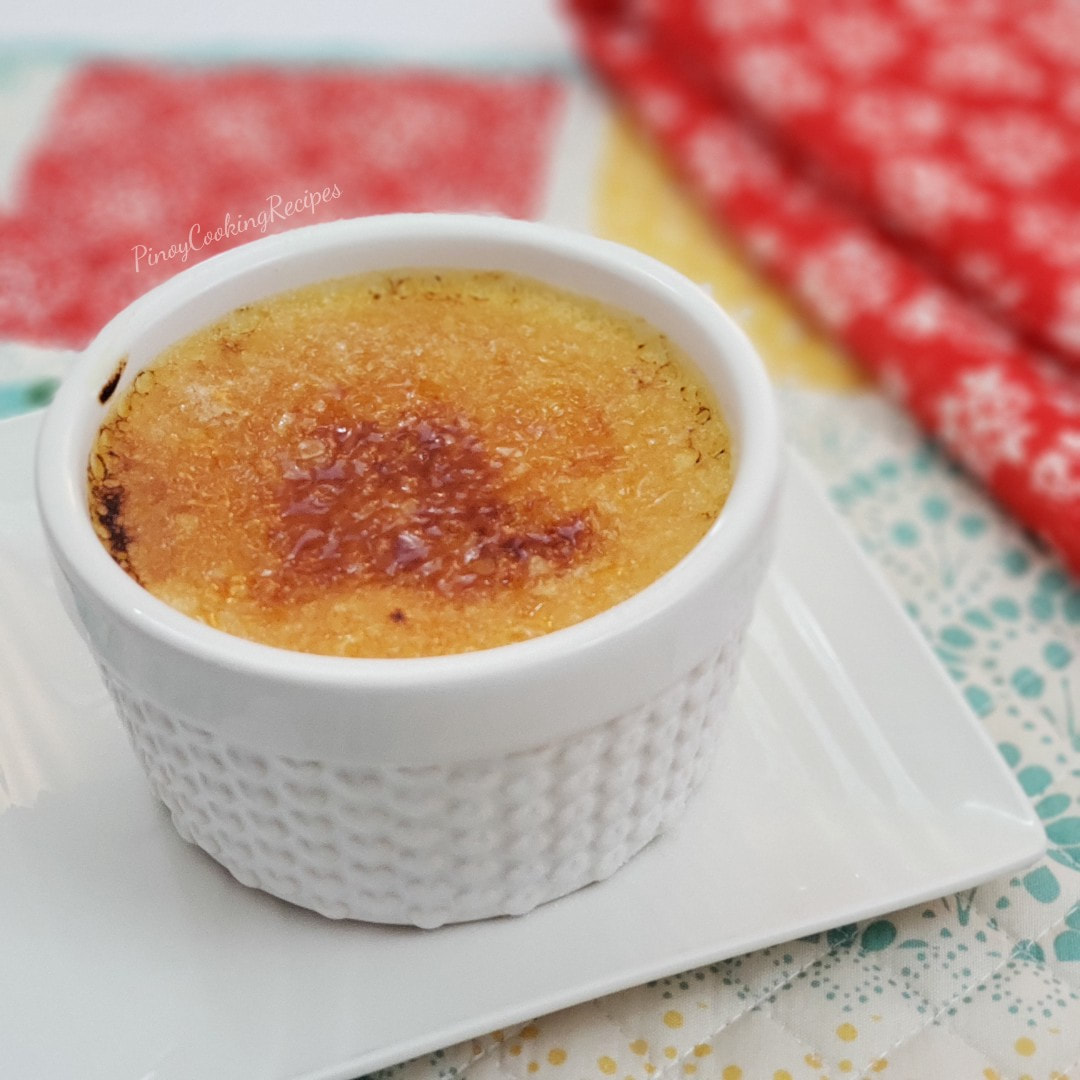

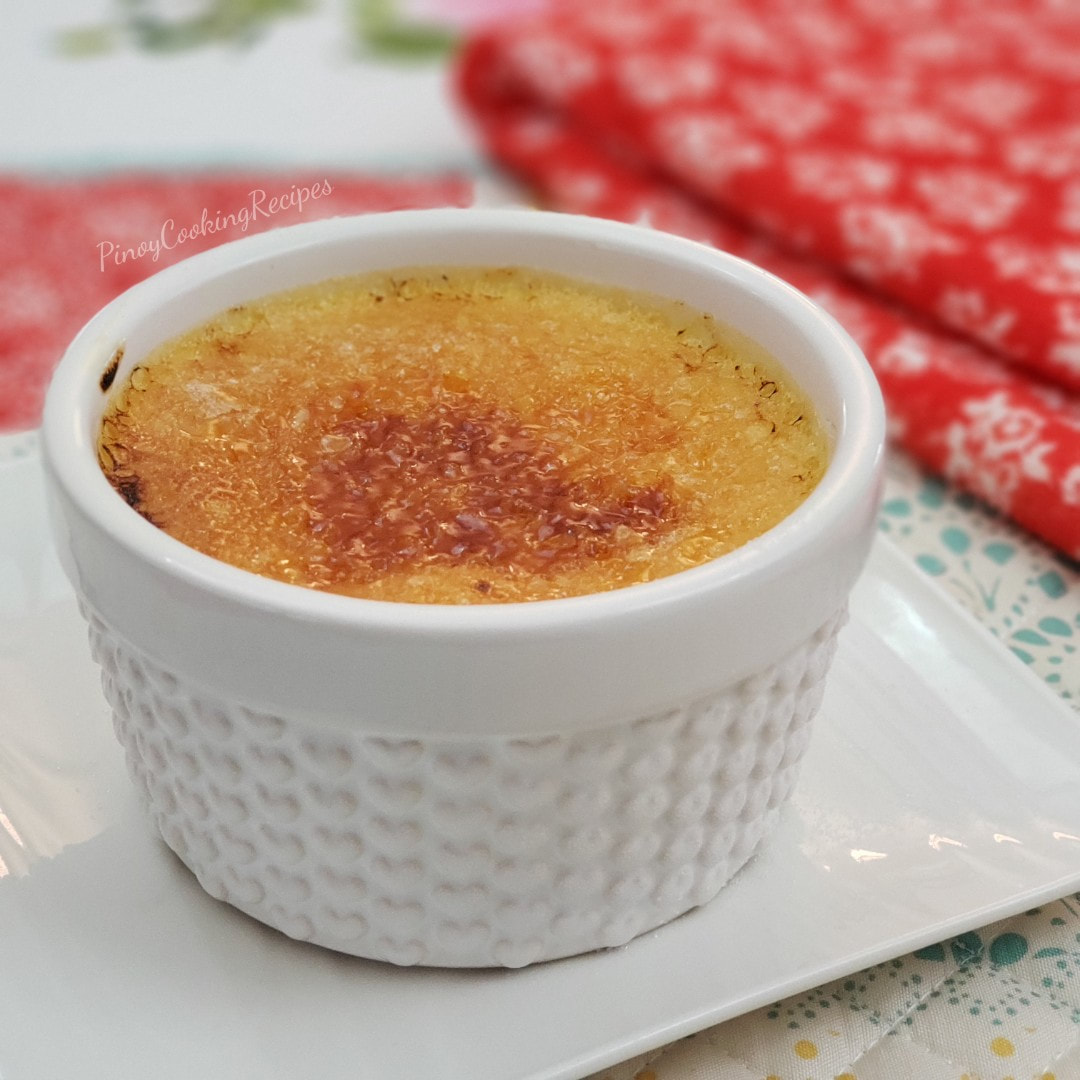
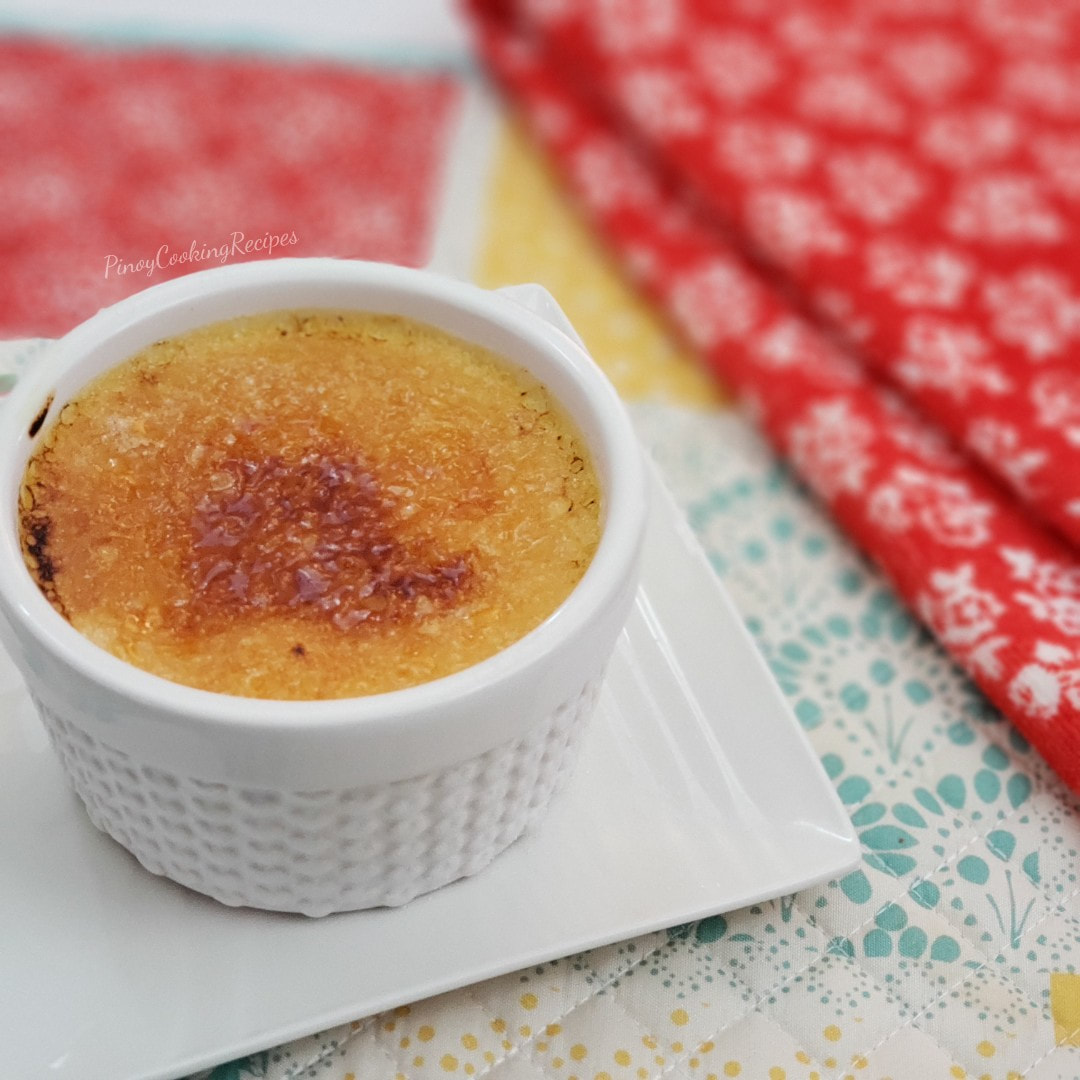
Food torch doesn't cost too much. It's great and fun to have when making Creme Brulee. But, you can use your oven's broiler setting to caramelize the top of your custard. Set your oven to broil and place your ramekin on your oven's top rack. Put it to your oven's broiler flame as close as possible. Just make sure to keep a really close eye on it to avoid burning it. Because it can go terribly wrong if you don't.
Another tip from Food Network, choose a metal spoon that you don't love so much and place it over a high flame on the stove. Let the bowl of the spoon get hot enough that it looks red. Remove the spoon from the stove (the handle shouldn't be hot because flatware doesn't conduct heat) and burn the top of the Creme Brulee with it.
If you will ask me about my experience when caramelizing the sugar, I highly suggest to invest on a torch. Super easy to use and you'll have a perfect Creme Brulee every time. You will have control over the flame unlike using a stove's broiler and the change burning it is high. If you would like to try the kitchen TORCH I used, click here.
creme brulee recipe
video
|

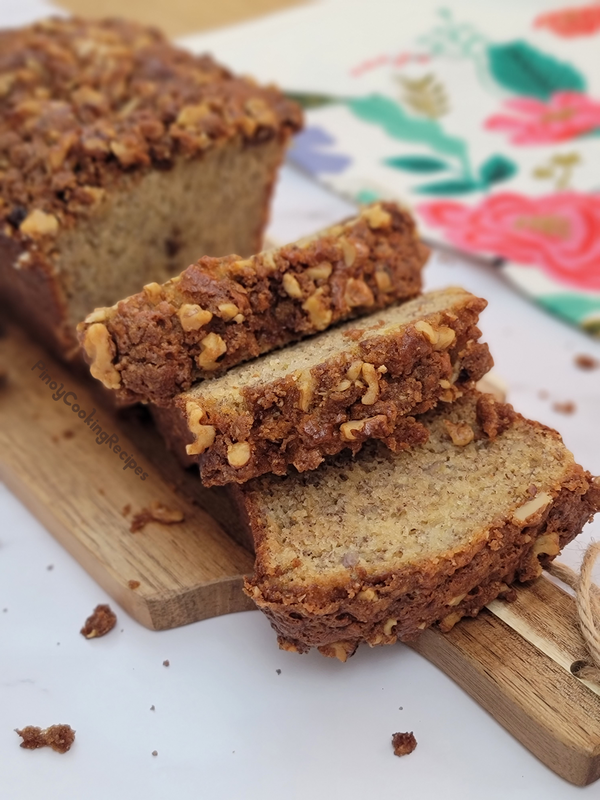
AuthorHi! Janette here. Welcome to my blog PinoyCookingRecipes where you can find true and kitchen tested recipes. To read more about me, click here. follow ME:recipe search:This website contains affiliate links. If you make a purchase through these links, as an Amazon Associate, I will earn a small amount from qualifying purchases at no cost to you. FEATURED RECIPESBILO-BILO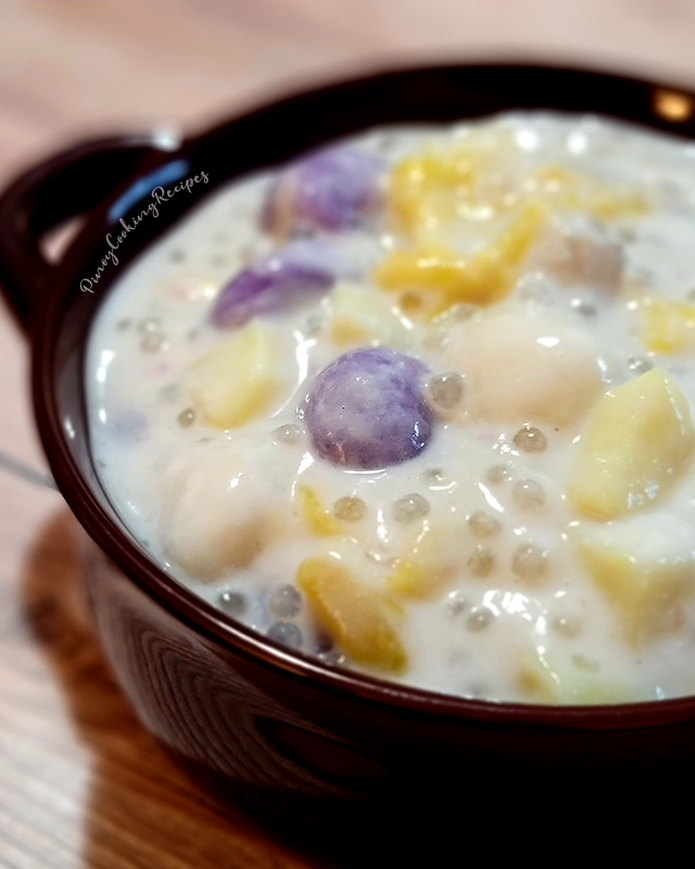
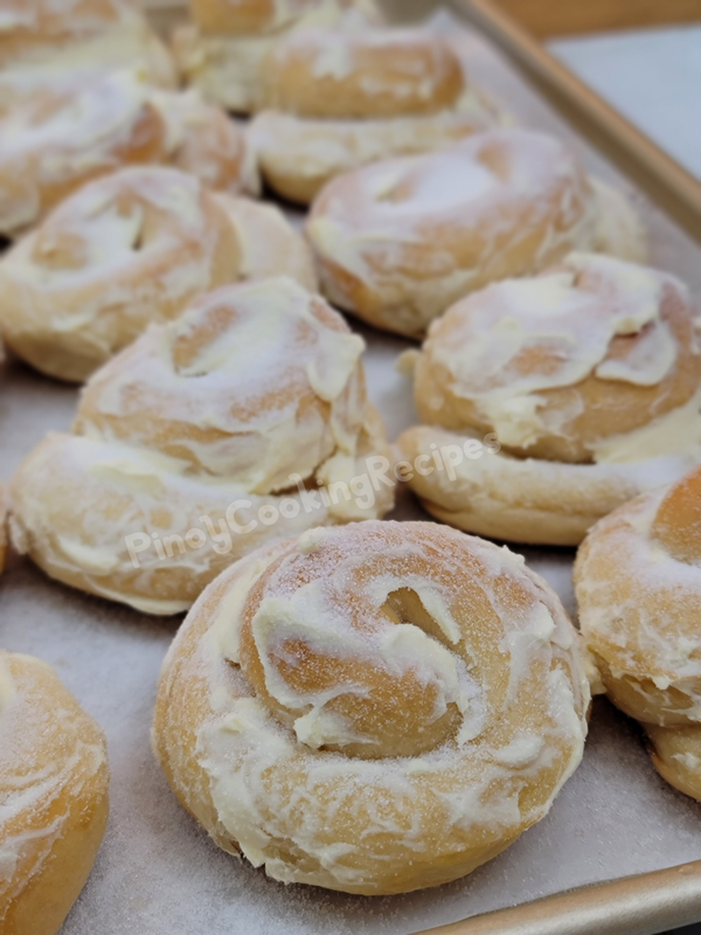
UBE ENSAYMADA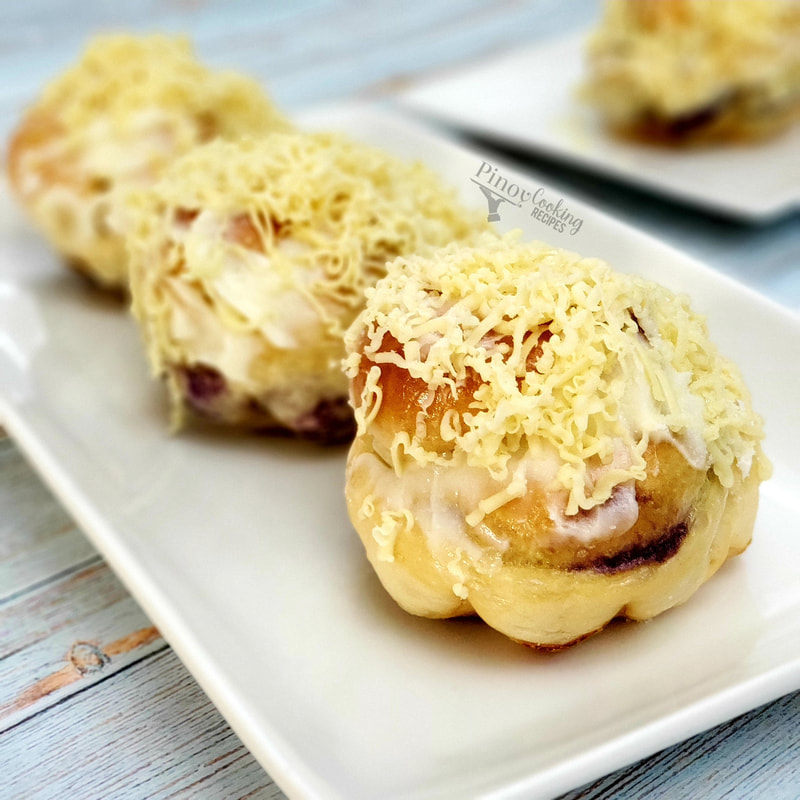
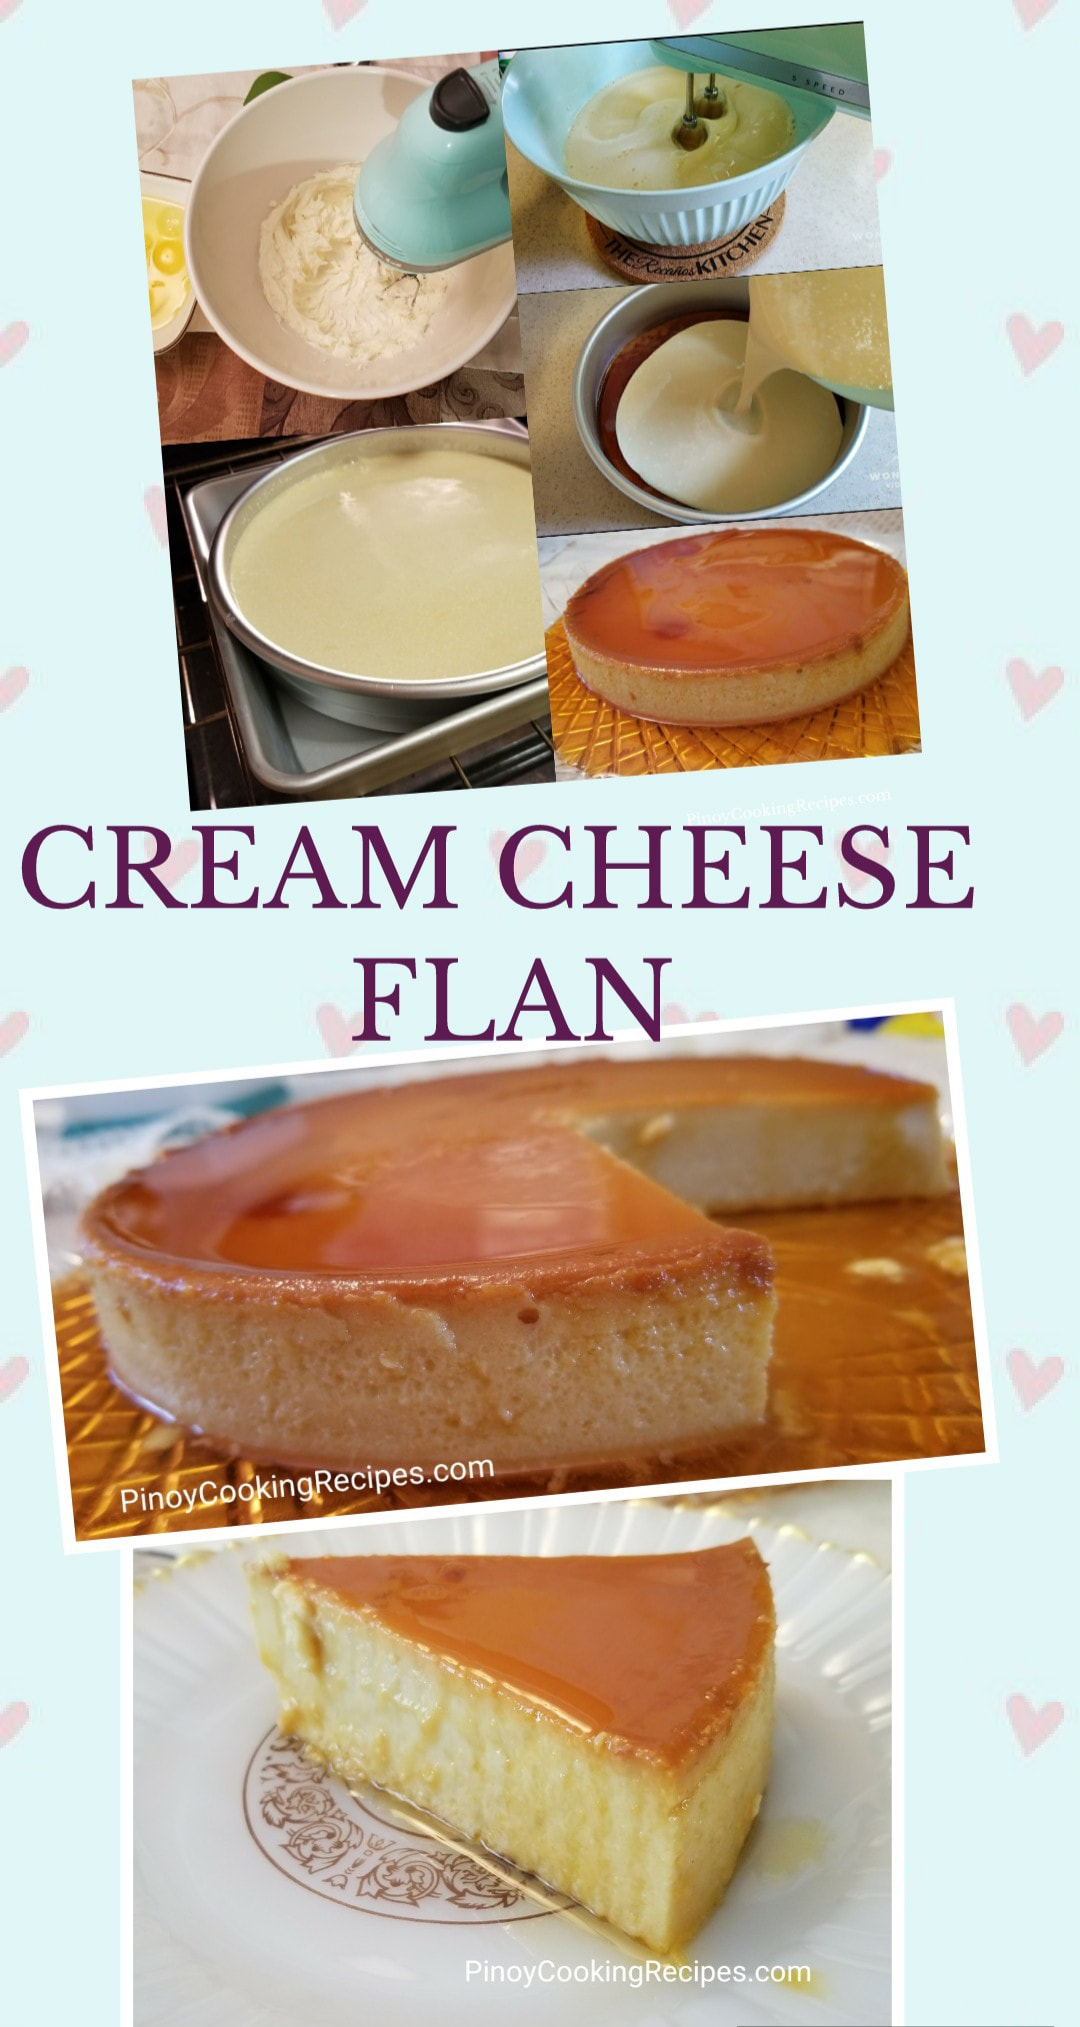
UBE CASSAVA FLAN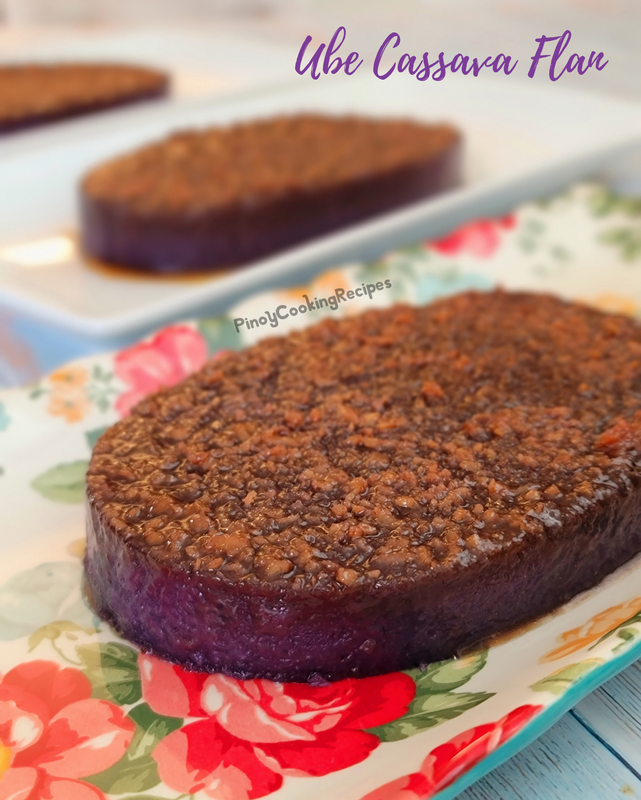
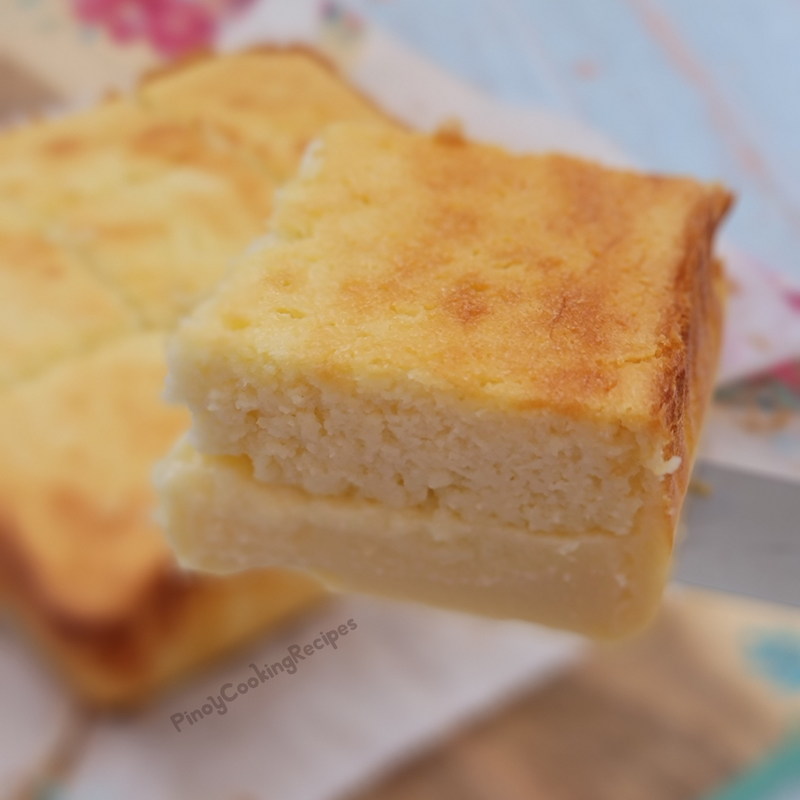
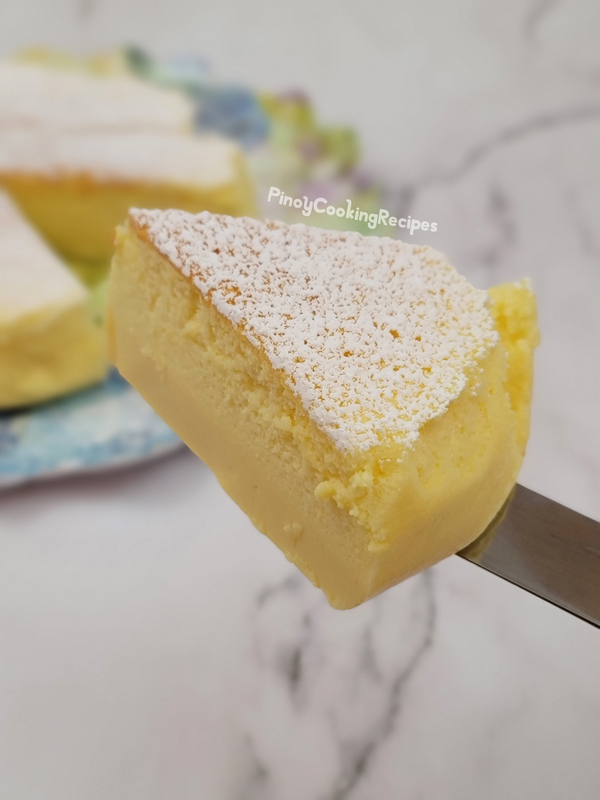
Custard Cake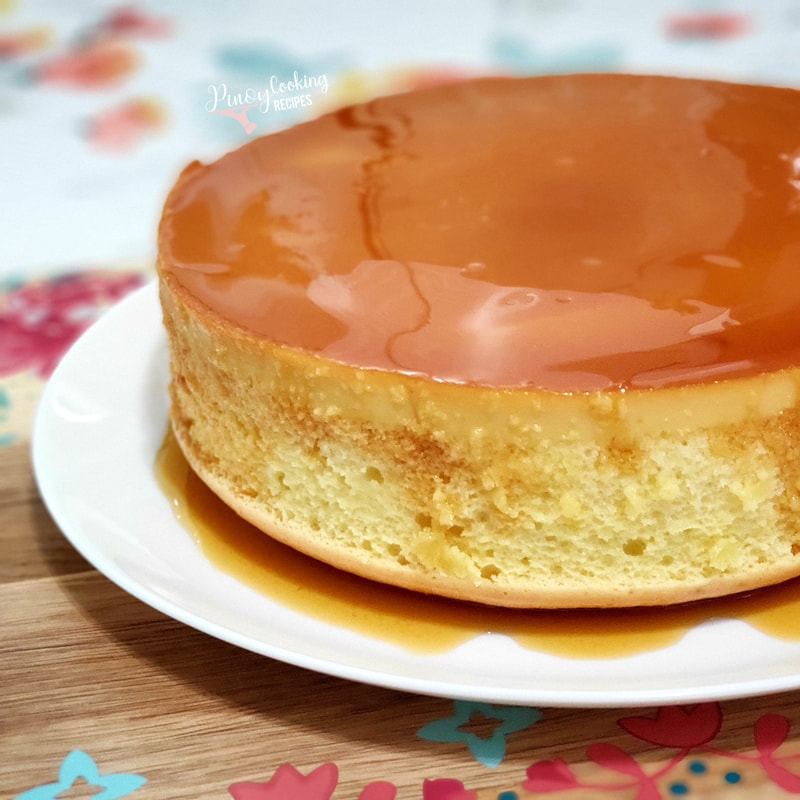
NATIVE KUTSINTA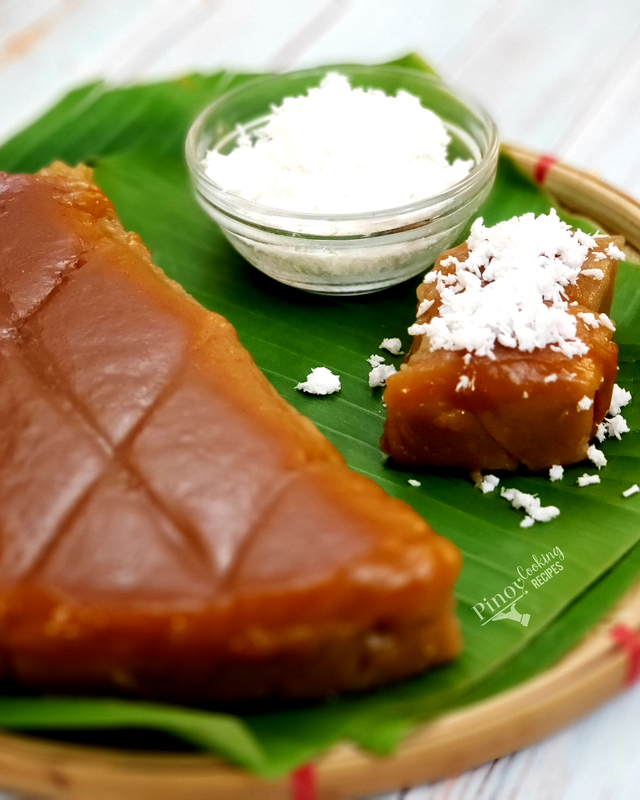
Sapin-Sapin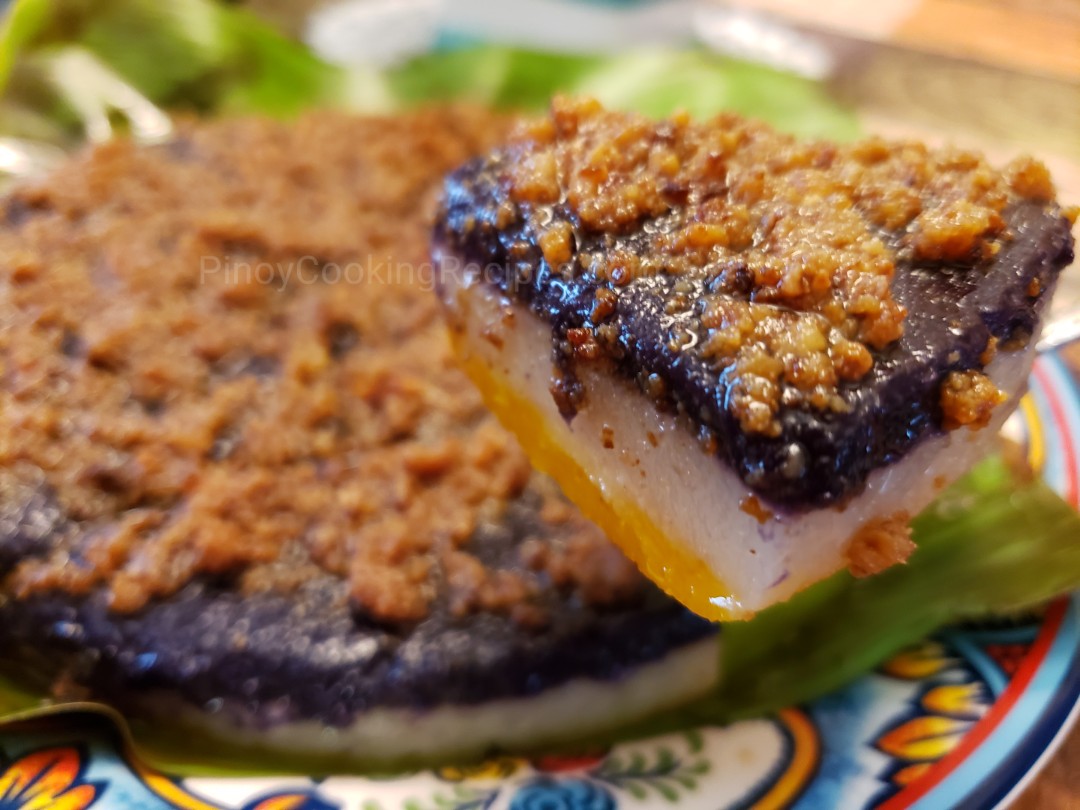
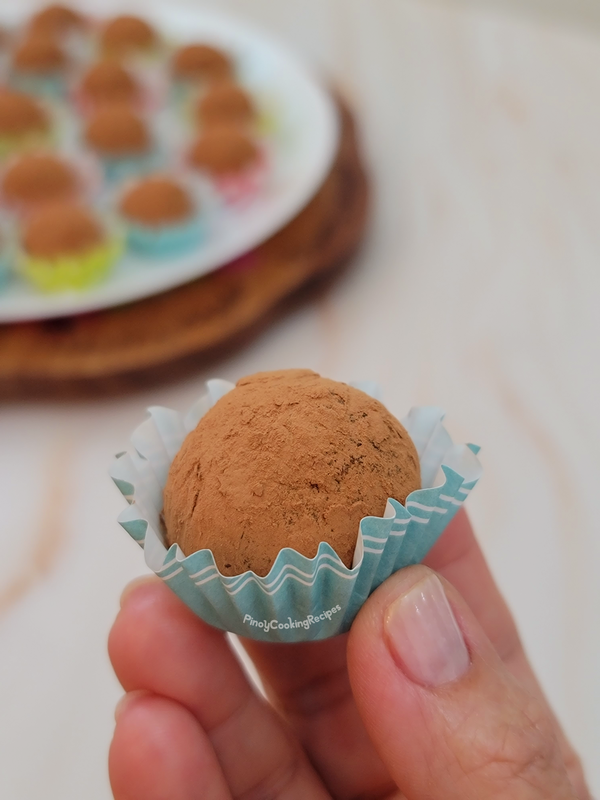
Mocha Roll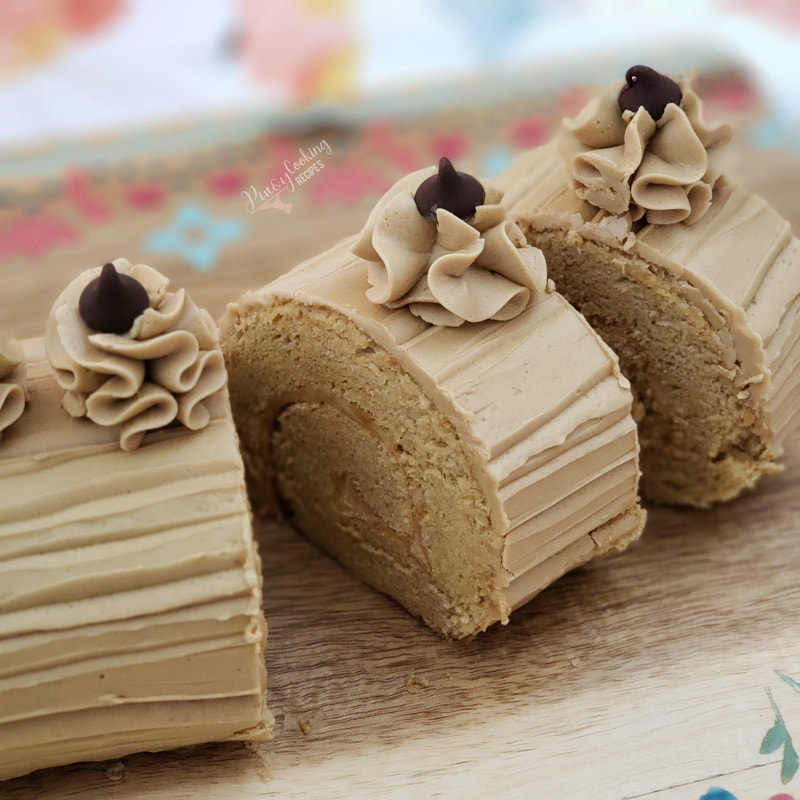
|
 RSS Feed