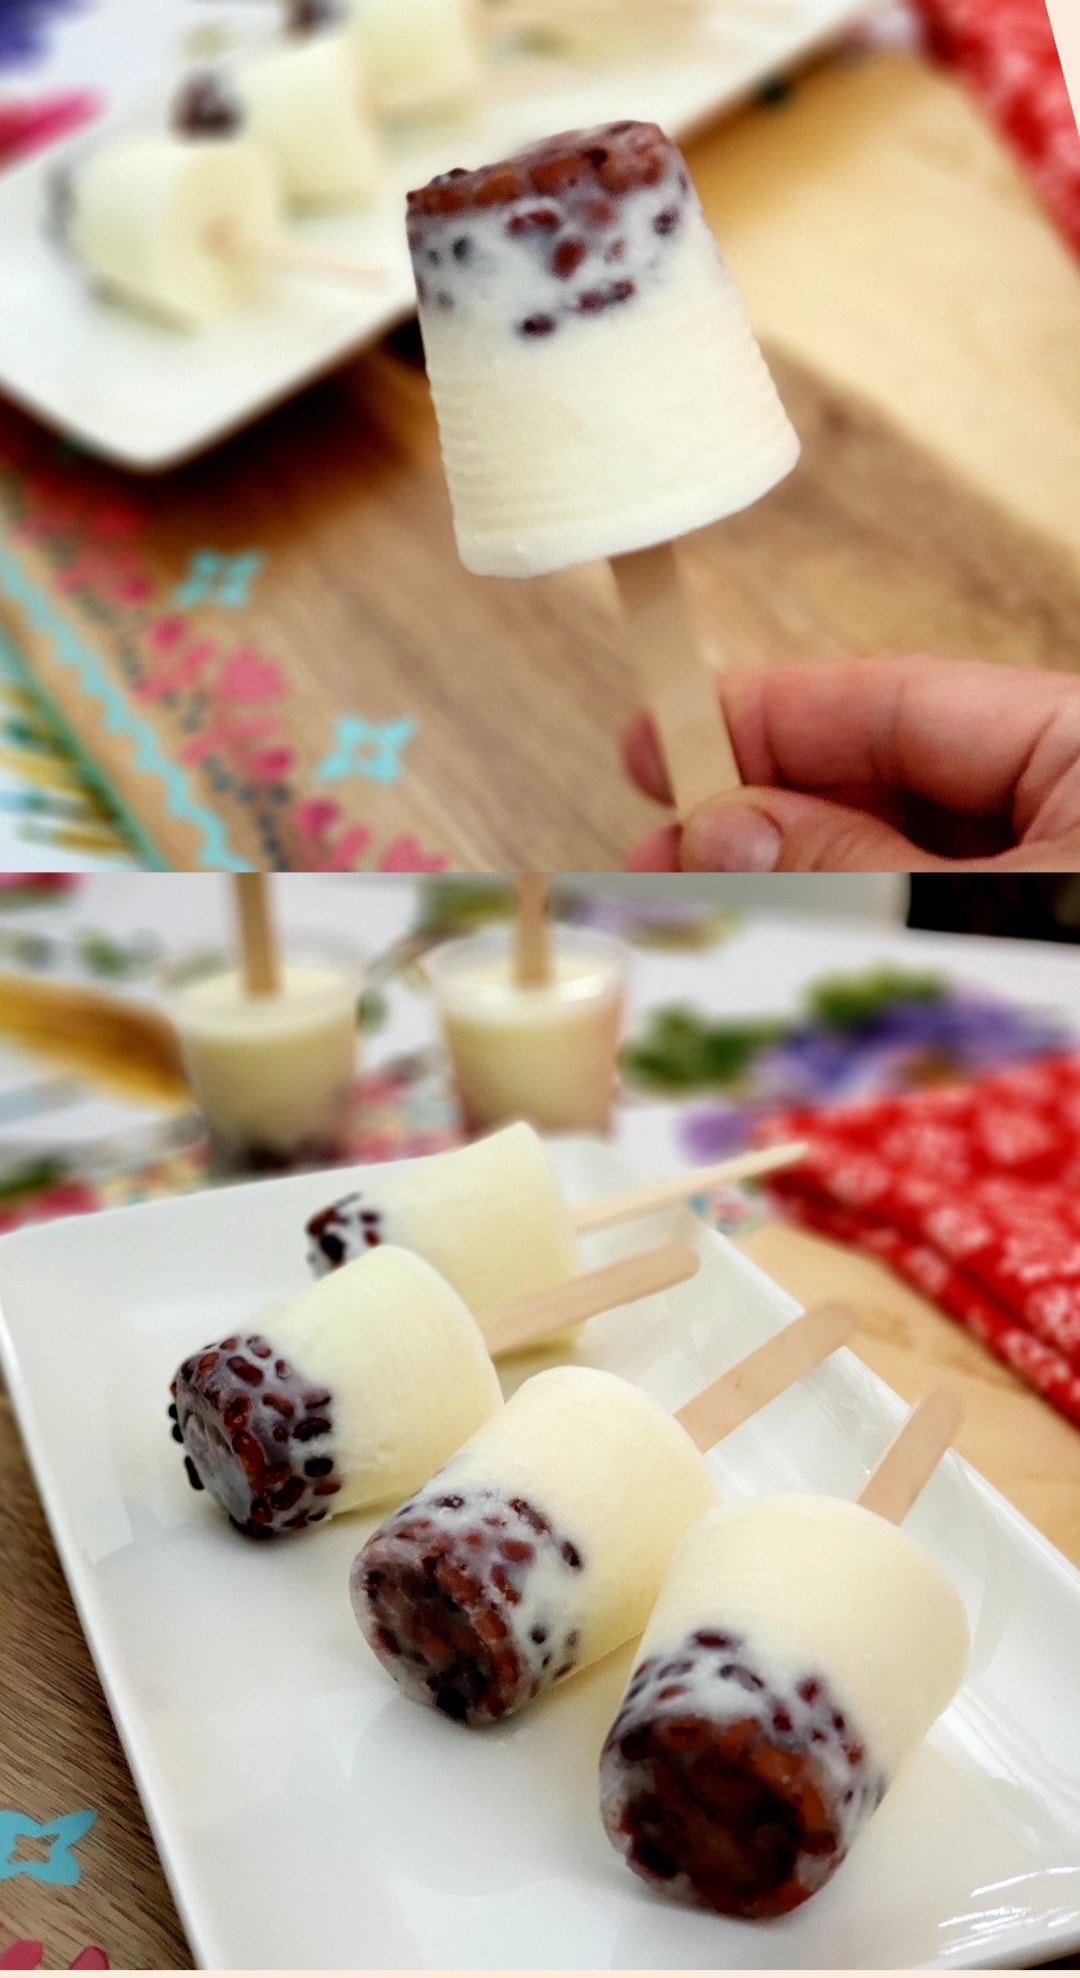
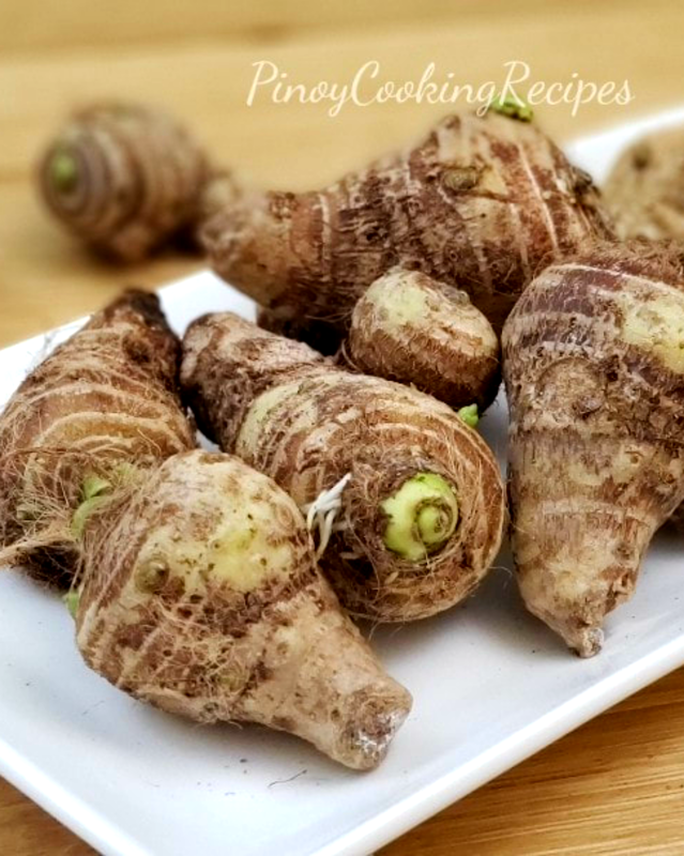
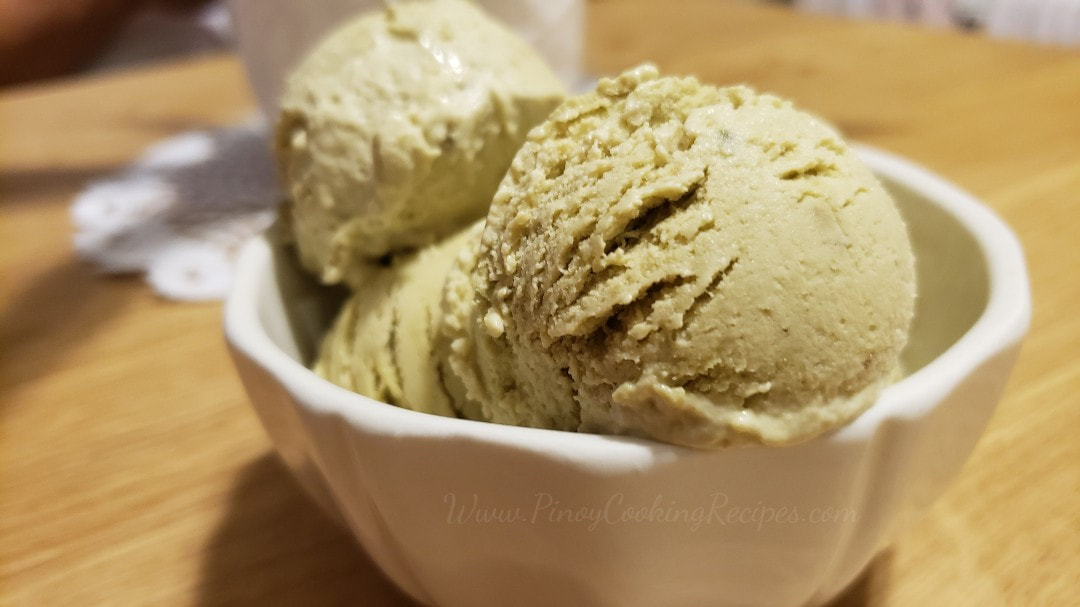
Wear gloves or oil your hands when preparing taro becase it contains crystals of calcium oxalate just beneath its peel. This substance is sticky, bitter, and irritating to the throat and skin unless neutralized during cooking. 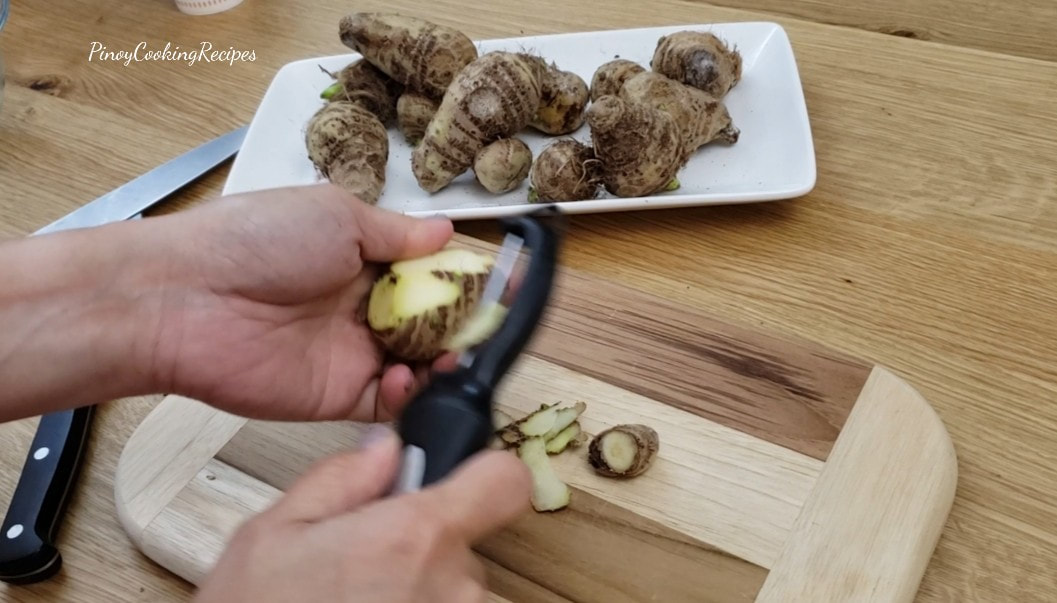
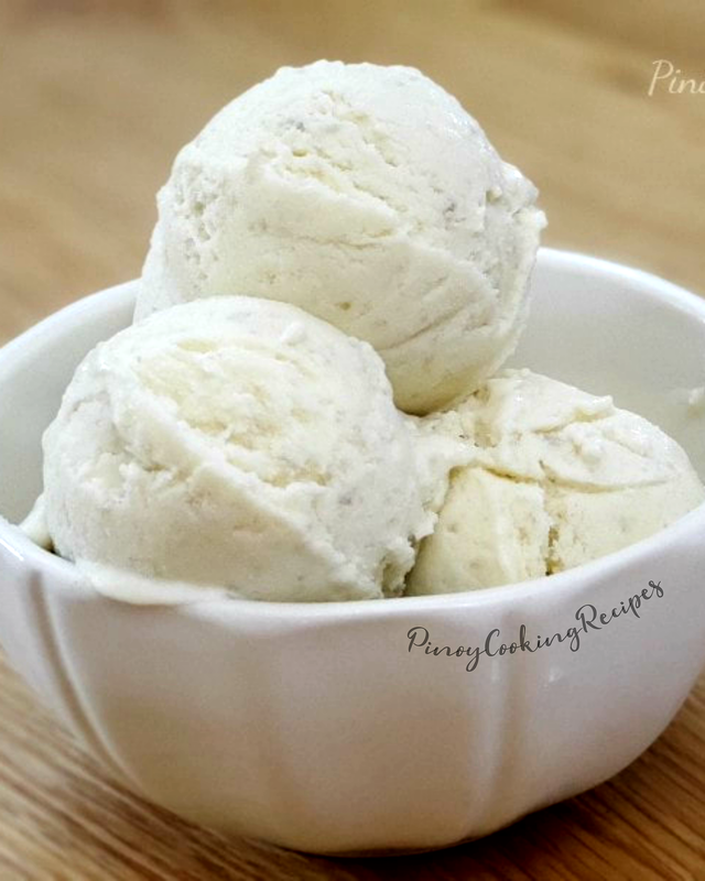
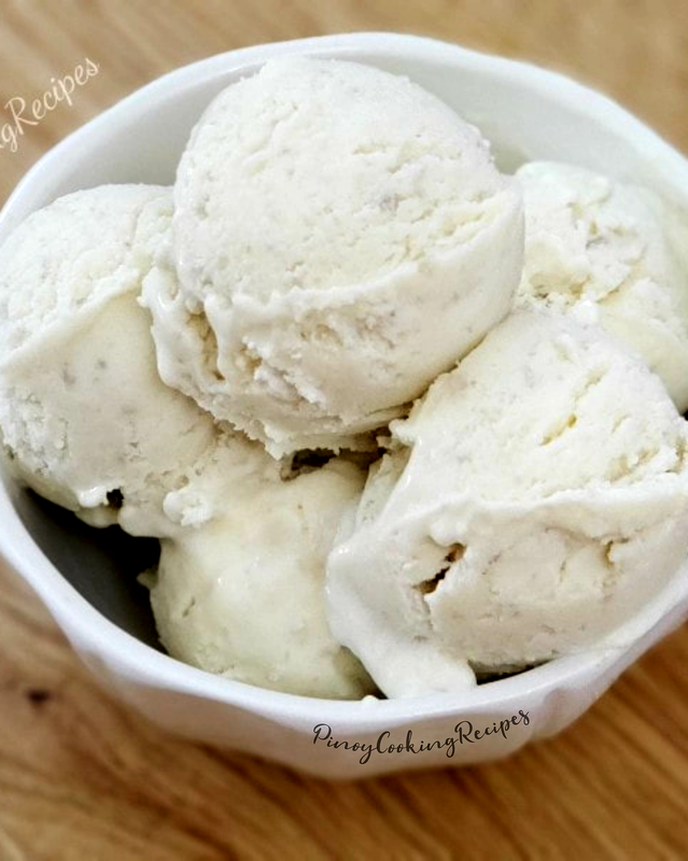
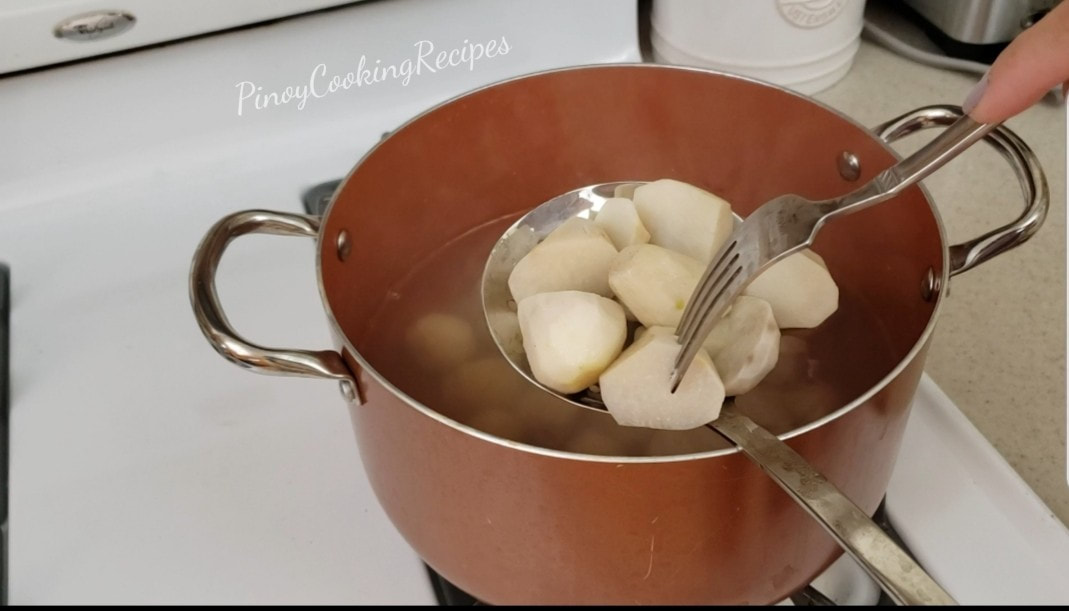
I boil the peeled taro for 25-30 minutes or until it is fork tender. It has to be soft so that you can easily mash like a potato.
You can also use a blender if it's available. That will speed up the preparation process. Then I combine the condensed milk to it. I put them aside and whipped the heavy whipping cream until thick then I mixed the taro and condensed milk mixture. Simple and easy isn't it? 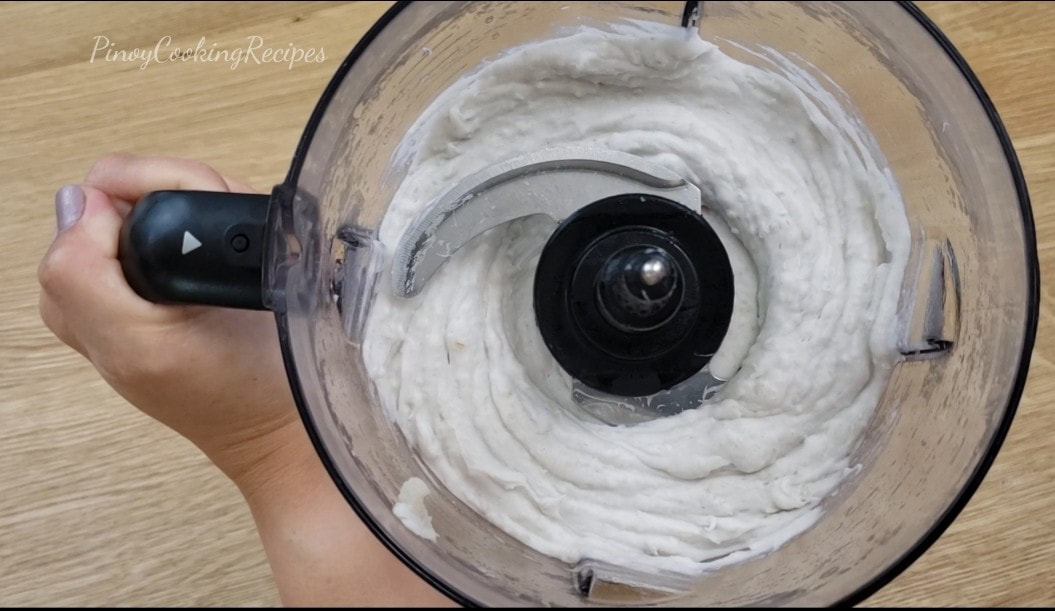
Transfer the mixture into a loaf pan or any container you prefer and cover with a food wrap pressed against the top of the mixture to avoid moisture or ice. Freeze for about 6 hours or overnight before serving. 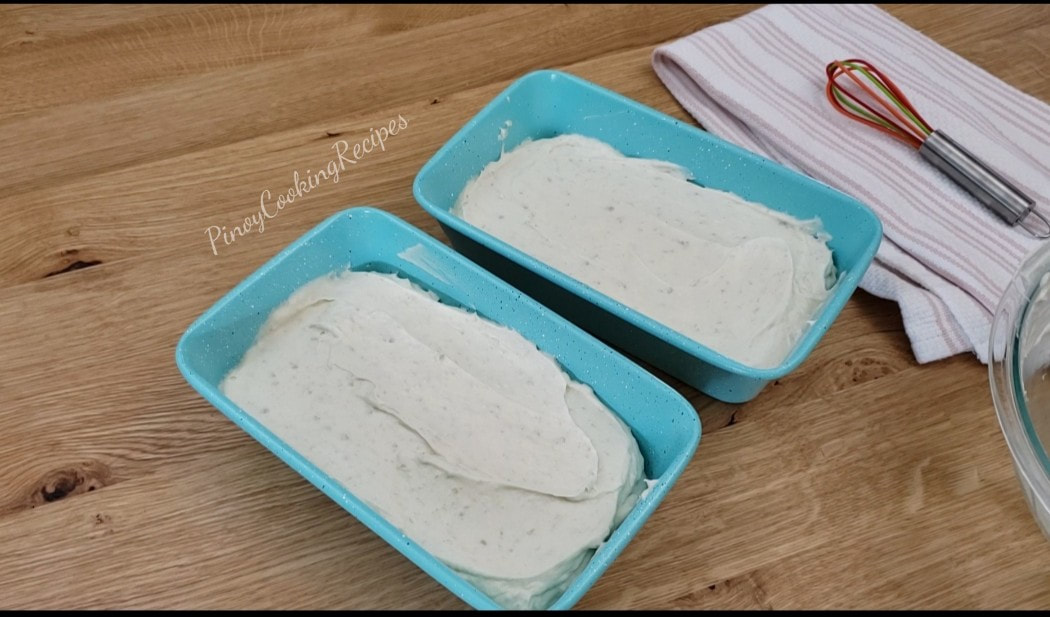
|

|
Procedure:
|
Loading...
|
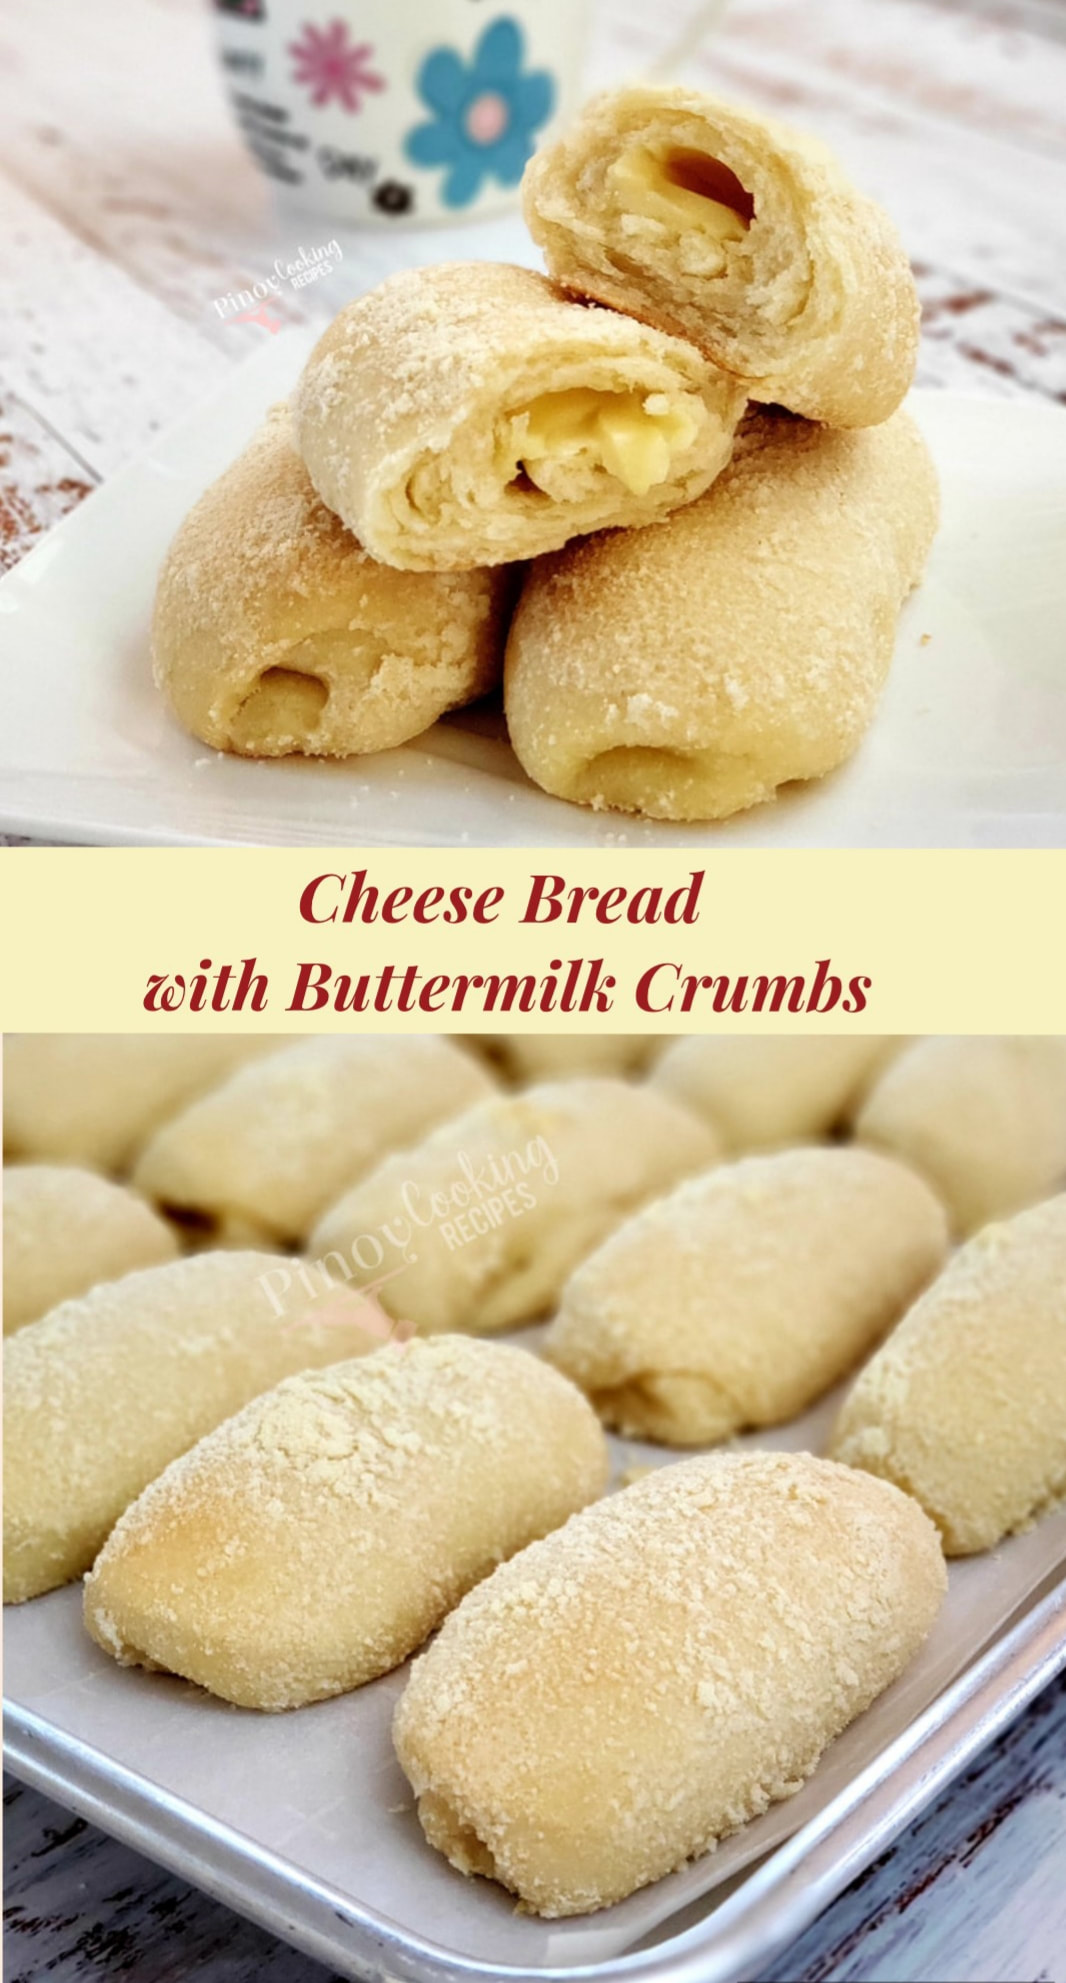
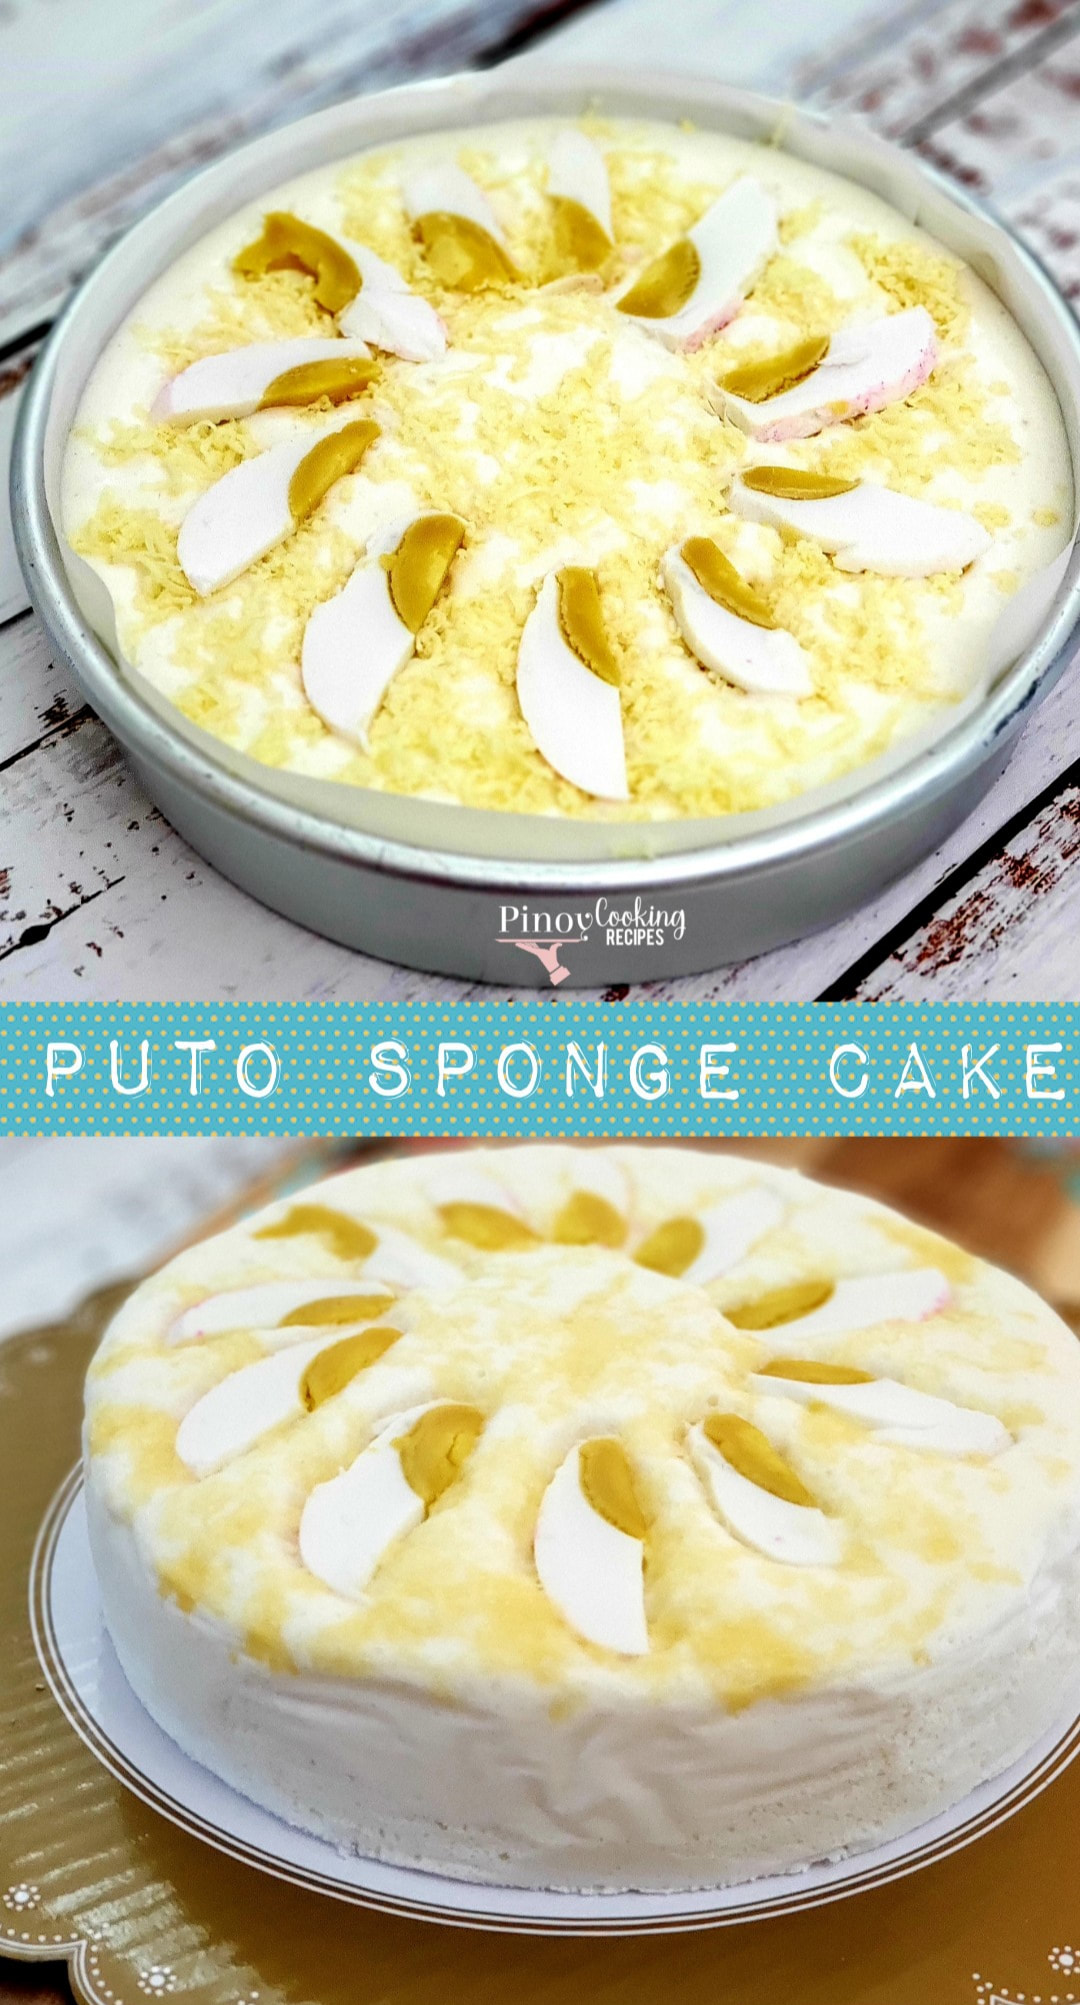
YOu may also like:
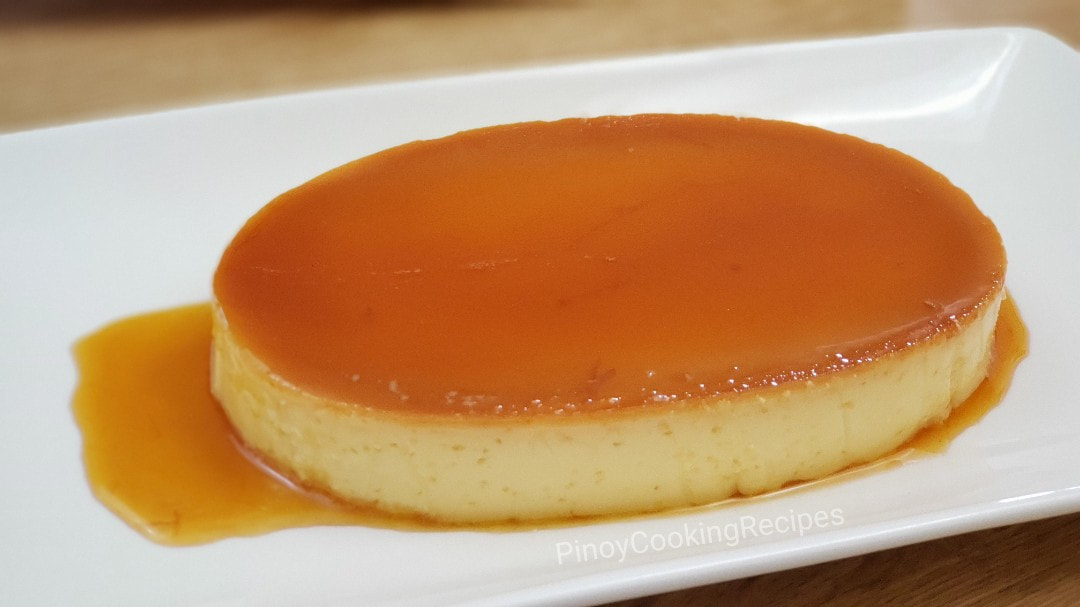
Leche Flan
|
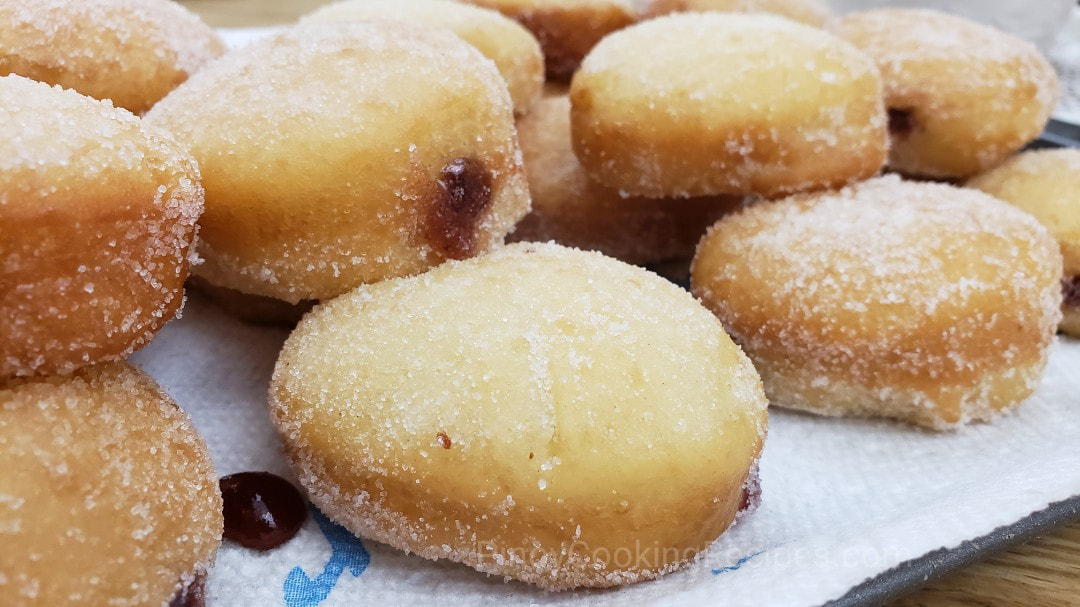
Jam Filled Doughnuts
|
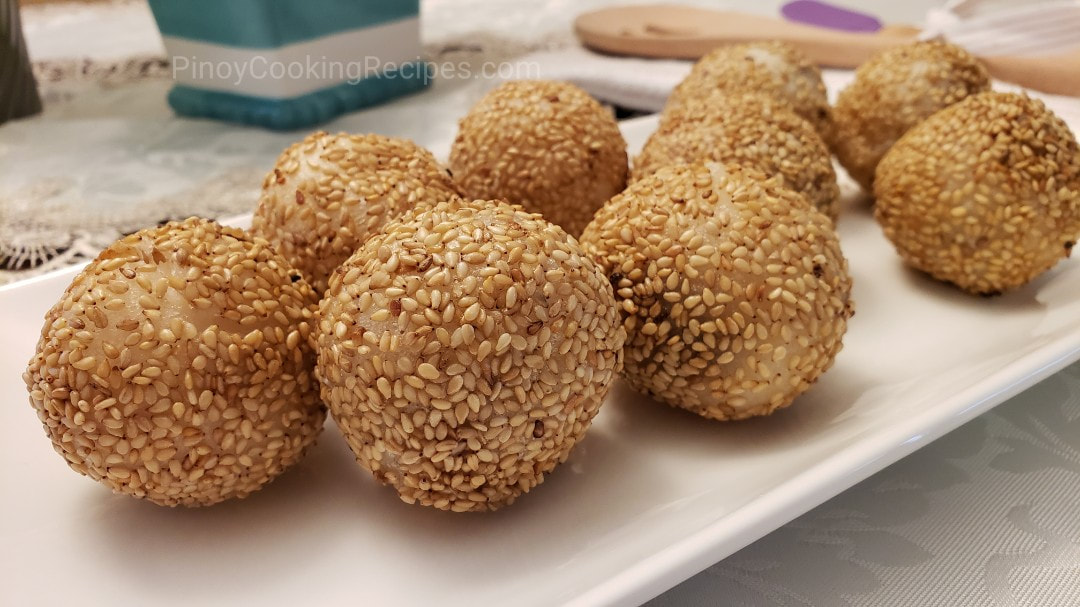
Sesame Balls / Buchi
|
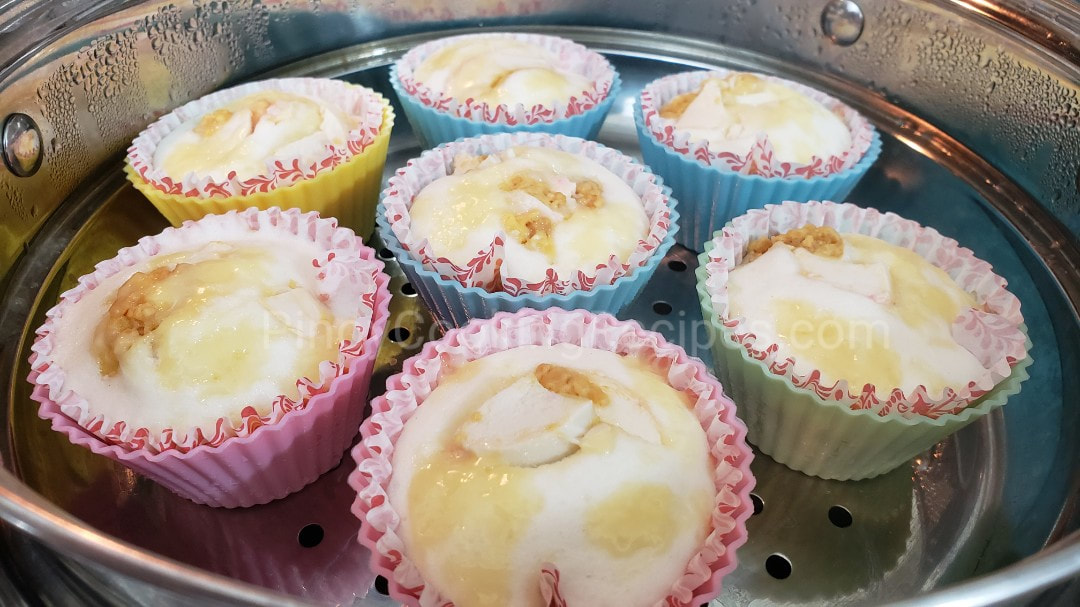
Special Puto Cupcakes
|
PRINTABLE RECIPE

5 Comments
9/12/2019 08:01:09 pm
This ice cream has a really impressive flavor, I love it.
Janette Recano
11/1/2019 10:13:01 pm
Thanks :)
Meriel
3/3/2020 02:40:40 am
Hi pinoy cooking recipes, i like the blender u r using, can u give me the brand of the blender?
Thanks
HC
6/4/2020 10:09:39 pm
it turned out tasting really starchy-- how do I remedy that?
Janette
6/9/2020 11:13:04 am
You can adjust the taro if you like.
Leave a Reply.

Author
Hi! Janette here. Welcome to my blog PinoyCookingRecipes where you can find true and kitchen tested recipes. To read more about me, click here.
follow ME:
recipe search:
This website contains affiliate links. If you make a purchase through these links, as an Amazon Associate, I will earn a small amount from qualifying purchases at no cost to you.
 RSS Feed
FEATURED RECIPES
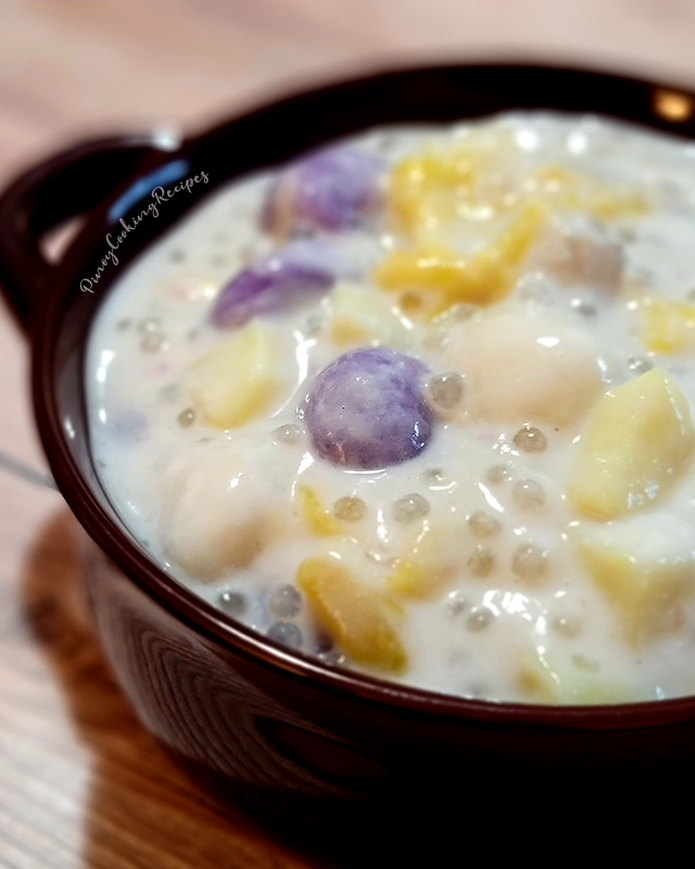
BILO-BILO
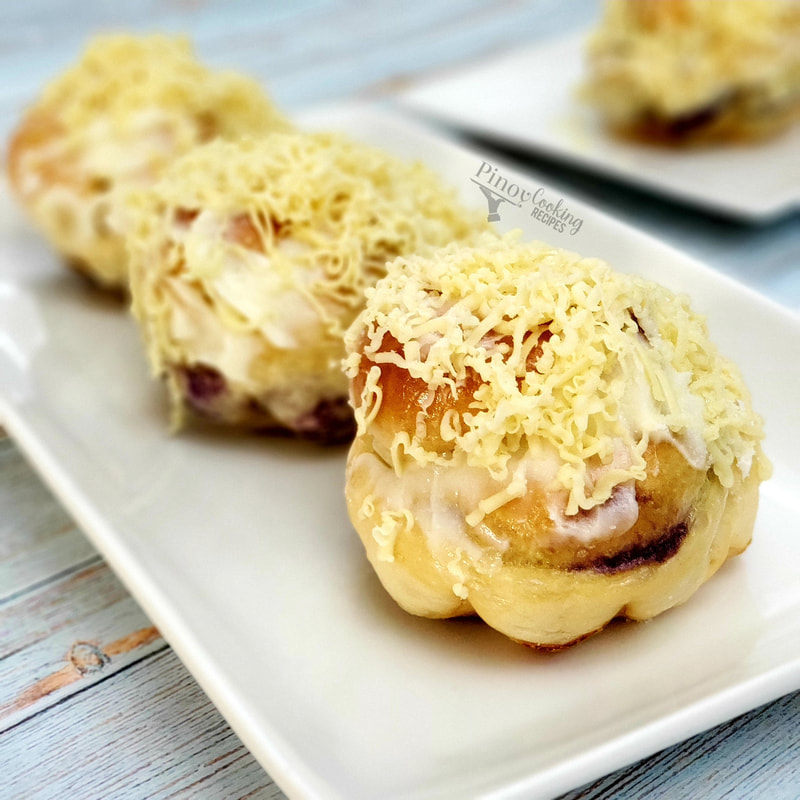
UBE ENSAYMADA
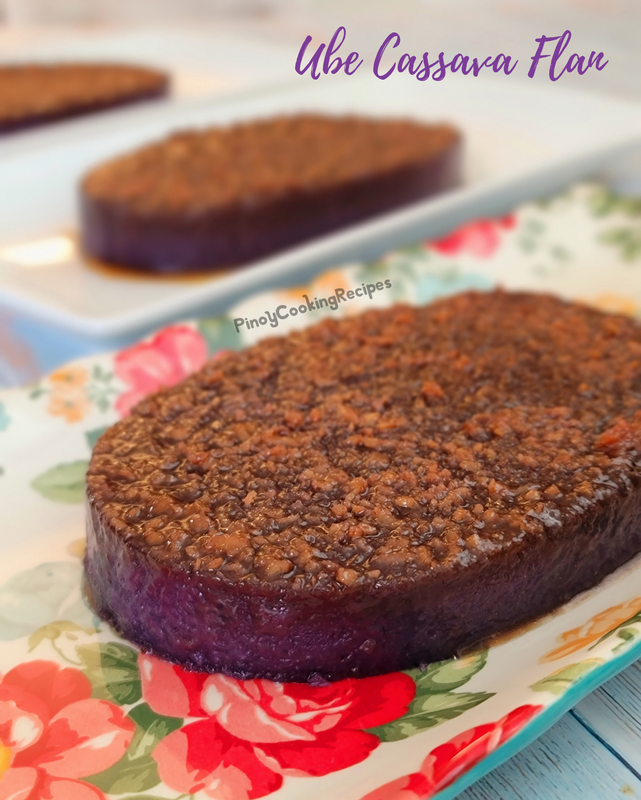
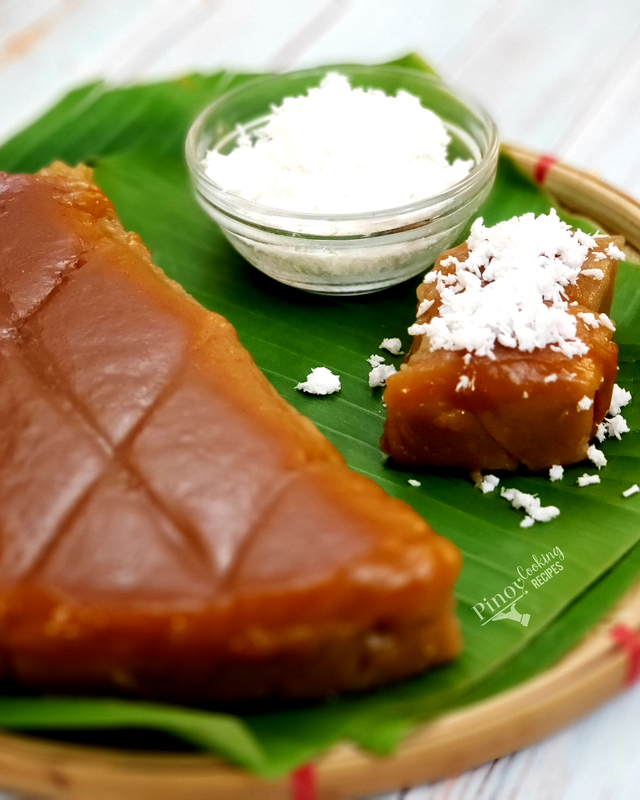
UBE CASSAVA FLAN
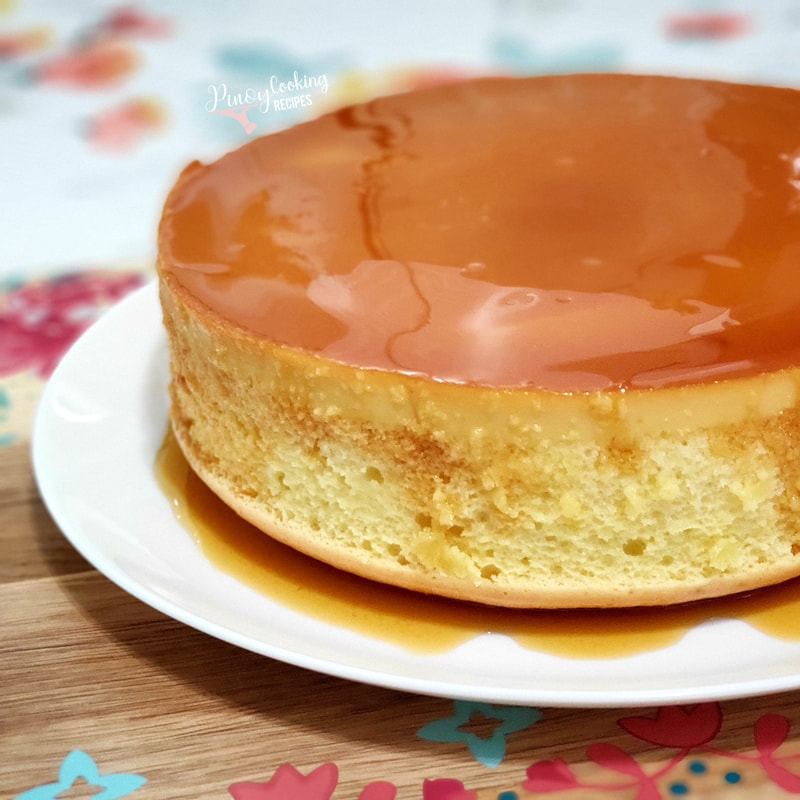
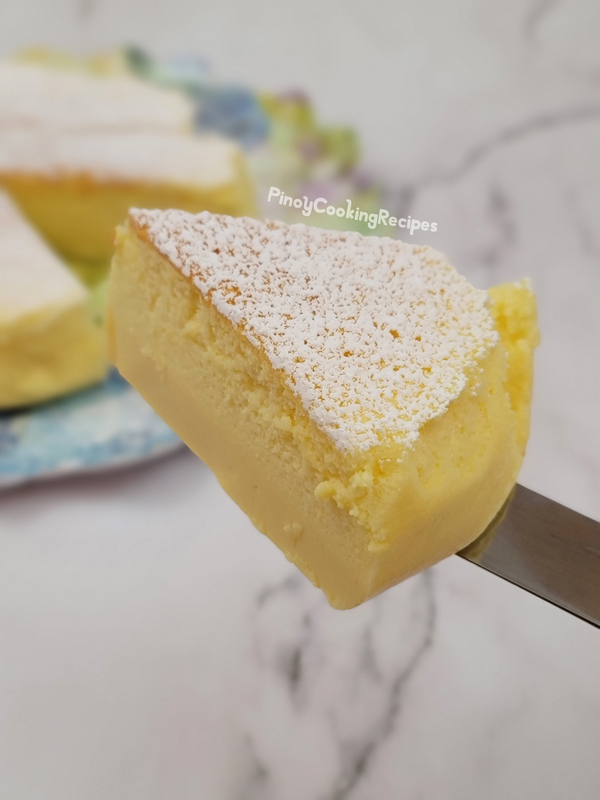
Custard Cake
NATIVE KUTSINTA
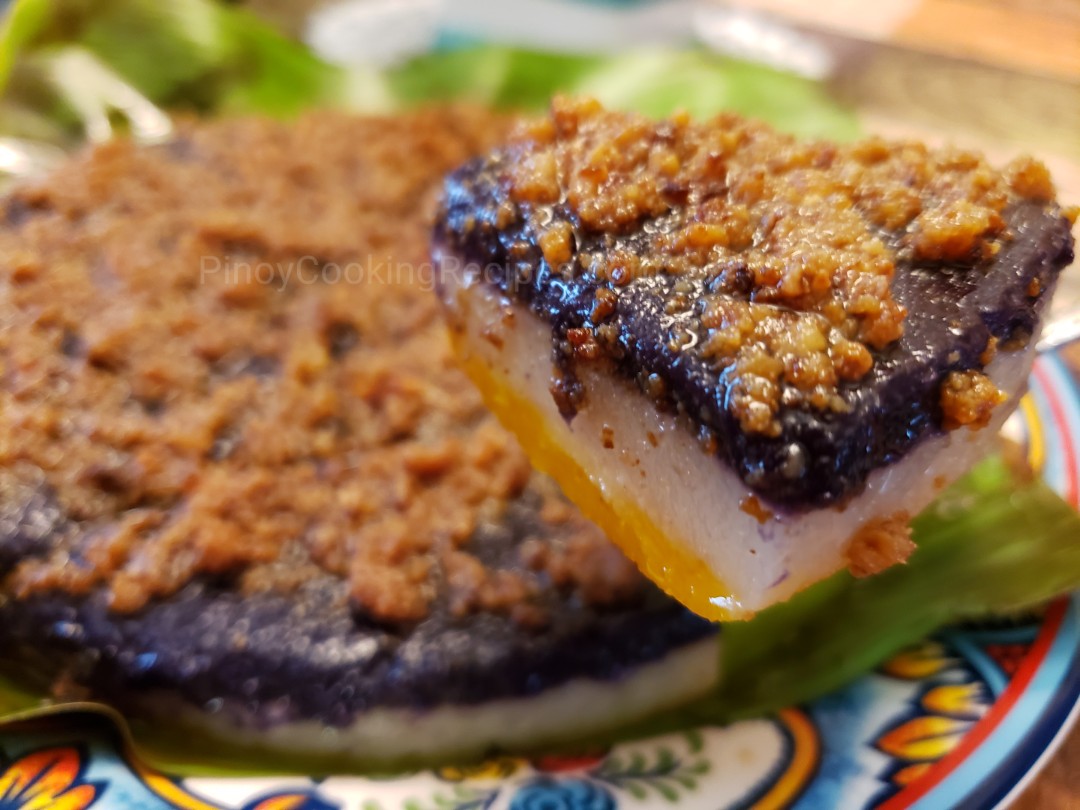
Sapin-Sapin
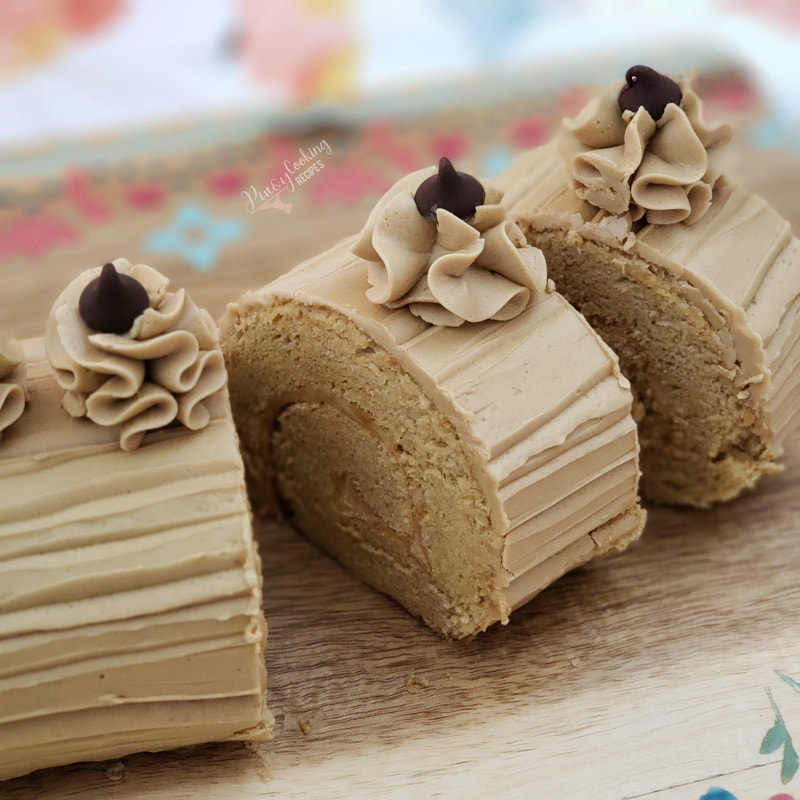
Mocha Roll
recent posts
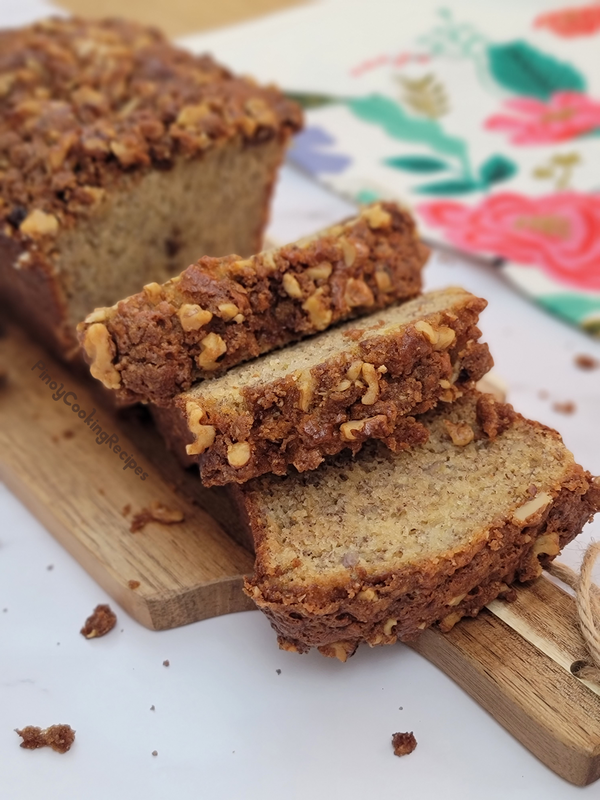
Banana Loaf Bread
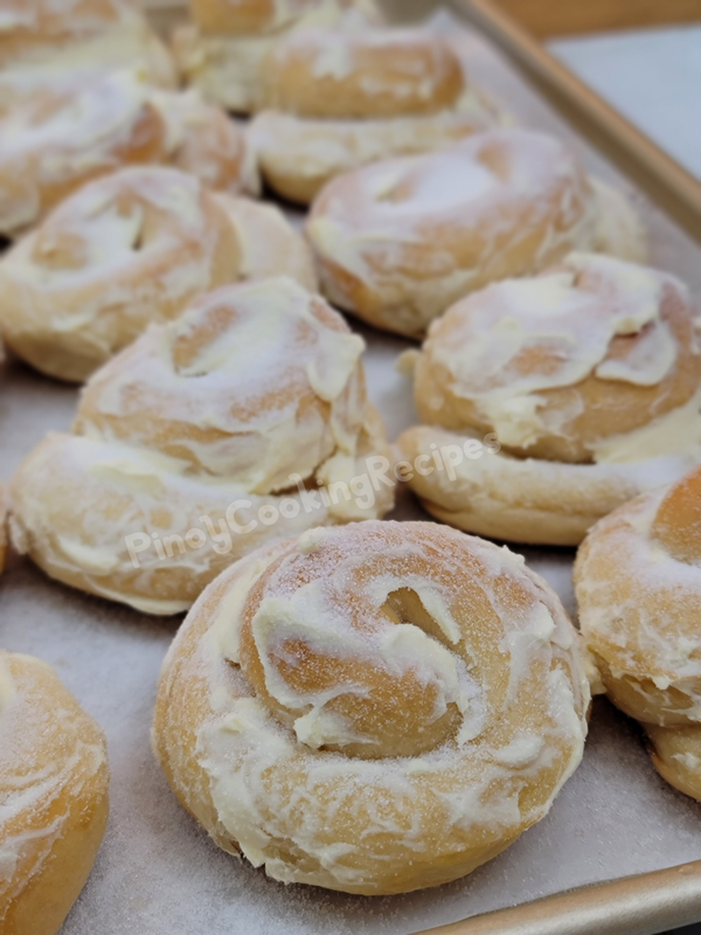
TRADTITIONAL ENSAYMADA
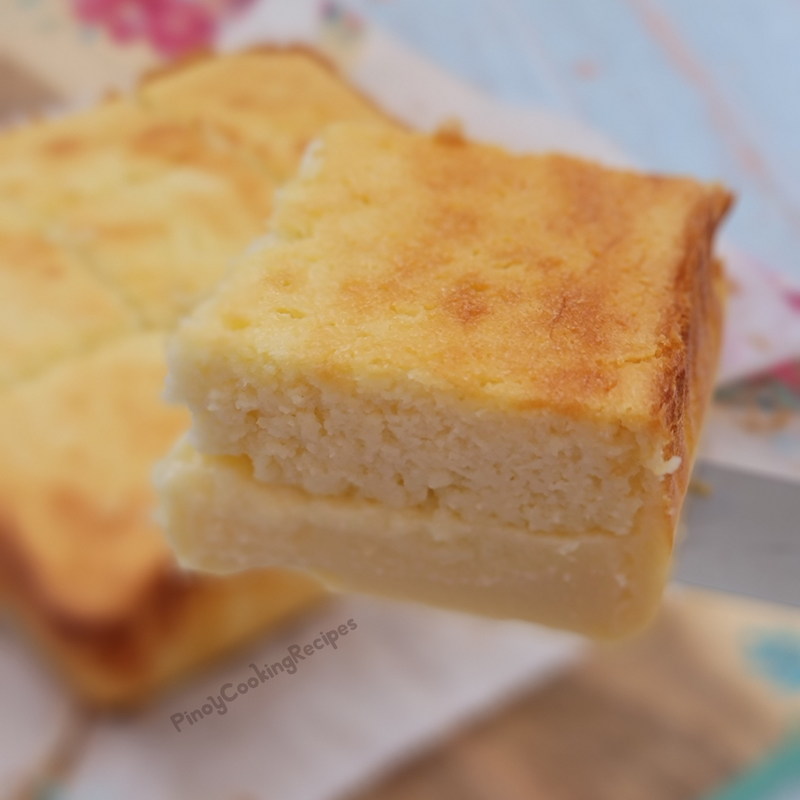
MAGIC CUSTARD CAKE
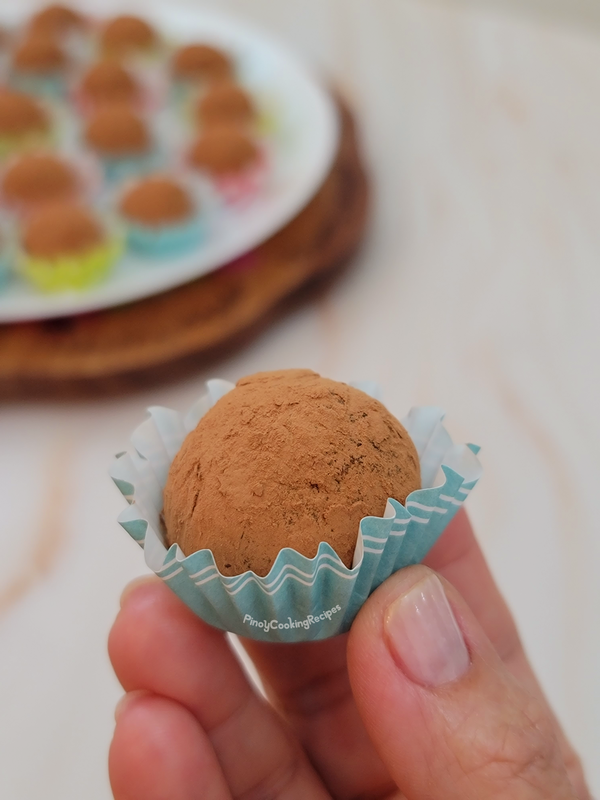
TIRAMISU TRUFFLES
3-INGREDIENTS CHEESECAKE
PANDESAL
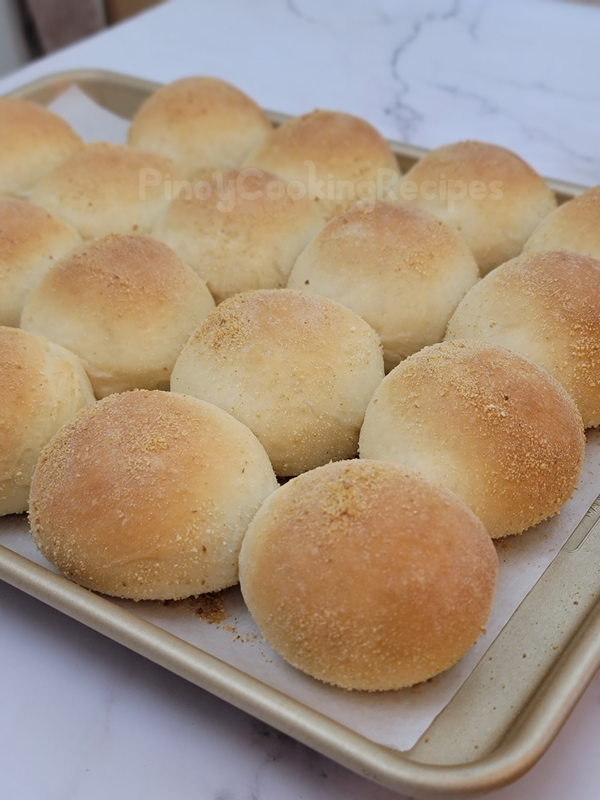

MY SOFT, FLUFFY AND DELICIOUS PANDESAL

SIOPAO

Pineapple Upside-Down cake